Prepare and add your images to map
There’s many different types of imagery you might want to use in your map, from simple icons to large sets of images taken from a drone, or even digitized historical maps. How to add them depends on the complexity of the task at hand.
Add image directly
The easiest way is to add an image to your map as a linked data source. However, it’s only possible if the image has a public URL, and only advisable for simple tasks like adding a single image. Here are some examples how to add an image using MapTiler SDK JS:
If you need anything more advanced than that, it becomes much easier to process your image into map tiles. You can create tiles from any image at all, but it’s especially useful if the image is very large or if you have many of them.
Upload and tile your image
MapTiler provides hosting for your image data of any size, so you can integrate it with a map without having to manage the hosting infrastructure. When you upload your image, we automatically process it into a special map-ready format. This preparation is called geoprocessing and it cuts your image into a set of raster map tiles, fully ready to be added into an interactive (zoomable) map.
Here’s what to do to tile your image and prepare the map tiles:
-
Upload the image(s) to your MapTiler account. If you prefer using the CLI or other ways, see How to upload your data.
-
Georeference your image. This step is only required if we don’t find any location metadata (coordinates) in the image.
-
When georeferenced, we automatically cut your image into map tiles. You’ll find your new tileset on page Tiles.
Note that there are format and size limits for the upload. If your image data doesn’t comply, or you just prefer to use your own hardware, check out MapTiler Engine for processing virtually any type or volume of data on-prem.
Add tiled image to map
Now that your image is ready in your MapTiler account, you can proceed to showing it on a map. Select your preferred way, with or without code:
Add image to map programmatically
A convenient option for developers is to use the MapTiler SDK JS. To get the code, go to the example Add a raster tile source. Don’t forget you’ll need a MapTiler API key for the code to work.
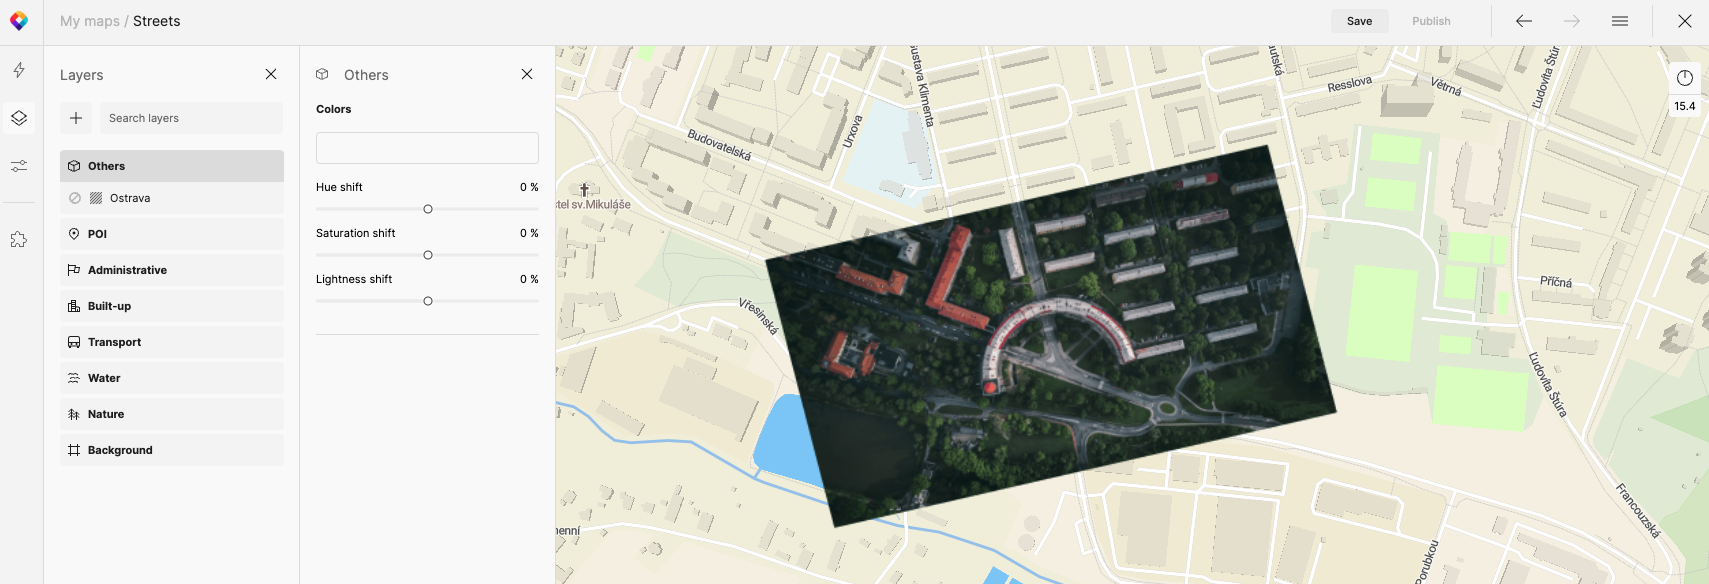
Add image in visual editor
For a no-code approach, use our visual map editor Map Designer. Here’s the steps:
-
Go to page Maps in your MapTiler account and click on New map.
-
Select a map you’d like to use and click Customize. This takes you to the map editor.
-
In the left menu panel, go to Data sources and add a new map data source using the plus button. From a list of all available data sources, select your raster tileset.
-
The data source is now associated with the map, but not actually used yet. Go to Layers and add a new map layer. You’ll get a list of data sources to choose from, including the one you added in the previous step. Select the layer in the source (there will be just one raster layer) and add it to the map. If you don’t see the image on the map now, make sure you’re in the right place and on the right zoom level.
-
By default, the image layer gets added on top of the map. If you want to display some of the map features over your image, switch from the Blocks to Verticality view and reorder the layers, so that the desired features get on top.
-
Once you’re happy with the result, save and publish your map. Publishing means that the map is ready to be shared with the world, but it’s not actually visible to anyone unless you take further steps to use the map on a website or in your app.