Vue.js with MapTiler maps
In this step-by-step tutorial, you’ll learn how to create a Vue.js component that leverages the power of MapTiler SDK JS mapping library to render maps. Together we will build a simple full-screen map application, serving as a practical example of how to seamlessly integrate MapTiler maps into your own Vue.js app.
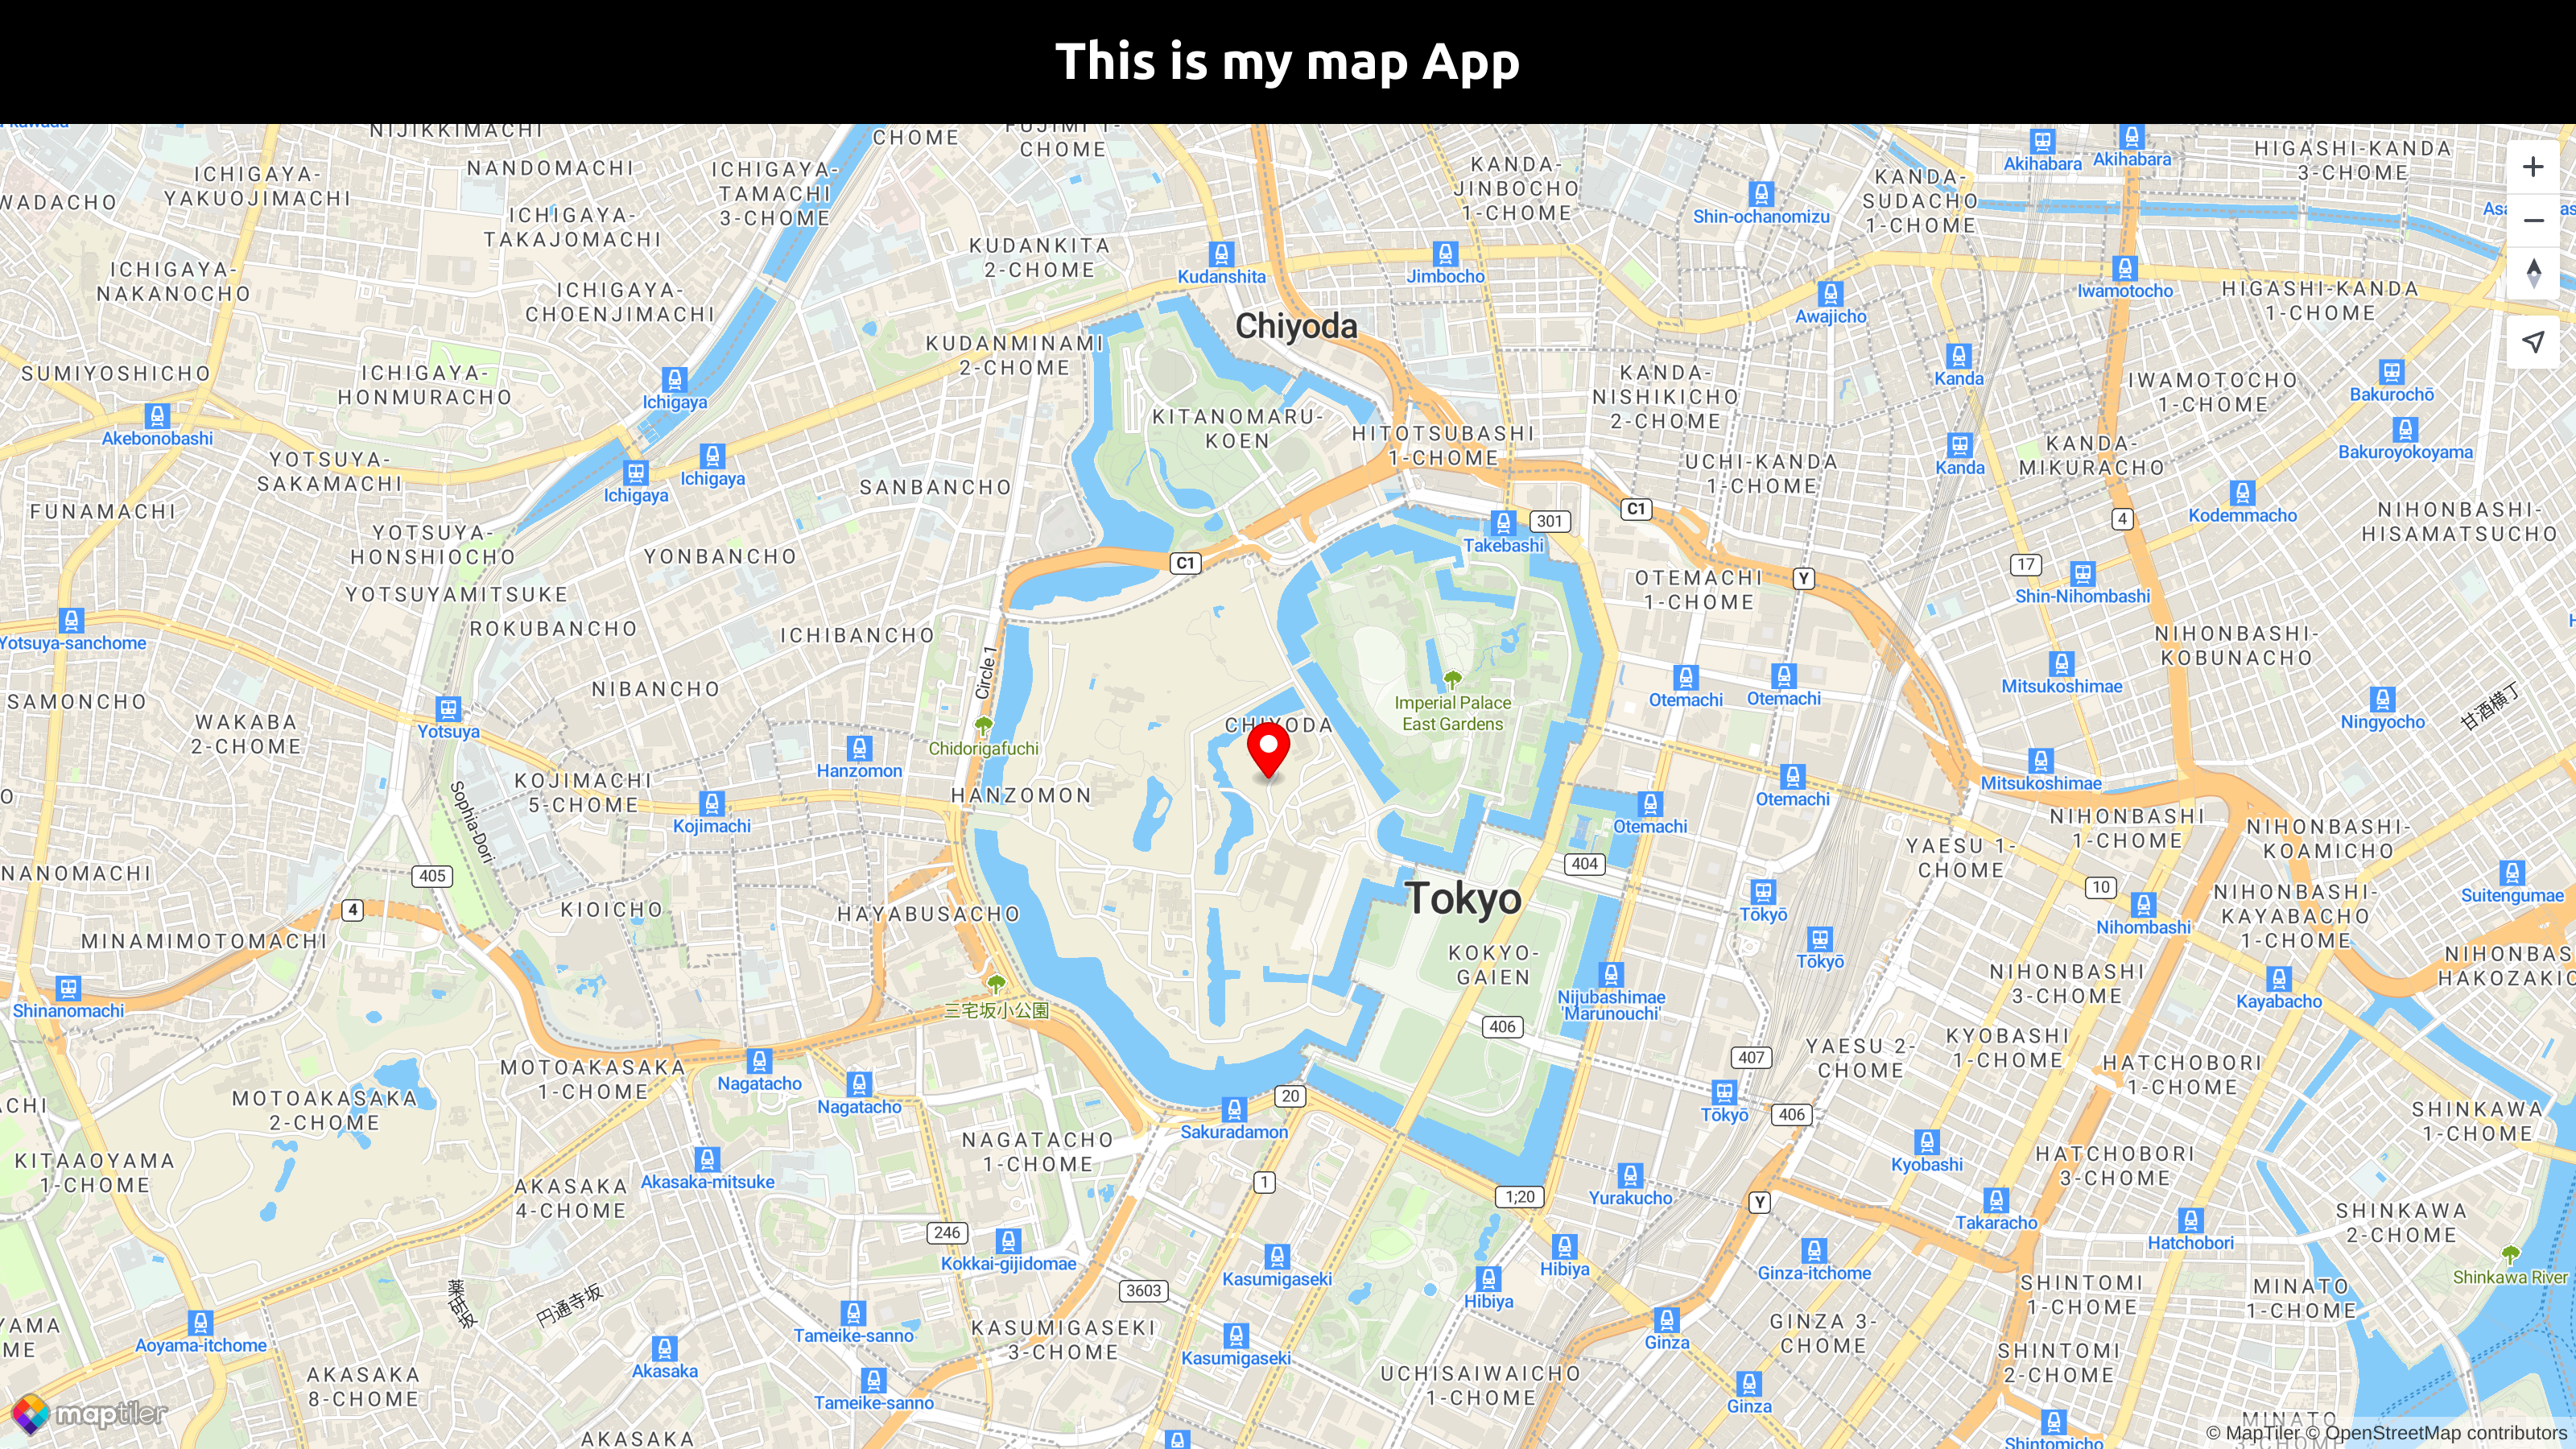
By the end of this tutorial, you will be able to create a full-screen map with a marker placed at a specified location. With your newfound knowledge, you will be able to create visually stunning maps within your Vue.js projects. Take a look at the final output of this tutorial below:
Getting started
Minimal requirements for completing this tutorial.
-
Some experience with Vue.js You don’t need a lot of experience using Vue.js for this tutorial, but you should be familiar with basic concepts and workflow.
-
MapTiler API key. Your MapTiler account access key is on your MapTiler Cloud account page or Get API key for FREE.
-
MapTiler SDK JS. JavaScript library for building web maps. In this tutorial, you will learn how to install it.
-
Node.js and npm. Necessary to run your Vue.js app locally. Node.js
Create an app
In this step, we are going to learn how to create a Vue.js app.
To create a new Vue.js project run in your command-line:
npm create vite my-vuejs-map -- --template vue
create vite will create a simple one-page application in Vue.js. For more information follow Scaffolding Your First Vite Project.
Navigate to the newly created project folder my-vuejs-map
cd my-vuejs-map
Inside the newly created project, run npm install to install the dependencies.
To start your local environment, run npm run dev. You will find your app running on the address http://localhost:5173/.
Now you should see the app in your browser.
Installation and setting up
To install MapTiler SDK JS library, navigate to your project folder and run the command:
npm i @maptiler/sdk
Navigate to the src folder and replace all the contents of the styles.css file with the following lines:
body {
  margin: 0;
  padding: 0;
  font-family: -apple-system, BlinkMacSystemFont, 'Segoe UI', 'Roboto', 'Oxygen',
  'Ubuntu', 'Cantarell', 'Fira Sans', 'Droid Sans', 'Helvetica Neue',
  sans-serif;
  -webkit-font-smoothing: antialiased;
  -moz-osx-font-smoothing: grayscale;
}

code {
  font-family: source-code-pro, Menlo, Monaco, Consolas, 'Courier New',
  monospace;
}
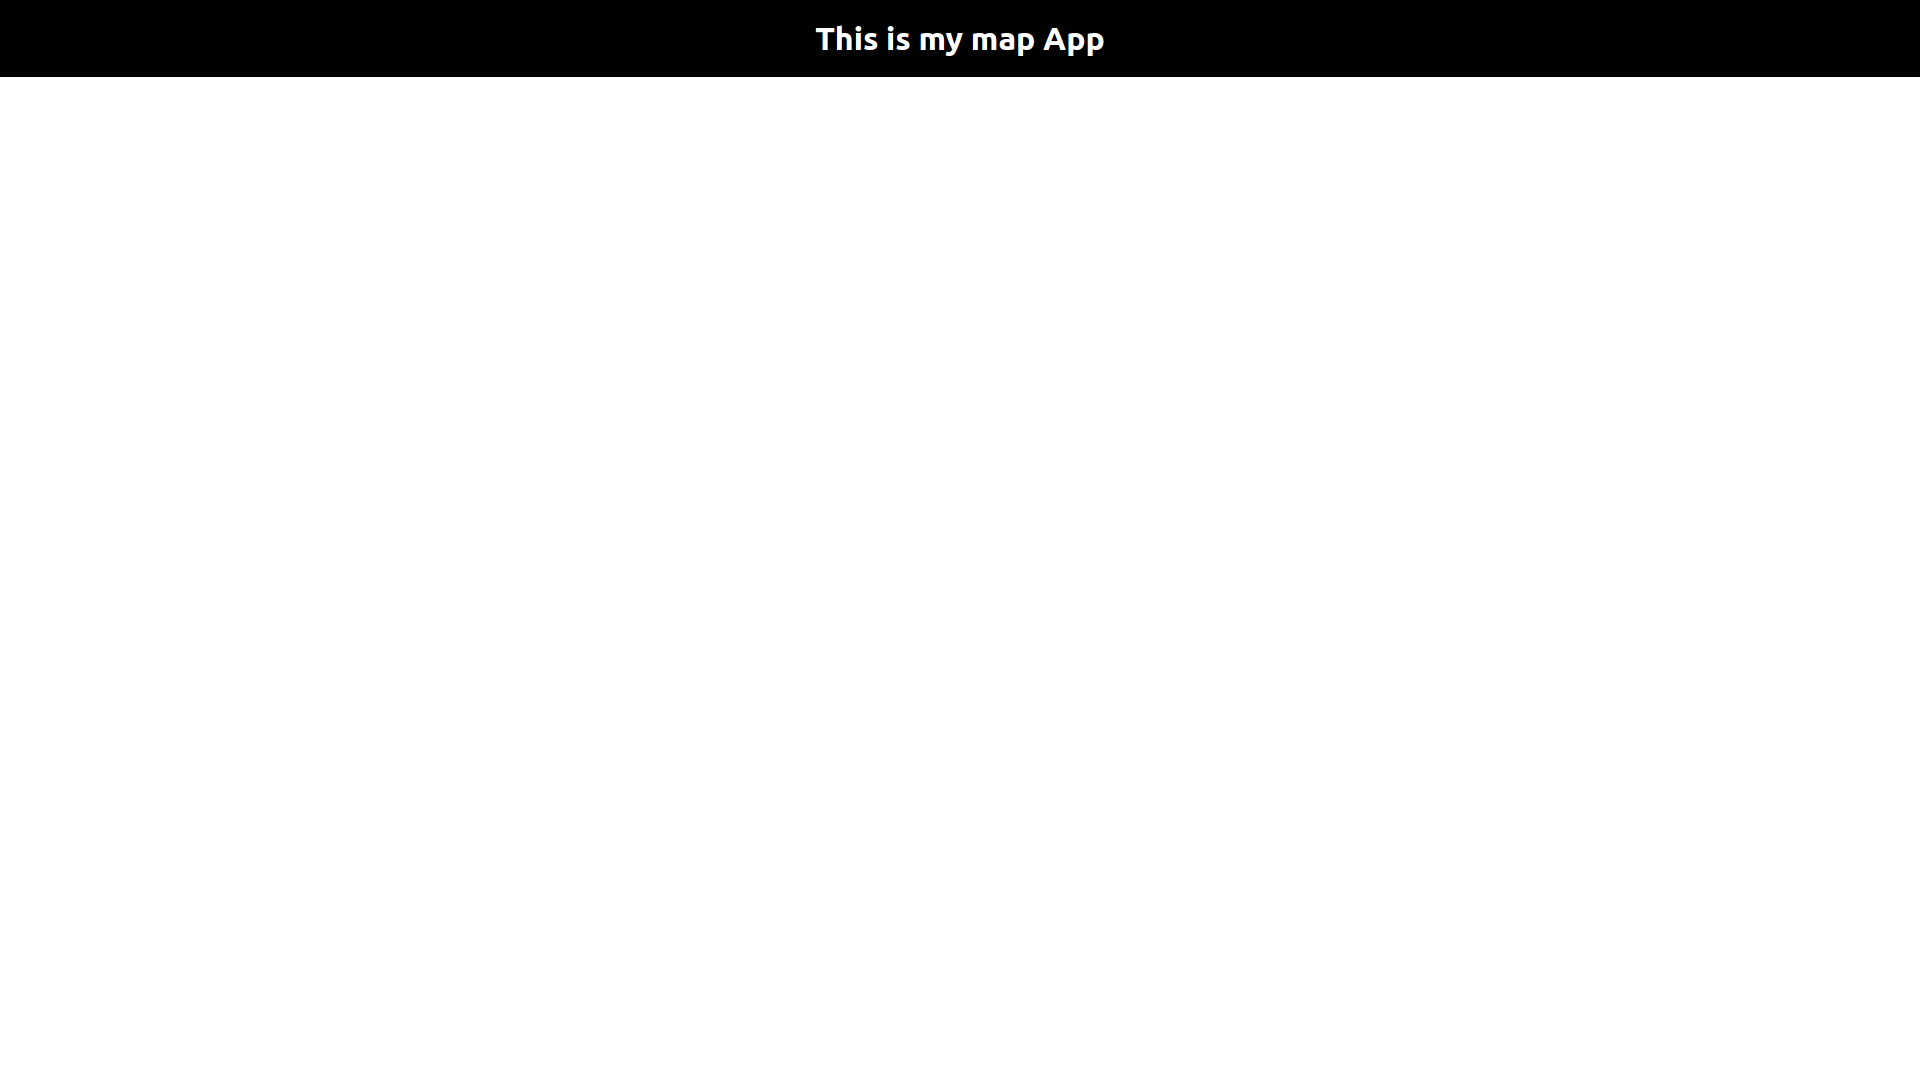
Replace all the contents of the App.vue file with the following lines:
<script setup>

</script>

<template>
  This is my map App
</template>

<style scoped>

</style>
Now you should see “This is my map App“ in your browser.
Navigate to the src/components folder and delete de HelloWorld.vue file
Create a navbar component
In this step, we will create a simple heading navbar component.
Create a new file called Navbar.vue inside the components folder and write these lines:
<template>
  <div class="heading">
    <h1>This is my map App</h1>
  </div>
</template>

<script setup>

</script>

<style scoped>
.heading {
  margin: 0;
  padding: 0px;
  background-color: black;
  color: white;
  text-align: center;
}

.heading > h1 {
  padding: 20px;
  margin: 0;
}
</style>
Finally, to display the Navbar we need to import the Navbar component and add it to our main component template section App.vue.
Import the navbar component into App.vue script block
Replace the text This is my map App with <Navbar />. Your App.vue file should look like this:
Now you should see the black navbar at the top of your browser.
Create a map component
In this step, we will create a simple map component.
Create a new file called Map.vue inside the components folder and write these lines:
We use position: absolute on the map itself and position: relative on the wrap around the map for more possibilities in future styling.
Replace YOUR_MAPTILER_API_KEY_HERE with your own API key. Make sure to protect the key before you publish it!
-
The
containeroption sets the DOM element in which the map will be rendered. We will assign themapContainerref expected by our component to an HTML element, which will act as a container. Keep in mind that the reference tomapContainercan only be used after the execution of theonMountedhook. -
The
styleoption defines what style is the map going to use. -
The
centerandzoomoptions set the starting position of the map. -
The
onUnmountedfunction does the cleanup that should occur when the instance is destroyed.
Render a map
Finally, to display the Map we need to import the Map component and add it to our main component App.vue.
Import the map component into App.vue script block
Add the <Map /> just below the Navbar in the template section. The template block should look like this
With everything done up until now, you should be able to see your beautiful map in your browser.
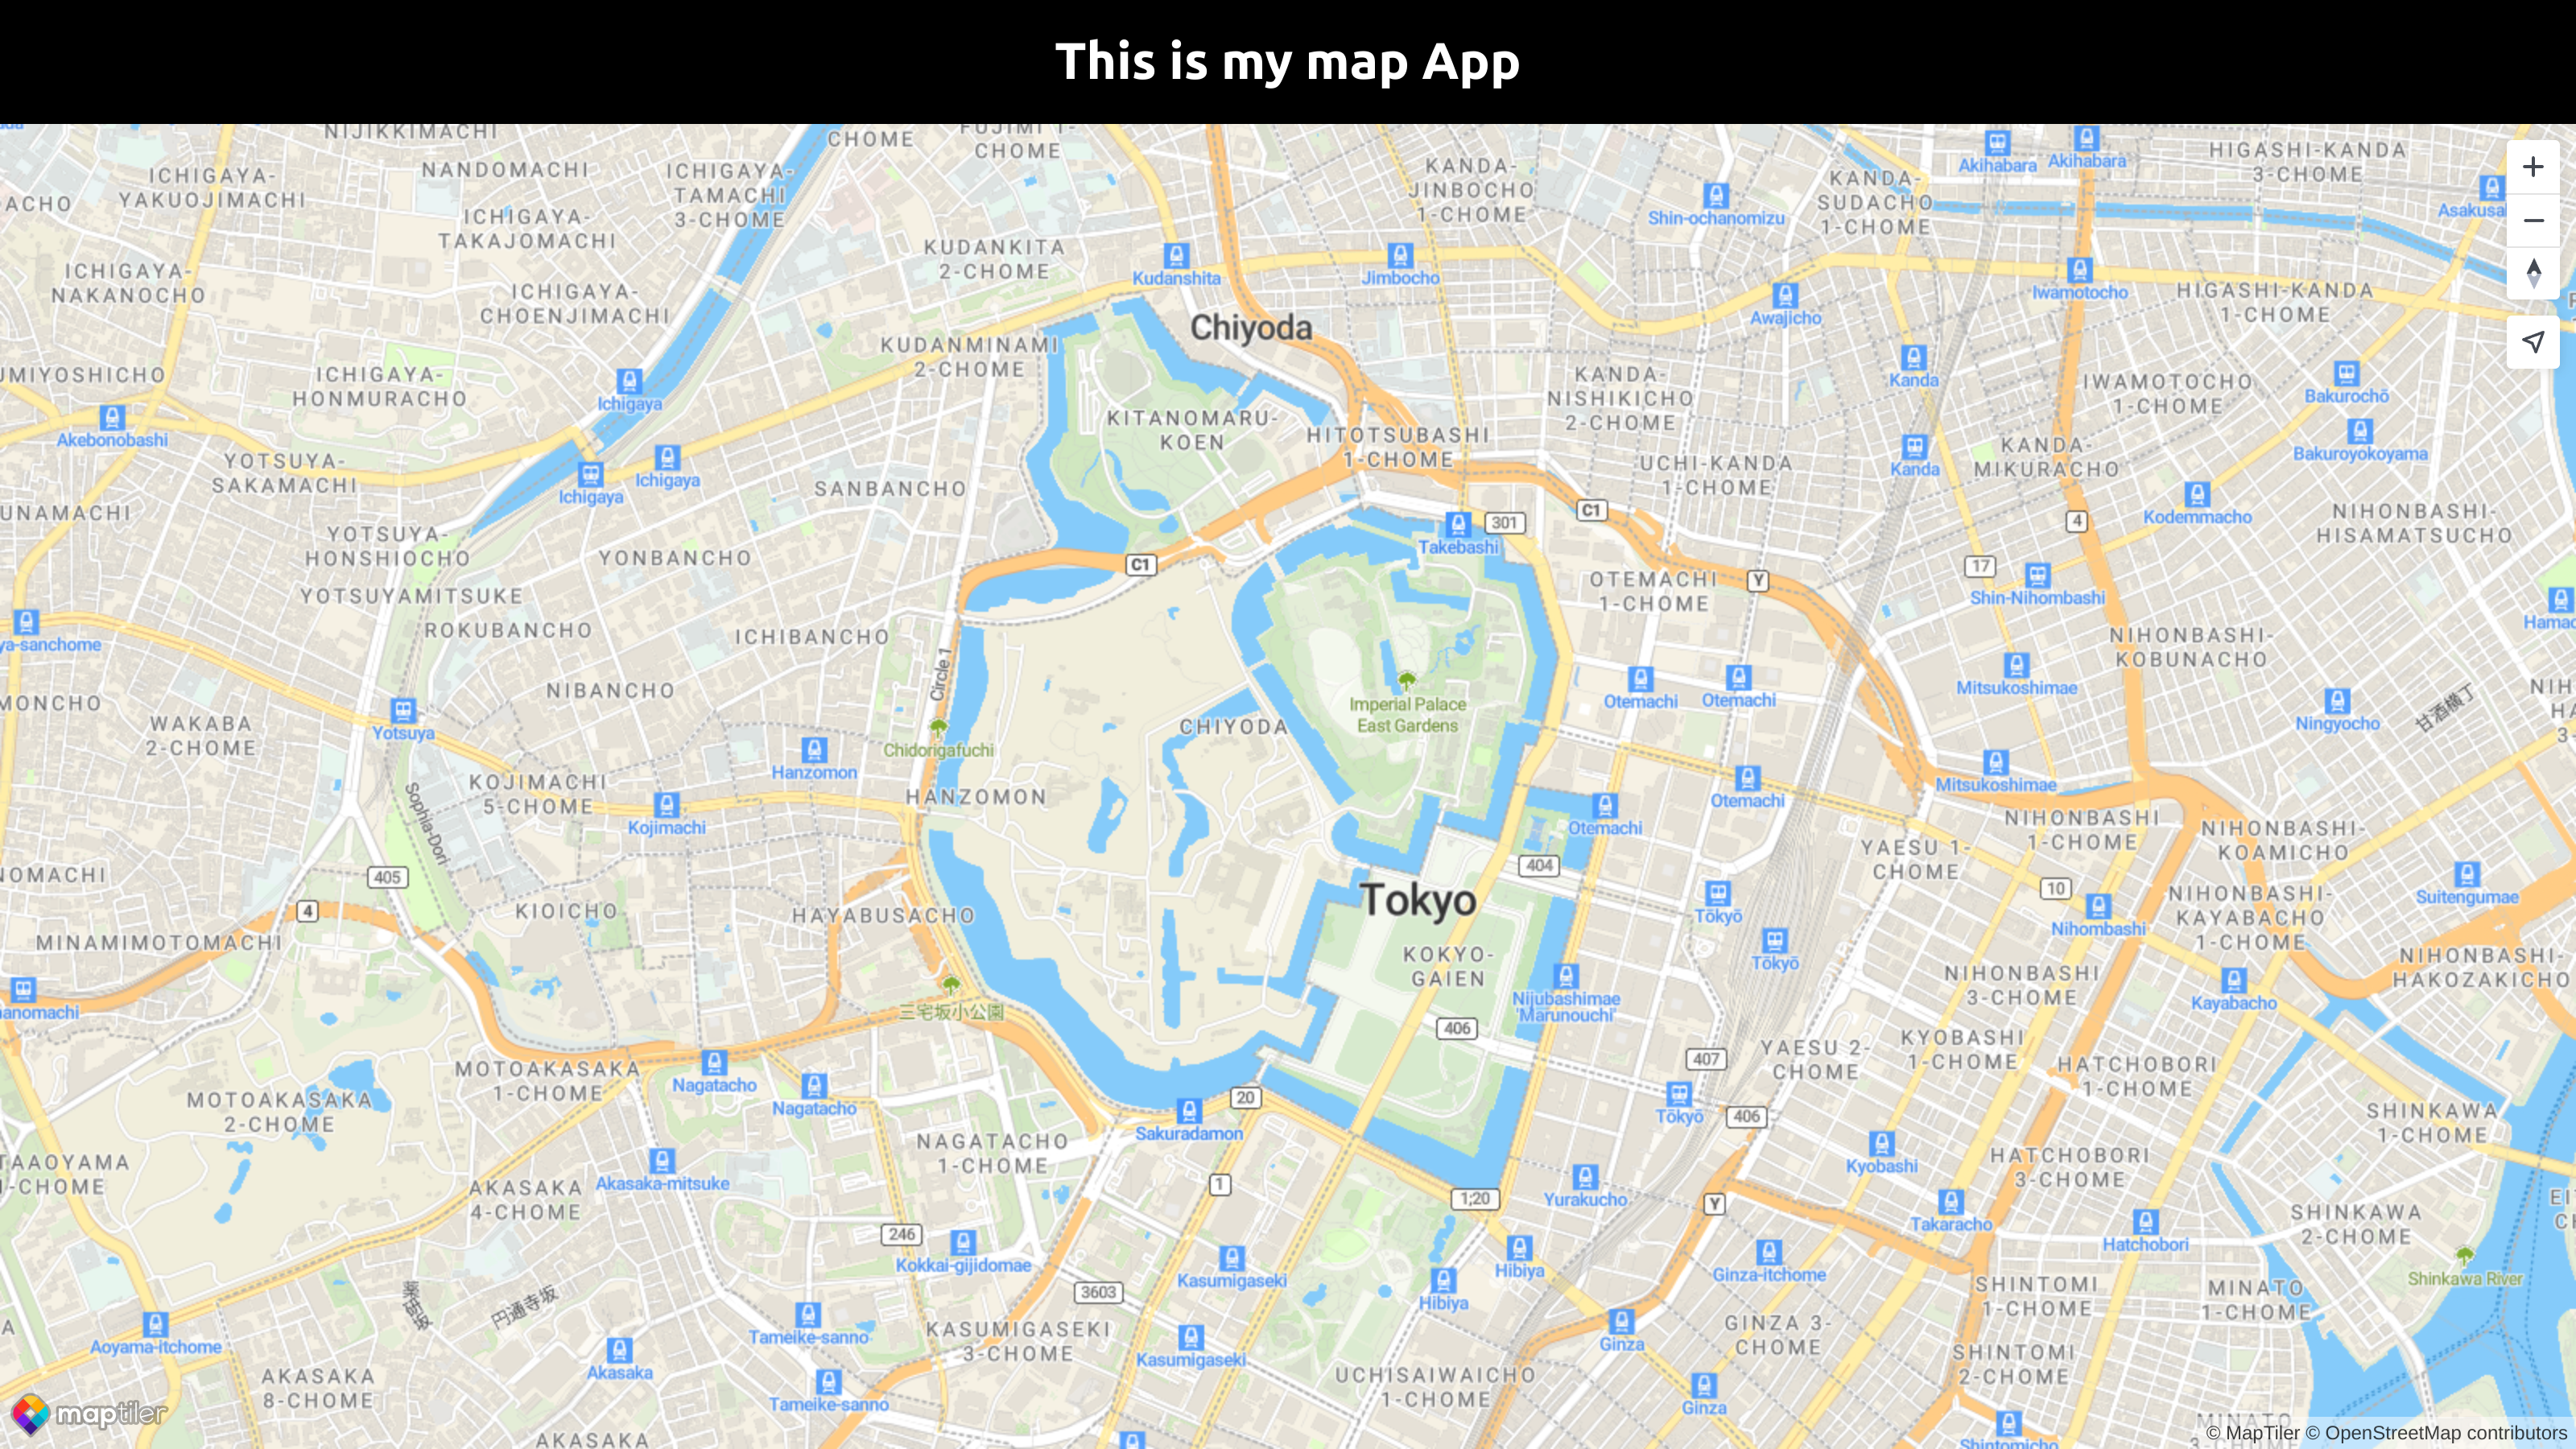
Your App.vue file should look like this:
Map marker
Another basic thing to add to your map could be a marker of some location.
Add the Marker next to the Map object import from MapTiler SDK in the Map.vue file.
In the following line where we declare the map, we add these lines:
We create a new marker using the .marker function. We added the color option to make it red, then set Lng/Lat of the marker using .setLngLat() function, and finally added it to the current map using .addTo() function.
We are finished with our basic map objects, your Map.vue file should look like this:
Once the application is finished, you can export the project for production.
npm run build
Conclusion
Congratulations! You have finished your simple full-screen map app using Vue.js, showing Tokyo with a marker on Tokyo Imperial Palace. You can explore more about MapTiler SDK JS for your map in the MapTiler SDK JS API reference.
With MapTiler SDK JS, Vue.js developers can create stunning visualizations and data-driven maps that are responsive and efficient. It also provides support for advanced features like WebGL rendering, 3D maps, and animations.
Useful links
Learn more
Check the more than 100 MapTiler SDK JS examples that we have prepared so that you can see the limitless possibilities of MapTiler SDK JS and unlock the full potential of your Vue.js applications. It offers easy terrain, built-in styles, language switching, geocoding, TypeScript power, optional IP geolocation, etc.
Get started with Vue.js and MapLibre GL JS
If you’re looking to develop Vue.js applications with MapLibre GL JS, you have two options. First, you can make use of the vue-maplibre-gl library, which provides an easy and convenient way to integrate MapLibre GL JS into your Vue.js projects. Alternatively, you can choose to develop your custom component from scratch. To get started, be sure to check out our tutorial titled Get Started with Vue.js and MapLibre GL JS. This tutorial will provide you with the necessary guidance and examples to kickstart your Vue.js and MapLibre GL JS development journey.