How to create a virtual tileset
A virtual tileset makes it possible to blend drone, aerial, and satellite imagery into a seamless color-toned mosaic. For example, you can combine MapTiler low-res satellite data with your own hi-res drone imagery to get a map with global context and local detail where needed. Also, you can combine vector datasets from multiple sources to get one complete tileset with all the data. Virtual tilesets are easy to deploy and maintain, allowing you to adjust your map data sources without re-processing them.
MapTiler Server has an in-built Virtual Tileset Editor to create virtual tilesets out of your existing self-hosted tilesets. You select two or more tilesets, match their colors, and combine them into a virtual tileset. Then you can use it just like a regular tileset.
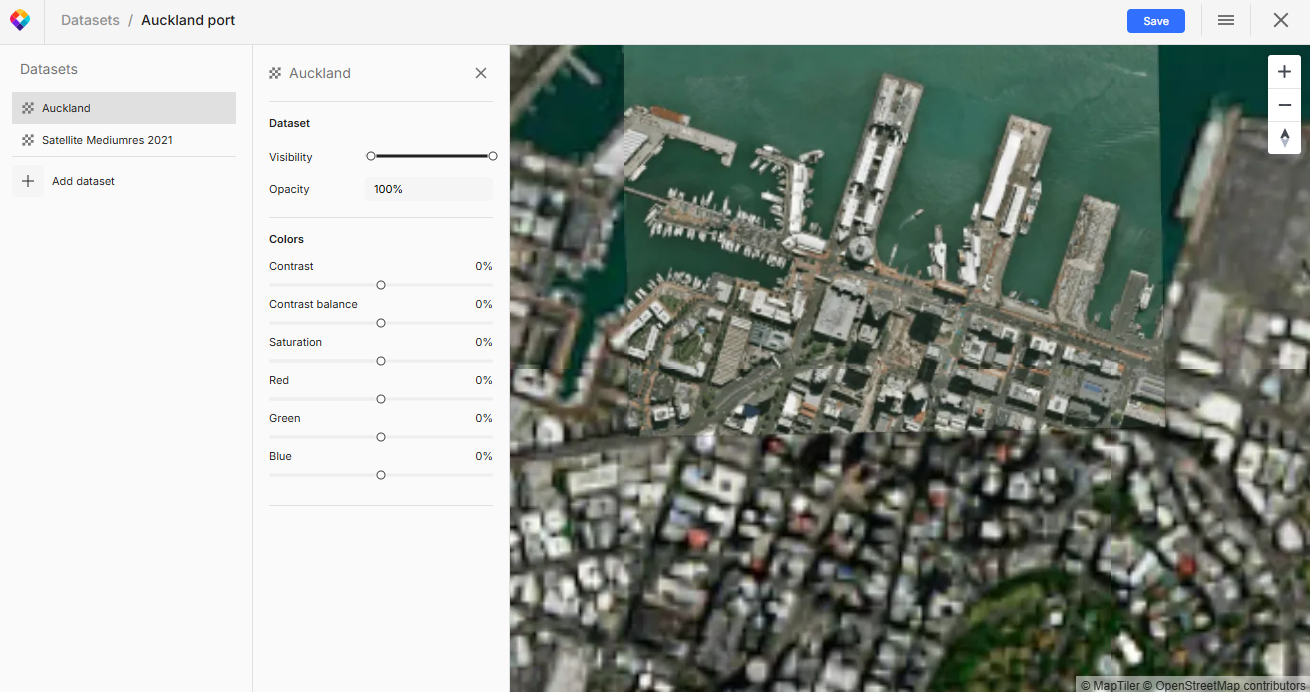
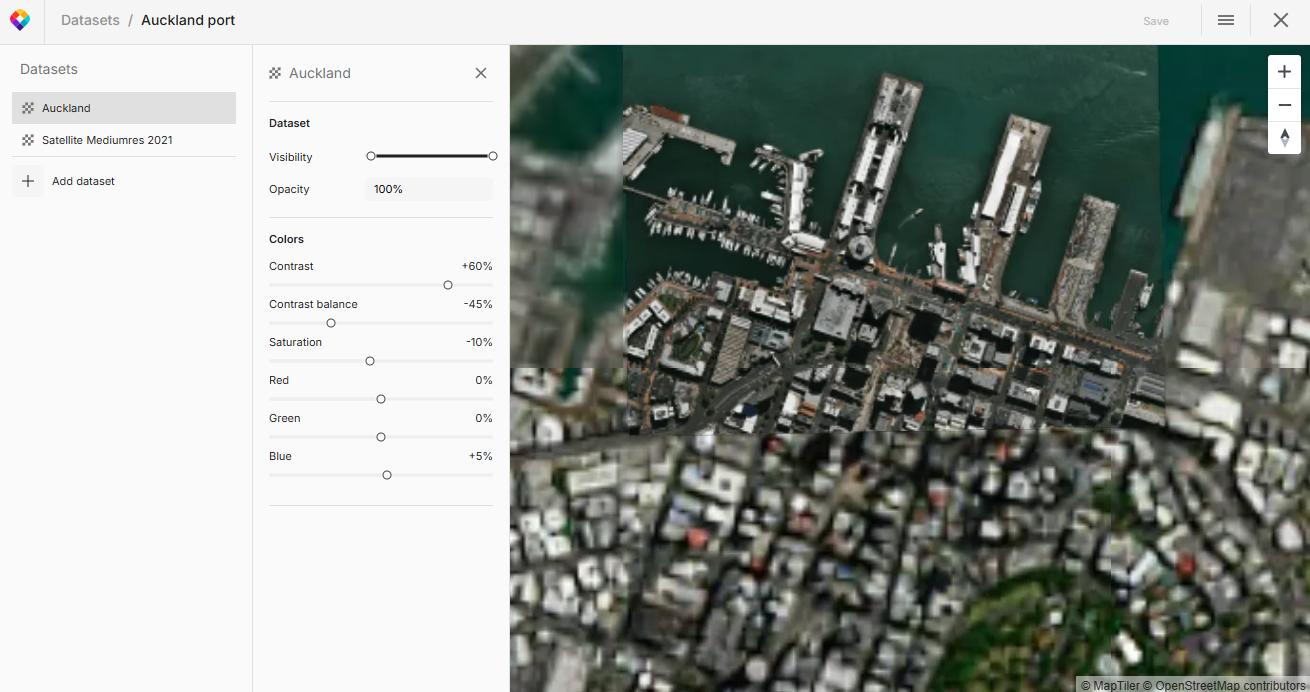
A drone image over medium-res satellite, before and after color-toning.
Technically, a virtual tileset is a JSON-based configuration file, so it doesn’t contain any map data. Instead, it tells MapTiler Server which physical tilesets to combine and how to render them into a single map layer.
Before you start
- MapTiler Server must be installed and running.
- The datasets you want to combine must be hosted in MapTiler Server:
Create a virtual tileset
-
In the MapTiler Server admin interface, go to Datasets.
-
Click New dataset, then click Create virtual tileset.
-
Select the first dataset you want to use. Click Add.
-
In the editor, click Add dataset again to select another dataset to combine with the first. Datasets of incompatible type are marked in red and you cannot add them.
-
The left panel of the editor shows the datasets added. Drag them to arrange their vertical order.
Layers on top cover the layers below, so make sure smaller datasets are above the base layer to keep them visible. This also applies to vector tilesets (vector data layers are not transparent).
If the initial view shows a blank page, you’re probably in a part of your dataset that doesn’t contain any data. Zoom and pan until you see where you are. It also helps to hide other layers using the little eye icon.
Note that each layer might be visible on different zoom levels (see Visibility to check).
-
Select a dataset in the left panel and adjust its properties:
- Visibility and opacity on different zoom levels. Using zoom range styling in the advanced settings, you can add breakpoints and define opacity for specific zoom levels to create effects such as gradually appearing overlay when zooming in.
- Color toning: To blend raster datasets, modify their contrast and bias, saturation, and color balance as needed. For more help, hover over any control to see its tooltip.
- Masking: For vector datasets that contain a mask property, turning on the mask hides all data in the masked area. You can then use another dataset to “fill in” that area.
-
Save your work and close the editor. The new virtual tileset is listed on the Datasets page.
Next steps
You can use a virtual tileset in the exact same ways as a standard, non-virtual tileset:
- A raster virtual tileset is essentially a complete map, so you can serve it directly via the local Tiles API.
- A vector virtual tileset is “raw”, so you’ll typically want to combine it with a raster base layer to create a map. To do so, open the preview of your virtual tileset and click Add to map. You can then serve your new map via the Maps API.
- You can also use any virtual tileset to build a full self-hosted map application. See our code examples for inspiration.