Custom Annotations - Kotlin SDK
MapTiler SDK Kotlin is a native toolkit for building mobile maps on Android with Kotlin. It integrates with MapTiler Cloud to deliver vector tiles, styles, data overlays, and a complete mobile mapping experience.
In this guide you’ll learn how to add custom annotations to the map, display them, and interact. If you haven’t already, follow the Getting Started instructions in the Kotlin repo to set up your project and initialize the map.
There are few ways to annotate the map:
- MTMarker: colored or icon markers at a coordinate.
- MTTextPopup: lightweight text popups with optional offset.
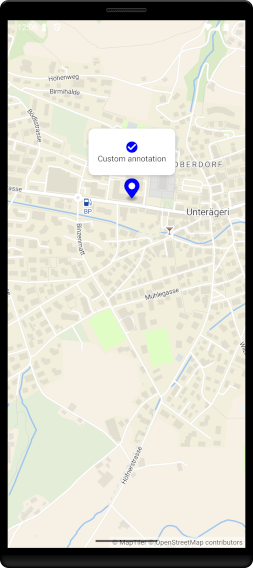
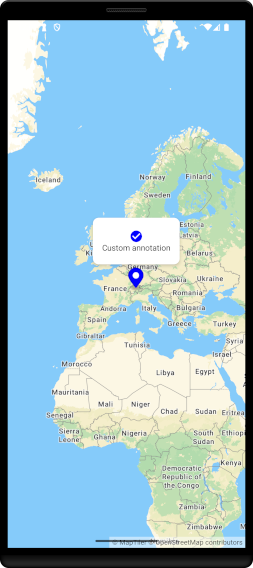
- MTCustomAnnotationView (Compose): custom UI composable anchored to a coordinate.
- MTCustomAnnotationViewClassic (XML/Views): classic View container anchored to a coordinate.


MTCustomAnnotationView
- Compose:
MTCustomAnnotationView(controller, coordinates, offset, anchor) { ... }renders any composable at a projected map position and automatically repositions on map movement. - Classic Views:
MTCustomAnnotationViewClassic(context, widthPx, heightPx, coordinates, offset)is a FrameLayout you populate with your own child Views and add toMTMapViewClassic. It keeps position in sync with the map.
Compose
Put MTMapView and MTCustomAnnotationView in the same Box so the overlay positions correctly:
@Composable
fun MyMapWithCustomAnnotation() {
    val controller = remember { MTMapViewController(context = /* your context */) }
    val coord = LngLat(8.581651, 47.137765)

    Box(Modifier) {
        MTMapView(
            referenceStyle = MTMapReferenceStyle.STREETS,
            options = MTMapOptions(),
            controller = controller,
            modifier = Modifier.matchParentSize()
        )

        MTCustomAnnotationView(
            controller = controller,
            coordinates = coord,
            offset = MTPoint(0.0, -20.0),
            anchor = Alignment.BottomCenter
        ) {
            // Your composable content…
            Text("Custom annotation", color = Color.Black)
        }
    }
}
XML Views
Inflate your layout into the custom annotation container for easier styling:
<!-- res/layout/custom_annotation.xml -->
<FrameLayout xmlns:android="http://schemas.android.com/apk/res/android"
  android:layout_width="200dp"
  android:layout_height="80dp"
  android:background="@drawable/rounded_bg">
  <TextView
    android:id="@+id/title"
    android:layout_width="match_parent"
    android:layout_height="wrap_content"
    android:layout_gravity="center_horizontal|bottom"
    android:gravity="center"
    android:text="Custom annotation" />
</FrameLayout>
Add the custom annotation view to the map inside your activity:
fun addClassicCustomAnnotationFromXml() {
  val coord = LngLat(8.581651, 47.137765)
  val custom = MTCustomAnnotationViewClassic(
    context = this,
    widthPx = 200,
    heightPx = 80,
    initialCoordinates = coord,
    initialOffset = MTPoint(0.0, -20.0)
  )

  LayoutInflater.from(this).inflate(R.layout.custom_annotation, custom, true)
  custom.findViewById<ImageButton>(R.id.close)?.setOnClickListener { custom.remove() }

  custom.addTo(mapView, controller)
}
Notes and Tips
- Offsets:
MTPoint(x, y)uses pixels relative to the projected point (x right, y down). Use anchor to align content (Alignment.BottomCenter works well for callouts). - Sizing: Classic variant requires explicit
widthPx/heightPx. Compose measures content automatically. - Lifecycle: Classic
remove()detaches the overlay. Compose overlays clean up automatically with composable lifecycle.
Learn more
To learn about more advanced functionalities of the SDK, refer to the API reference.
In addition to the documentation take a look at the plug and play examples provided in the SDK GitHub repository, as well as pre-made demo app: