Map in React js with popup and sidebar
Maps in React series
In this series, we will learn how to create a map app in React with popups, a visualization switcher, geocoding control, 3D terrain, and a sidebar.
- Episode 0: Map in React JS with Material UI
- Episode 1: Map in React JS point data from geojson data
- Episode 2: Map in React JS create a heatmap
- Episode 3: Map in React js with popup and sidebar
- Episode 4: Map in React js with geocoding control
- Episode 5: 3D Map in React js with geocoding control
This example is the Episode 3 of the Maps in React series. In this step-by-step tutorial, you’ll learn how to create a map with a sidebar and popup in your React JS map using the MapTiler SDK JS.
In this example, I’ll focus on creating popups and a sidebar.
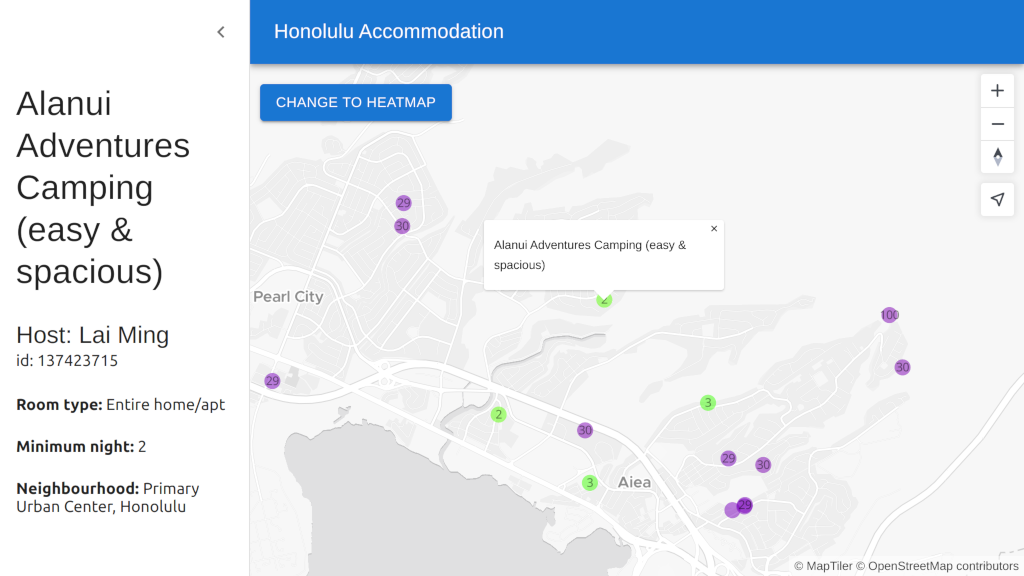
By the end of this tutorial, you will be able to create a popup and a sidebar. With your newfound knowledge, you will be able to create visually stunning maps with React + MapTiler SDK. Take a look at the final output of this tutorial below:
Click on a point to see its information in the sidebar
When you want to show info in a pop-up, the best place to start is to check which attributes your data has. You can do that simply by looking at the json of your data, or you can open the data in the vector data editor and look at the type of each attribute.
-
This tutorial builds on Map in React JS create a heatmap code. (That tutorial shows how to create a heatmap and a layer switcher).
-
In the
src/components/Map/map.jsxcomponent, create a newuseEffect, with amap.onfunction. This function will react to clicks en the pointLayer. -
Let’s create a new Popup. It will take coordinates from the clicked feature and the description from the feature property name.
-
Now we can see the name of the accommodation. You can add more information to the popup, but having them in the sidebar will give us more space for all the details.

-
Let’s create a new sidebar component to put all the information in it!
-
Create a new folder called
Sidebarinside thecomponentsfolder. -
Create a new file called
sidebar.jsxinside theSidebarfolder. We will use the Material UI persistent drawer. Write the following lines in thesidebar.jsx: -
Import the sidebar to the Map component. We want to pass props from the map component to the sidebar. It is easier if props are passed just down from the map to the sidebar. If you prefer to merge the map navbar and sidebar in
App.jsx, you can, but your code would be a bit less straightforward because you would need to use theuseContexthook. -
Render the Sidebar. Update the
Mapreturn function. -
Just passing sidebar to the map component wouldnt work. This will not work at first because the example sidebar includes a navbar and text field. Let’s modify the
sidebar.jsxfile to work with our map. -
First, remove the navbar part. That is the
AppBarcomponent. -
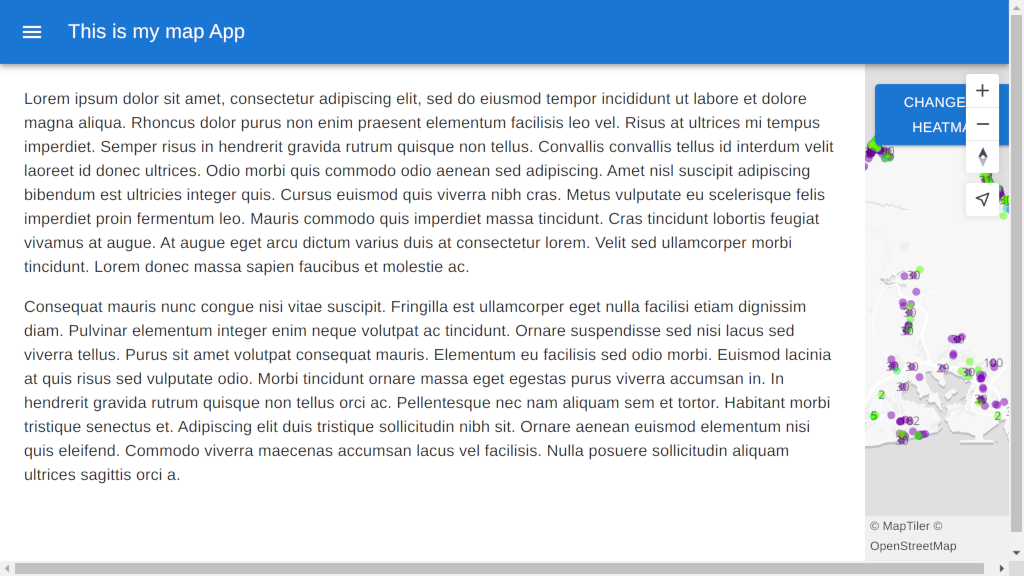
Let’s check out map now, the navbar is gone, but sidebar is still not working.

-
Let’s remove everything that’s not necessary from our
Sidebarcomponent. We’re only interested in theDrawerwith its header and theList. Replace all the code in the sidebar.jsx file with this: -
Change the name of my map in the navbar. Open the
/src/components/Navbar/navbar.jsxand change this line -
We decided that the sidebar would just overlay my map, and We would reposition the visualization switch button. Create a
Maincomponent. To avoid unnecessary tile rerendering, it’s better if the sidebar just overlays the map. -
Render the
Maincomponent and move the button inside it. Change the button top to 84. -
Add some style to the
Maincomponent. Add these lines to themap.cssfile. -
Change the
.containerposition to absolute. -
Add the handlers to the Nabvar and Sidebar components to open and close the Sidebar. Update the Map component.
-
Create a new states
isOpenandclickedItem. We want the sidebar to be closed on map load. So the initial state should be false. -
Get the clicked feature on the map and store it in the
clickedItemstate. We will also open the sidebar. -
Update the sidebar to show the information of the selected feature. Update the
sidebar.jsxfile. -
Congratulations! You have created a map with a sidebar to show the information of the selected item on the map.

Full code to download
We have created a repository with the result of this tutorial that will serve as a basis to build future applications. You can access the repository at Maps in React.
Next episode
Continue to Episode 4: Map in React js with geocoding control to learn how to create a map with a geocoding control in your React JS map using the MapTiler SDK JS.
