How to display MapLibre GL JS map using React JS
In this step-by-step tutorial, you’ll learn how to create a React JS component to render a map using MapLibre GL JS. Together we will make a simple full-screen map application, serving as a practical example of how to seamlessly integrate MapTiler maps with MapLibre GL JS into your own React app.
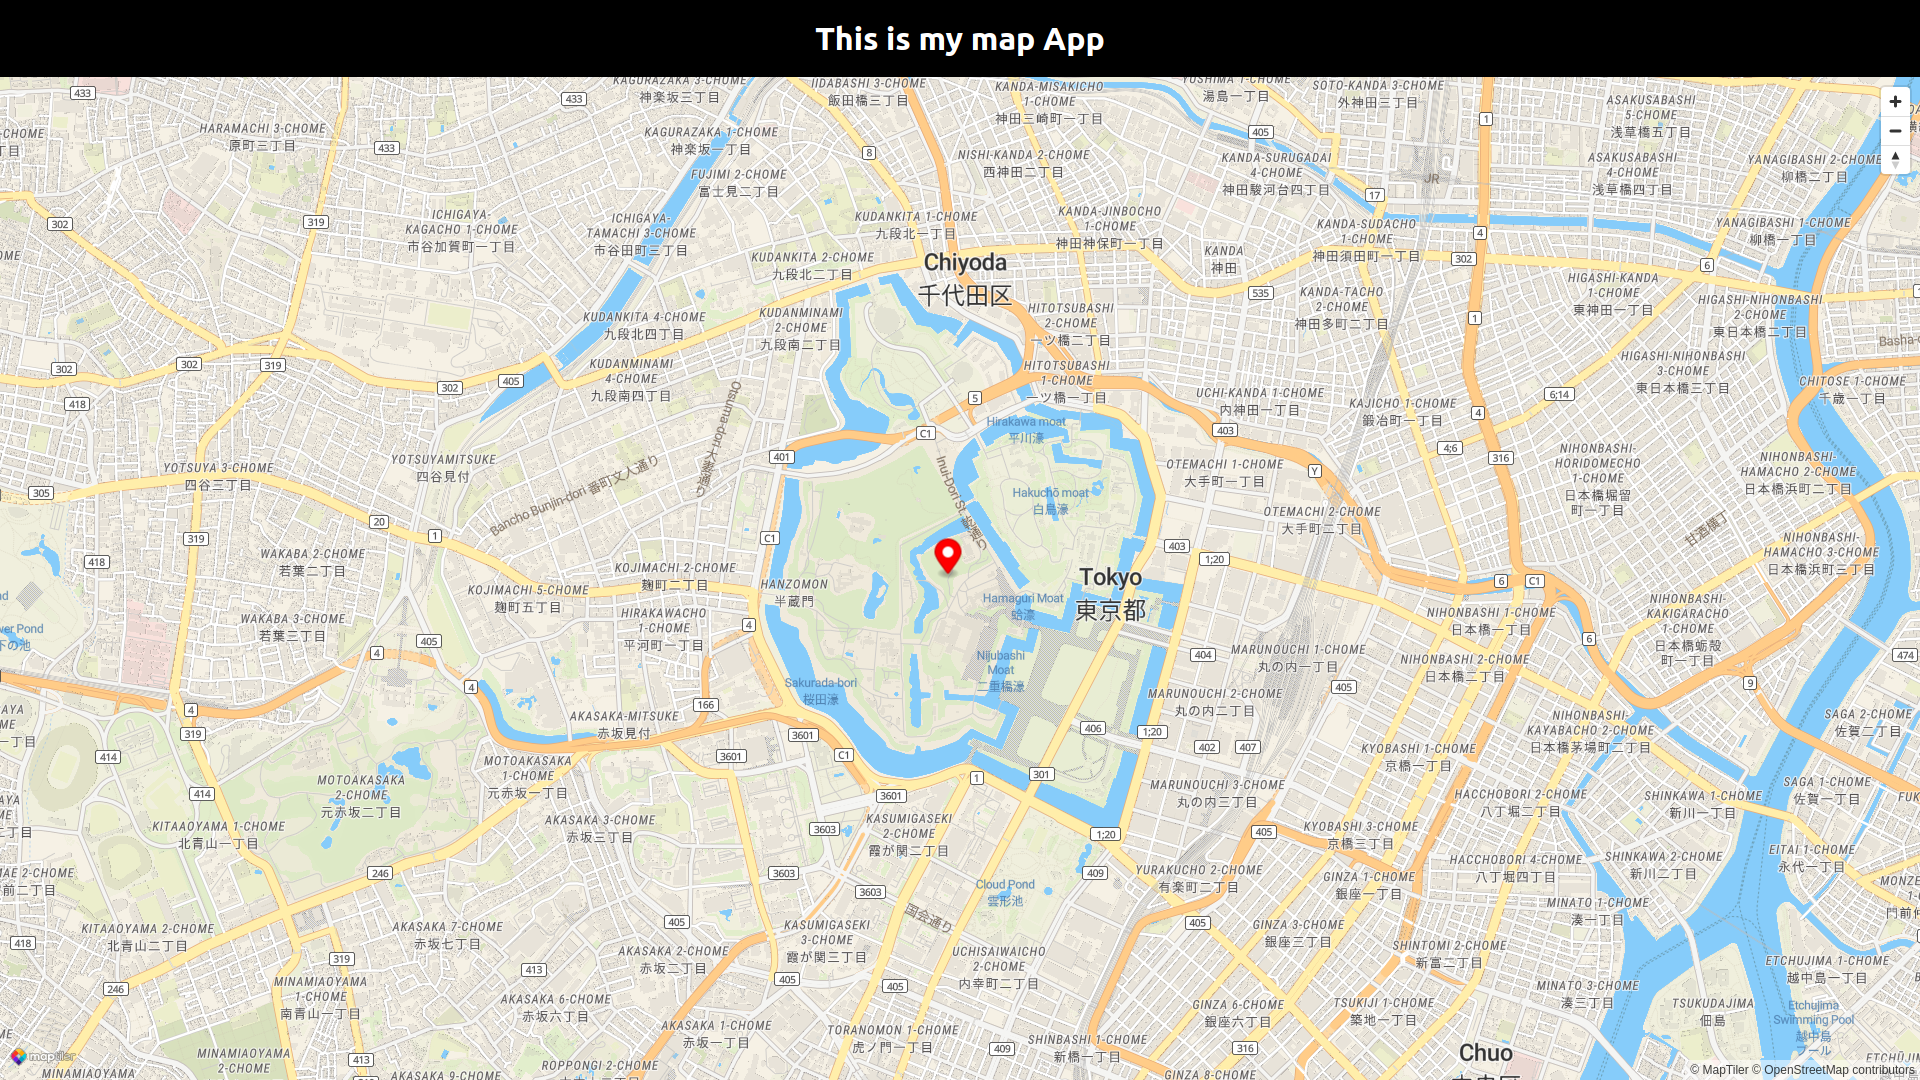
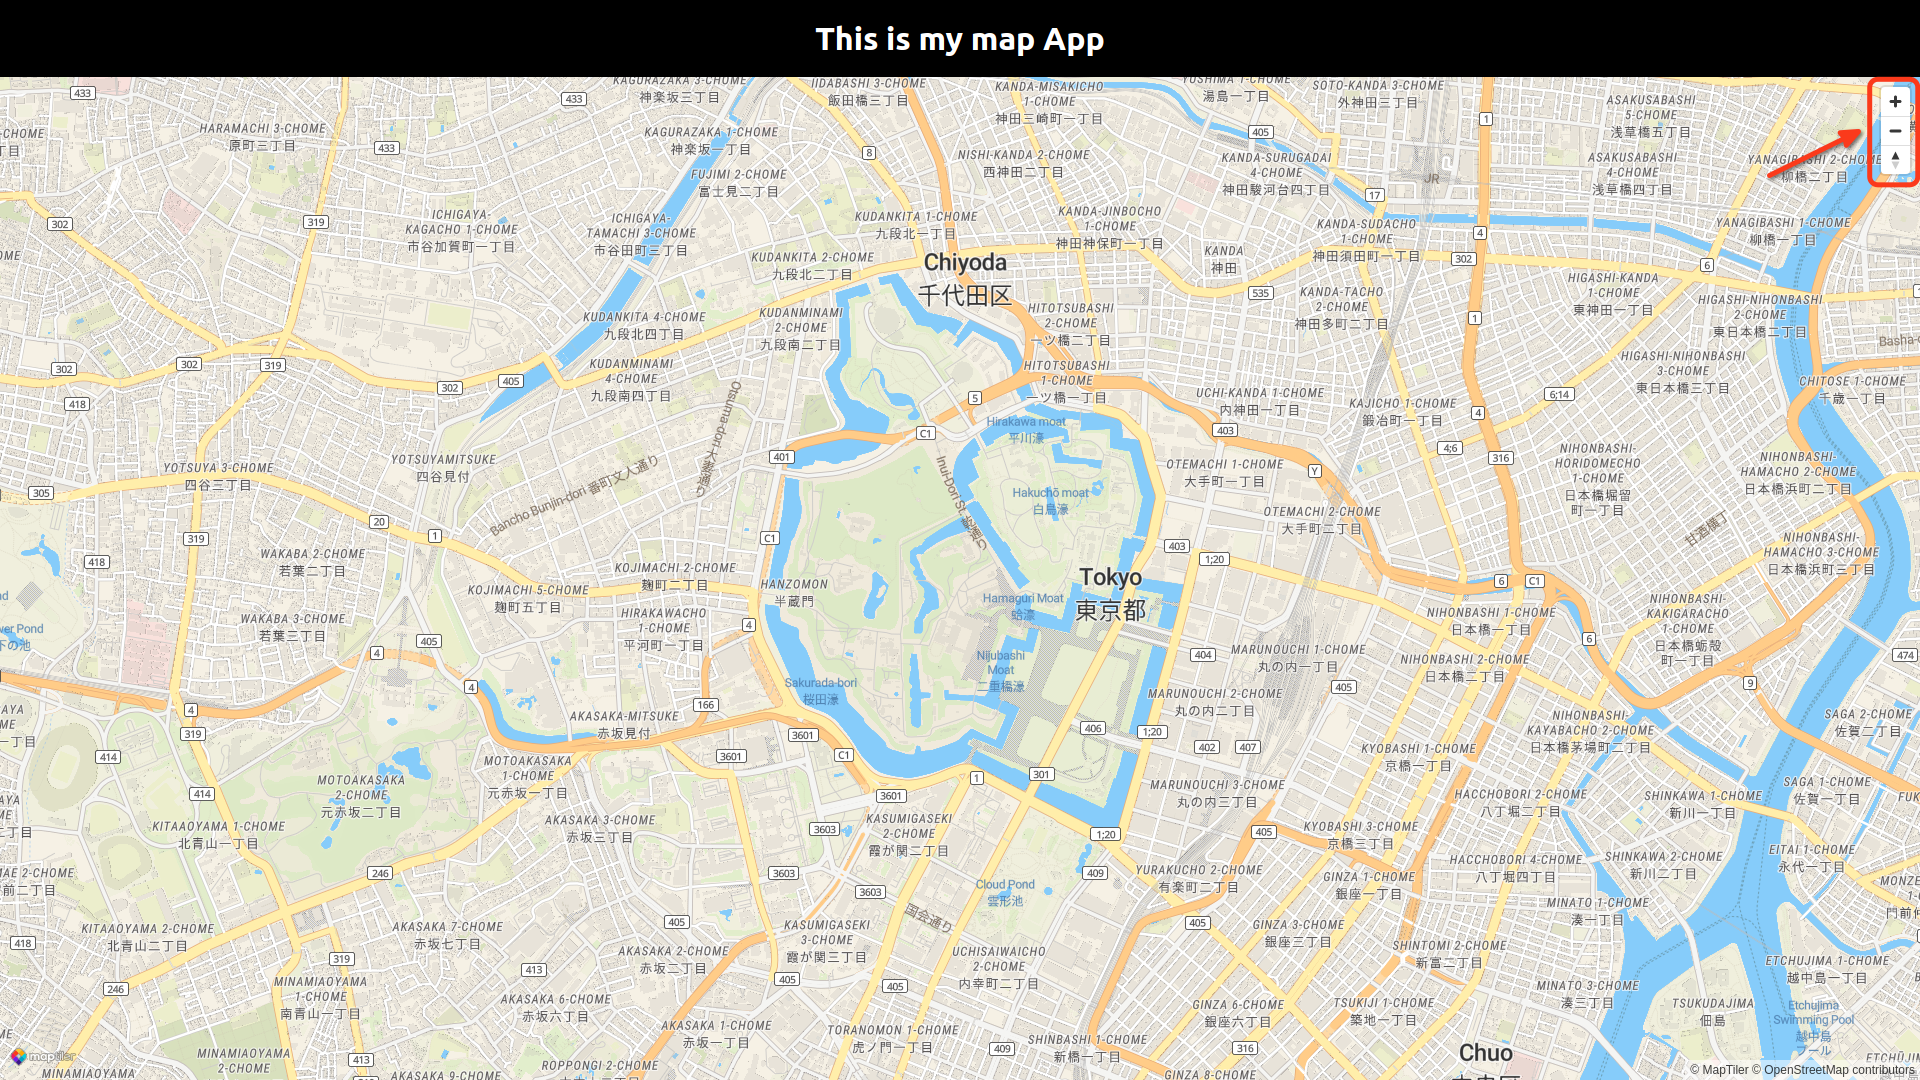
By the end of this tutorial, you will be able to create a full-screen map with a marker placed at a specified location. Your final map will look like this:
Getting started
Minimal requirements for completing this tutorial.
-
Basic React JS knowledge. You don’t need a lot of experience using React for this tutorial, but you should be familiar with basic concepts and workflow.
-
MapTiler API key. Your MapTiler account access key is on your MapTiler Cloud account page or Get API key for FREE.
-
MapLibre GL JS. JavaScript library for building web maps. In this tutorial, you will learn how to install it.
-
Node.js and npm. Necessary to run your React app locally. Node.js
Create an app
In this step, we are going to learn how to create a React app.
To create a new react project run in your command-line:
npx create-react-app my-react-map
create-react-app will create a simple one-page application in React. For more information follow Create React app.
Navigate to the newly created project folder my-react-map
cd my-react-map
Inside the newly created project, you can run npm start to start your local environment. You will find your app running on address http://localhost:3000/.
Now you should see the app in your browser.
Installation and setting up
To install MapLibre GL library, navigate to your project folder and run the command:
npm i maplibre-gl
Navigate to the src folder and replace all the contents of the App.css file with the following lines:
body {
  margin: 0;
  padding: 0;
  font-family:
    -apple-system, BlinkMacSystemFont, "Segoe UI", "Roboto", "Oxygen", "Ubuntu",
    "Cantarell", "Fira Sans", "Droid Sans", "Helvetica Neue", sans-serif;
  -webkit-font-smoothing: antialiased;
  -moz-osx-font-smoothing: grayscale;
}

code {
  font-family:
    source-code-pro, Menlo, Monaco, Consolas, "Courier New", monospace;
}
Replace all the contents of the App.js file with the following lines:
import "./App.css";

function App() {
  return <div className="App">This is my map App</div>;
}

export default App;
Now you should see “This is my map App“ in your browser.
Create a navbar component
In this step, we will create a simple heading navbar component.
Create a new folder called components inside the src folder.
Create a new file called navbar.js inside the components folder and write these lines:
import React from "react";
import "./navbar.css";

export default function Navbar() {
  return (
    <div className="heading">
      <h1>This is my map App</h1>
    </div>
  );
}
Create a new file called navbar.css inside the components folder and write these lines:
.heading {
  margin: 0;
  padding: 0px;
  background-color: black;
  color: white;
  text-align: center;
}

.heading > h1 {
  padding: 20px;
  margin: 0;
}
Finally, to display the Navbar we need to import the Navbar component and add it to our main component App.js.
Import the navbar component into App.js write the following line at the beginning of the file
import Navbar from "./components/navbar.js";
Replace the text This is my map App with <Navbar />. Your App.js file should look like this:
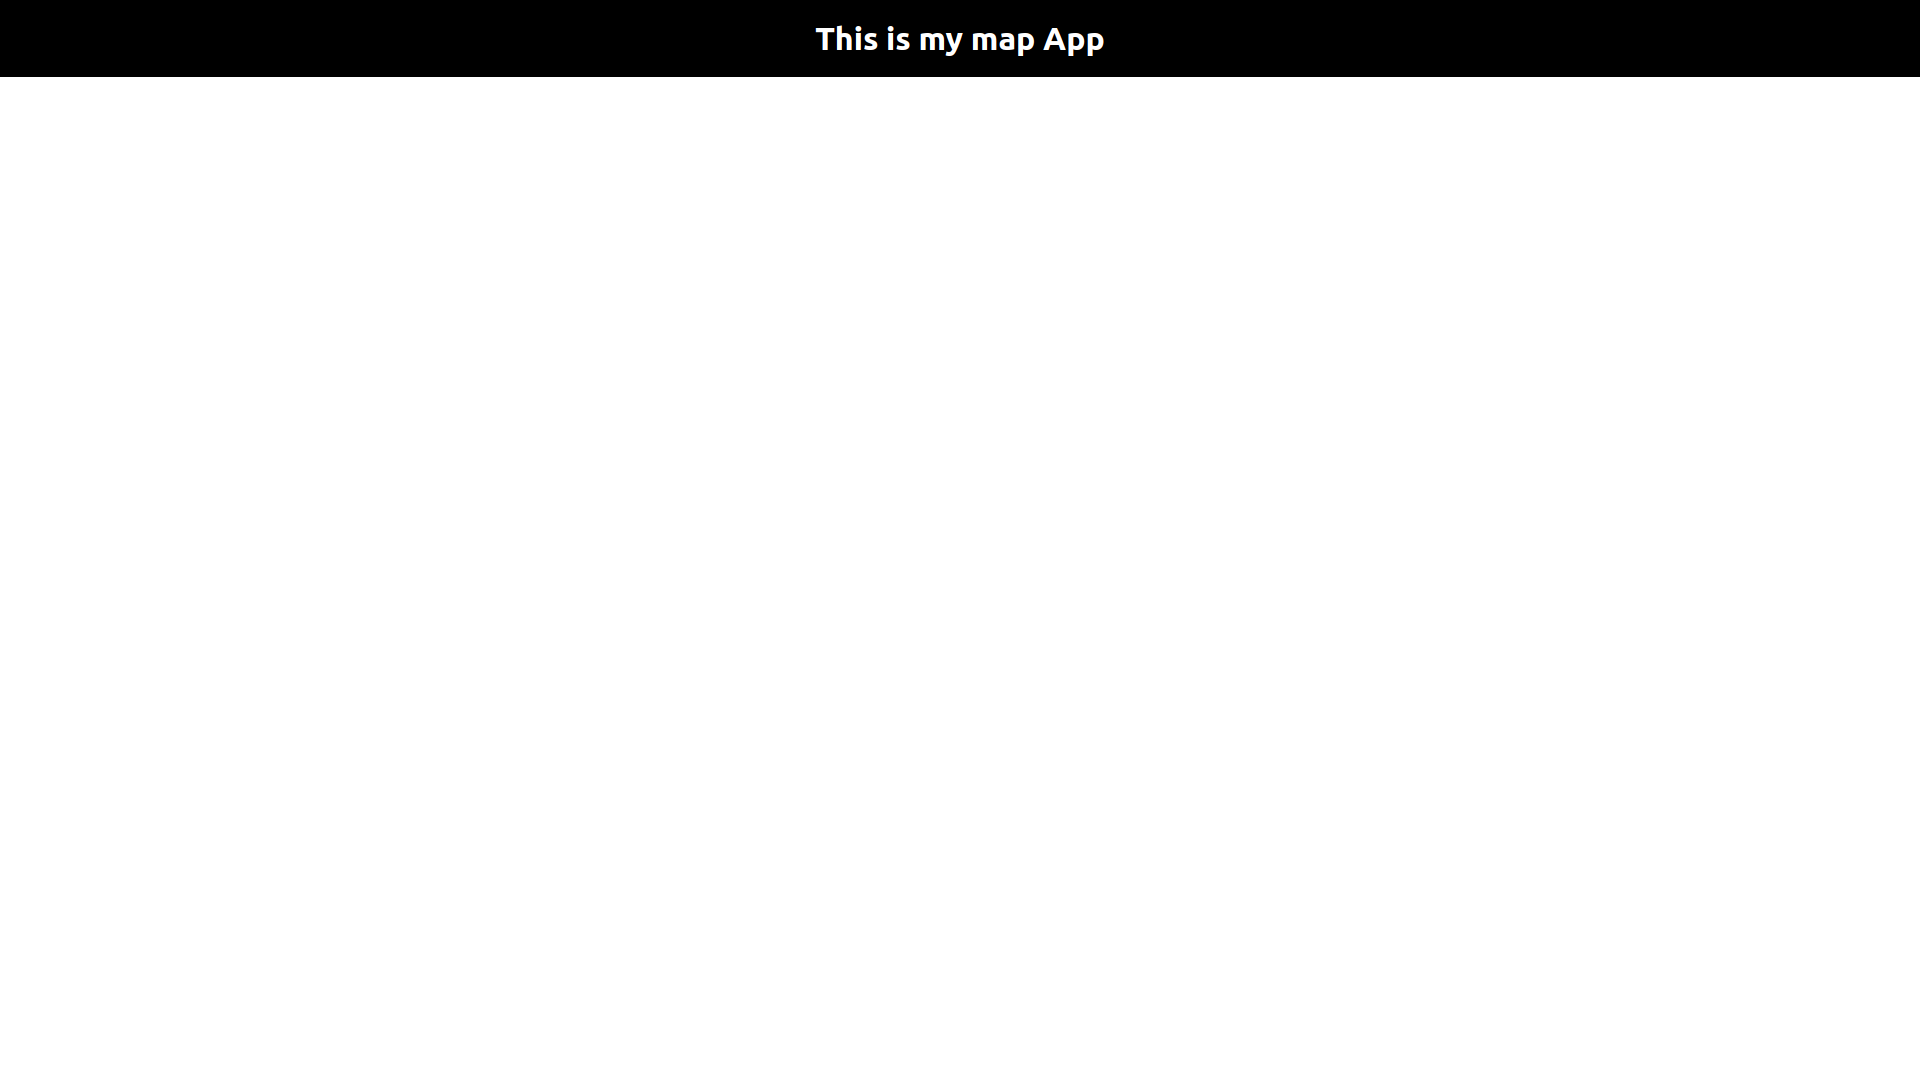
Now you should see the black navbar at the top of your browser.
Create a map component
In this step, we will create a simple map component.
Create a new file called map.js inside the components folder.
First, we’ll import MapLibre GL and the required React functions. Add these lines on top of map.js file.
Now we will create a function as our map component.
And set up your map’s default state.
The state stores the map object, its container. Longitude, latitude, and zoom for the map will all change as your user interacts with the map.
Replace YOUR_MAPTILER_API_KEY_HERE with your own API key. Make sure to protect the key before you publish it!
In the next step, we will initialize the map in the Map() function.
This code will be right after the component is inserted into the DOM tree. We initialize the map using React effect hook and we also set up some basic options of the map:
-
The
containeroption sets the DOM element in which will the map be rendered. We will assign therefour component expects to an HTML element, which will act as a container, later in this tutorial. -
The
styleoption defines what style is the map going to use. -
The
centerandzoomoptions set the starting position of the map.
Now, we will add the return statement to your Map() function. Add the following code to your component above the closing curly brace of Map():
The ref={mapContainer} specifies that App should be drawn to the HTML page in the <div> element.
We are finished with our basic map component, your map.js file should look like this:
Now we will need simple styling to render the map correctly. Create a file named map.css in components folder for the map component style and write the following code to your map.css file:
.map-wrap {
  position: relative;
  width: 100%;
  height: calc(
    100vh - 77px
  ); /* calculate height of the screen minus the heading */
}

.map {
  position: absolute;
  width: 100%;
  height: 100%;
}
We use position: absolute on the map itself and position: relative on the wrap around the map for more possibilities in future styling.
Render a map
Now we will import the map component into your app, add the following line to the top of the App.js.
import Map from "./components/map.js";
And then, add the imported <Map/> component in your App() function. Your App.js file should then look like this:
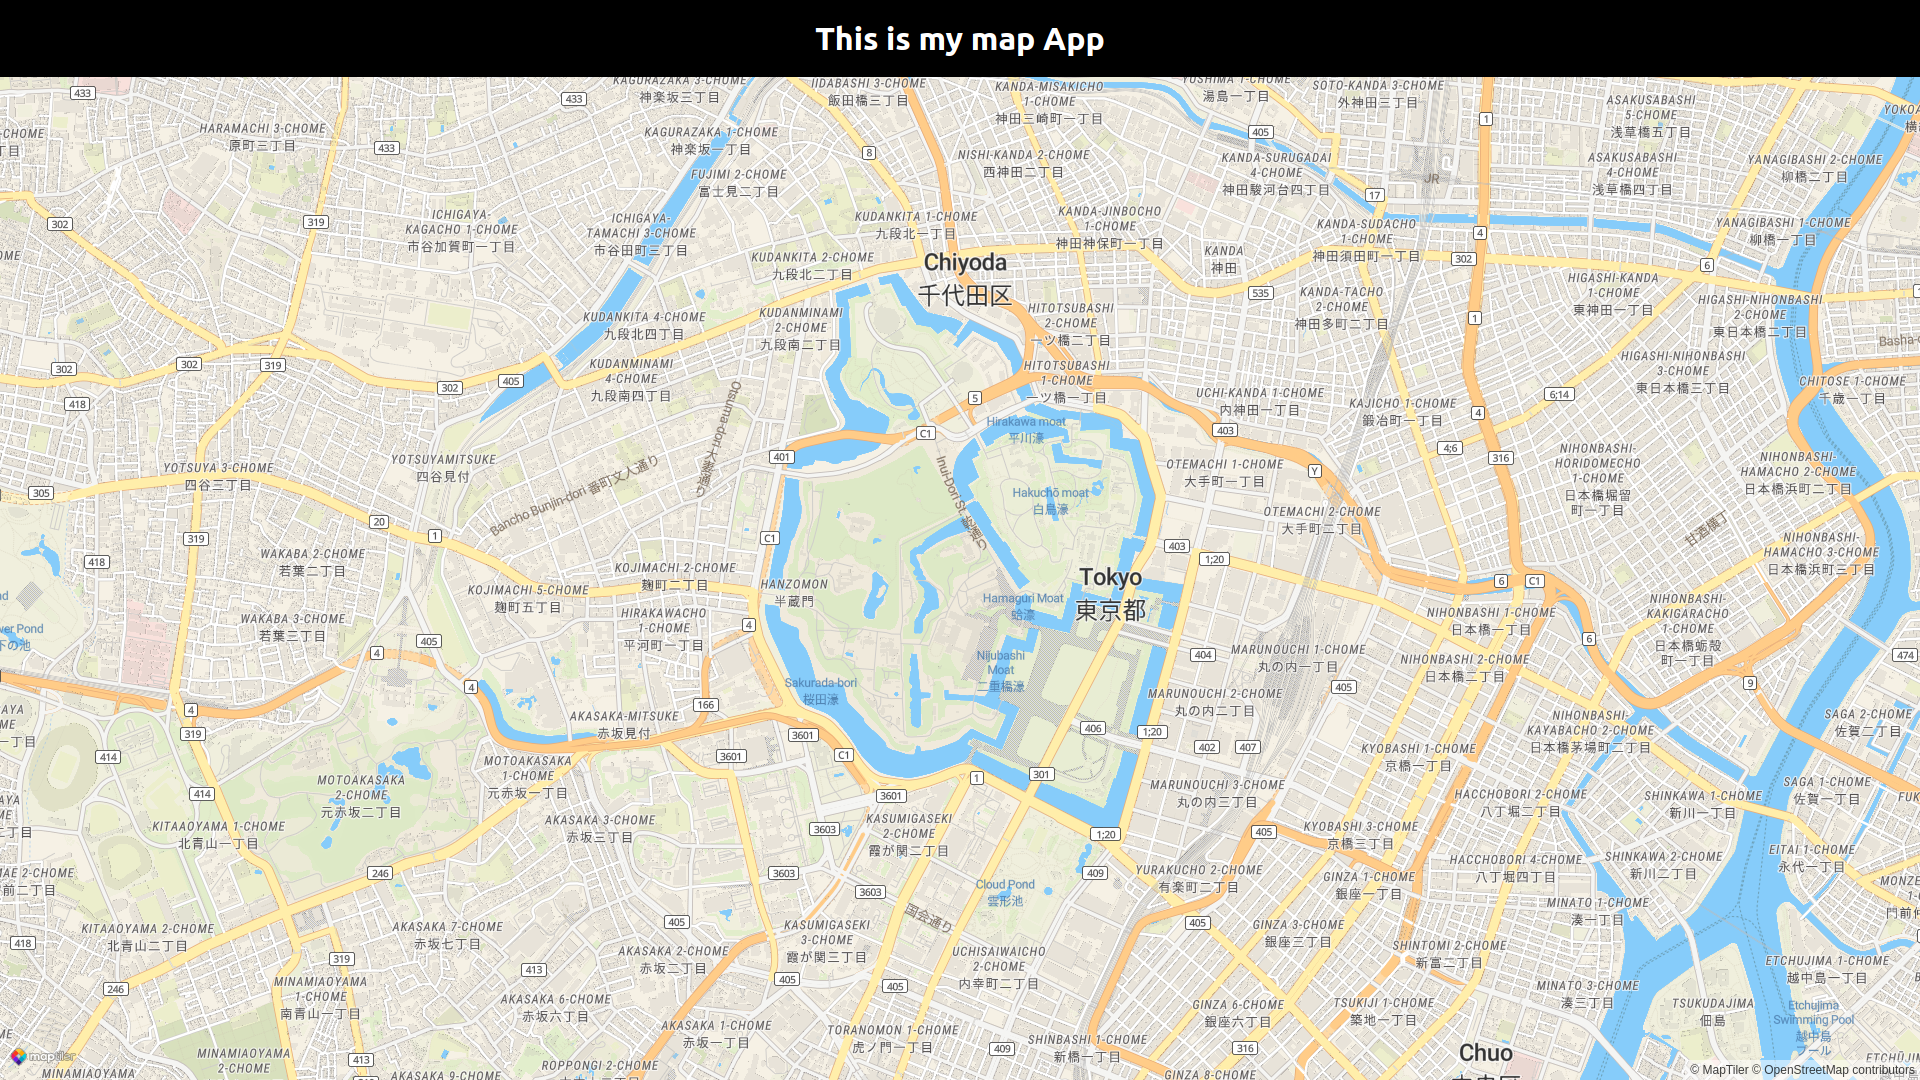
With everything done up until now, you should be able to see your beautiful map in your browser.
Basic additional options
The last topic of this tutorial will be adding basic objects to your map. For more detailed information you can visit the MapLibre documentation.
Map Controls
We will navigate back to our map.js file and add map navigation controls to our map.
On line 21 (just after the initialization of the map) of the map.js file add the following line:
new maplibregl.NavigationControl() will create a new controls object which we add to the current map using the addControl() function in the 'top-right' position.
Map marker
Another basic thing to add to your map could be a marker of some location.
In the next line where we declare the navigation control we add these lines:
We create a new marker using the .marker function. We added the color option to make it red, then set Lng/Lat of the marker using .setLngLat() function, and finally added it to the current map using .addTo() function.
We are finished with our basic map objects, your map.js file should look like this:
Full code to download
We have created a template with the result of this tutorial that will serve as a basis to build future applications. You can access the template repository at ![]() React template for MapLibre.
React template for MapLibre.
Conclusion
Congratulations! You have finished your simple fullscreen map app using React JS, showing Tokyo with a marker on Tokyo Imperial Palace. You can explore more about MapLibre GL JS for your map in the MapLibre API reference.
Useful links
MapTiler - JavaScript Maps API
Learn more
React JS with MapTiler maps
If you’re looking to develop React applications with MapTiler SDK JS, check out our tutorial titled React JS with MapTiler maps. This step-by-step tutorial will provide you with the necessary guidance and examples to create a React JS component that leverages the power of MapTiler SDK JS mapping library to render maps.
Get Started With MapLibre GL JS for React Native
You can also develop your applications using React Native. Check out the tutorial Get started with React Native and MapLibre GL JS