Display Ski Slopes on the Map

This example demonstrates how to create custom map and display it on the mobile phone using MapTiler and OpenStreetMap (OSM) data. You will learn the following:
- How to generate your own vector tiles and host them in MapTiler.
- How to create your own map style and use your vector tiles along with predefined MapTiler tiles.
- How to display your custom map in iOS app.
View complete source code on GitHub
Slopes Data
We will use ski slopes (small sample in Austria) for this example downloaded from OpenStreetMap (OSM) database. The OSM data is extracted and converted to geopackage. There are many ways how to download OSM data and convert them into geopackage - you can use QGIS, OpenMapTiles project, GDAL ogr2ogr etc. However we have prepared the data for you.
Create vector tiles
We will create vector tiles using MapTiler Desktop - the application which allows you to load your image or geodata and get a tiled map. You can download MapTiler Desktop from MapTiler web site. Launch MapTiler Desktop and open the geo package.
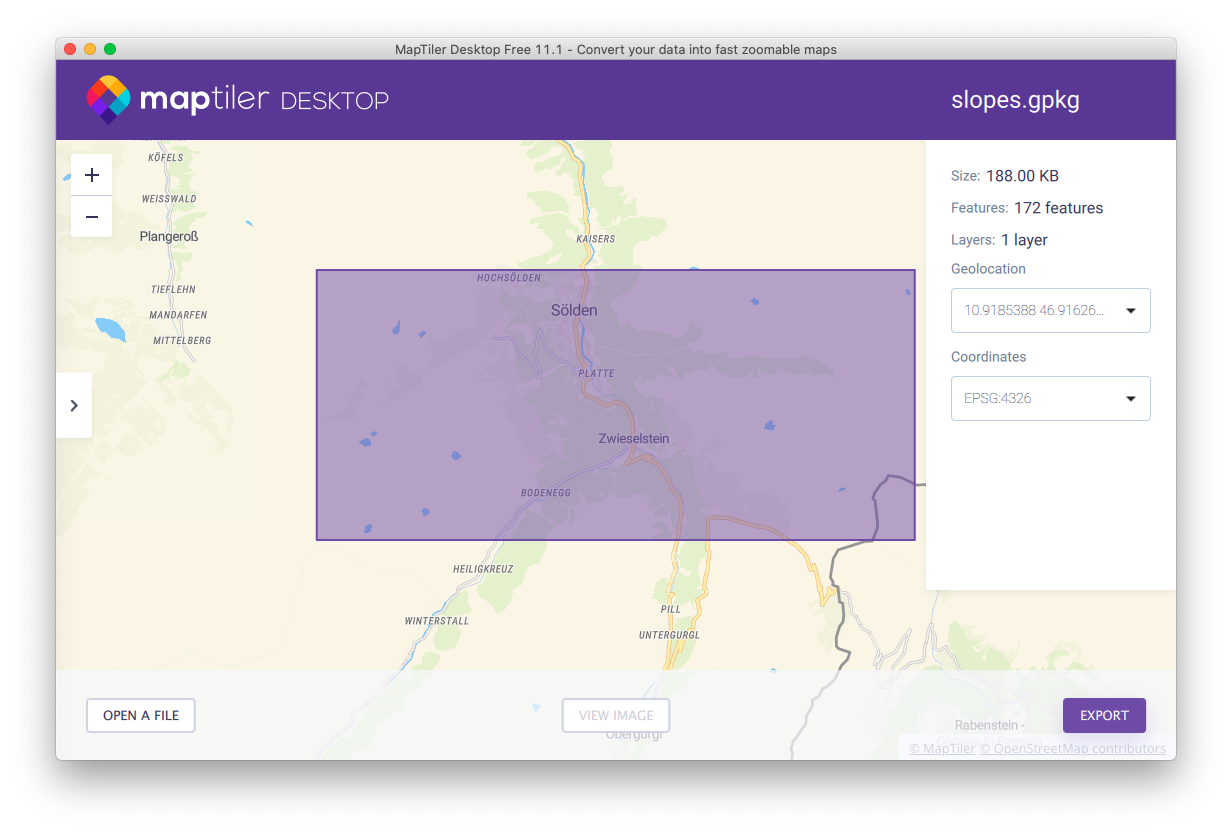
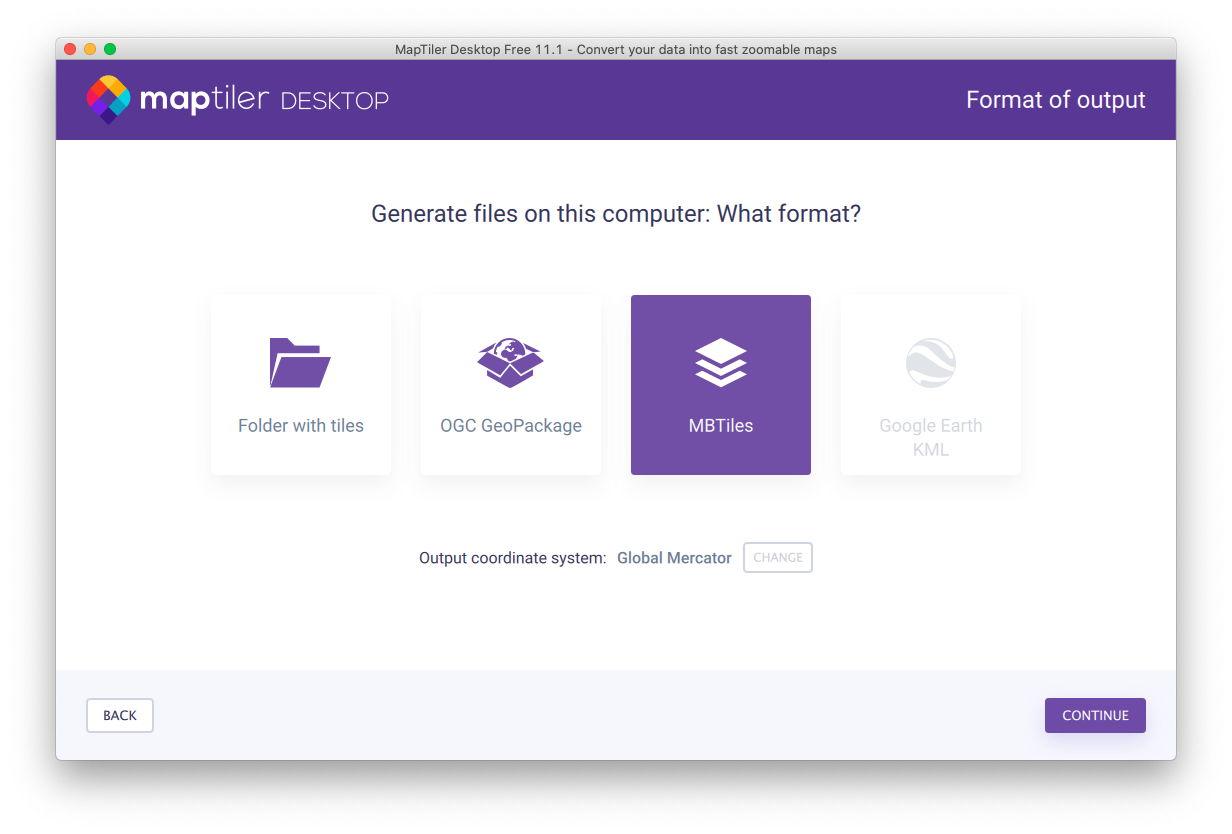
Click “Export” to initiate export wizard and select “mbtiles” format.
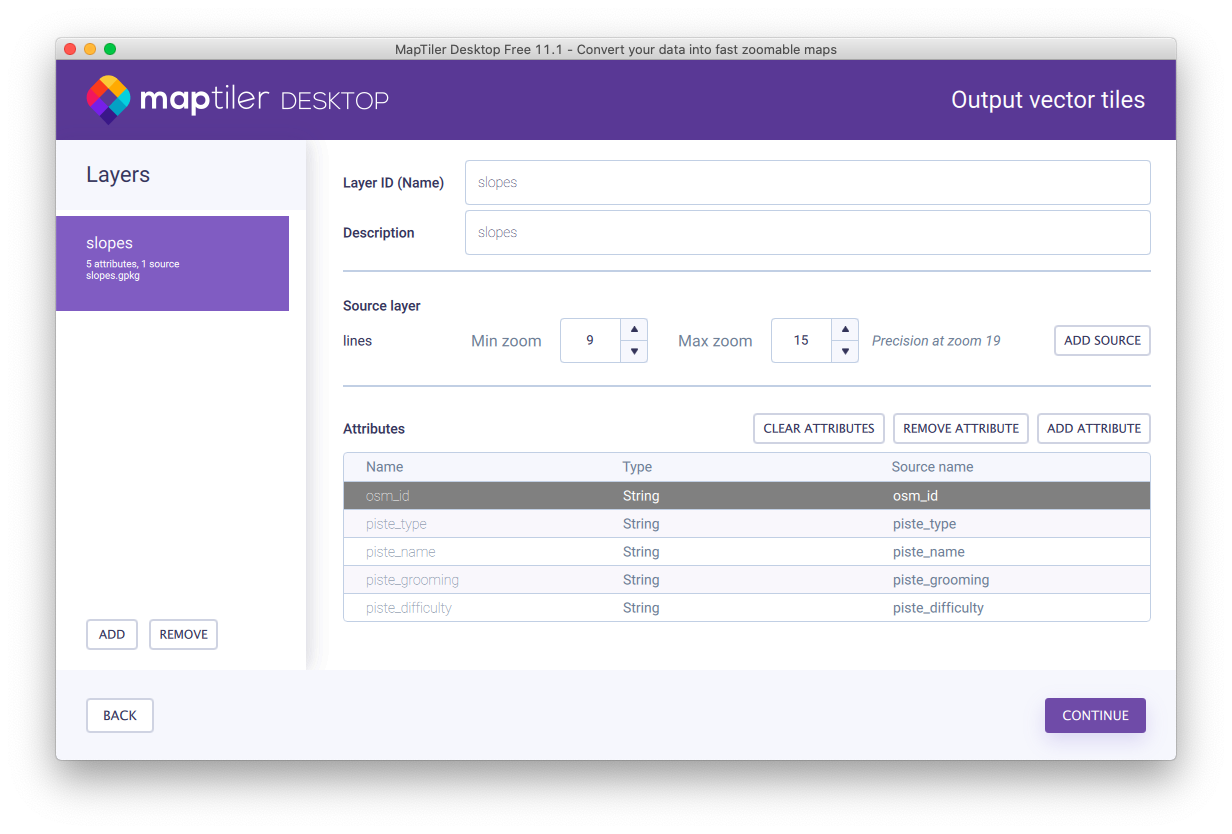
Configure zoom levels and attributes. Attributes specified here will be used when working on the map style.
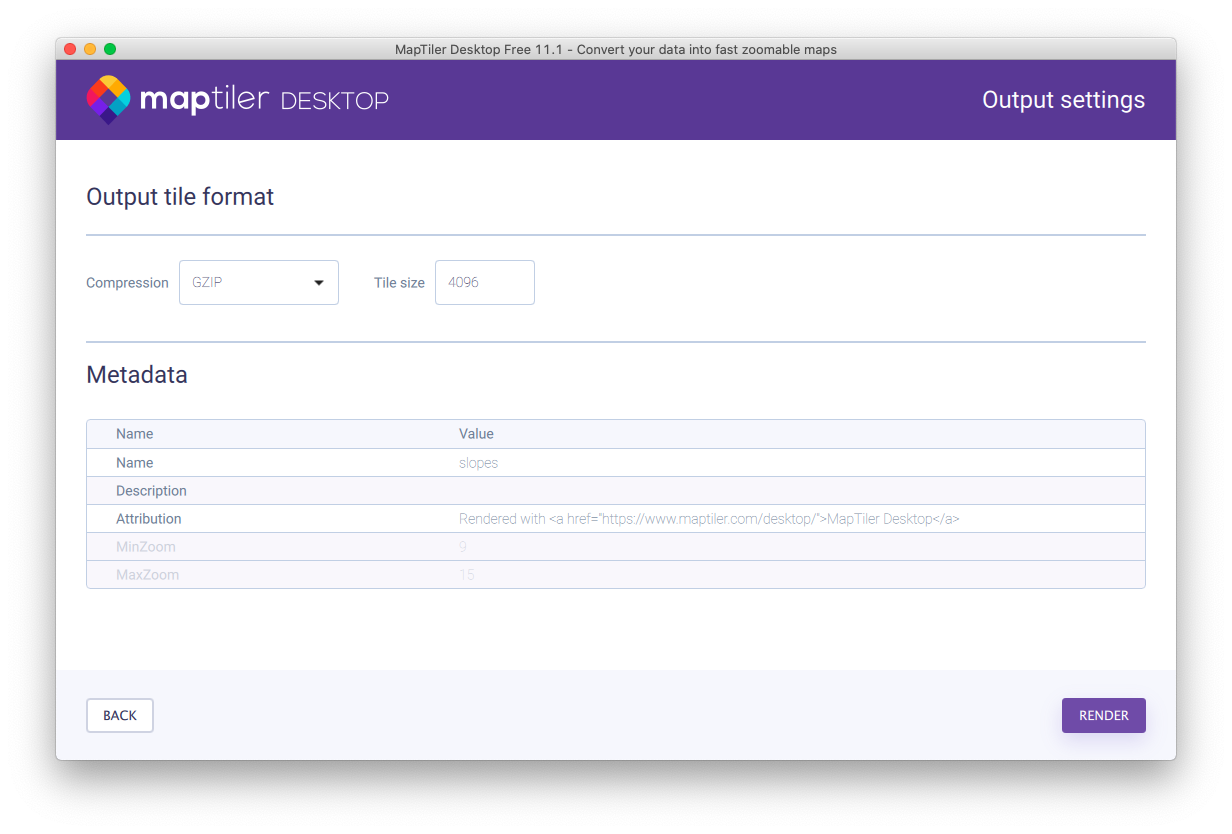
Keep output format gzip and launch rendering.
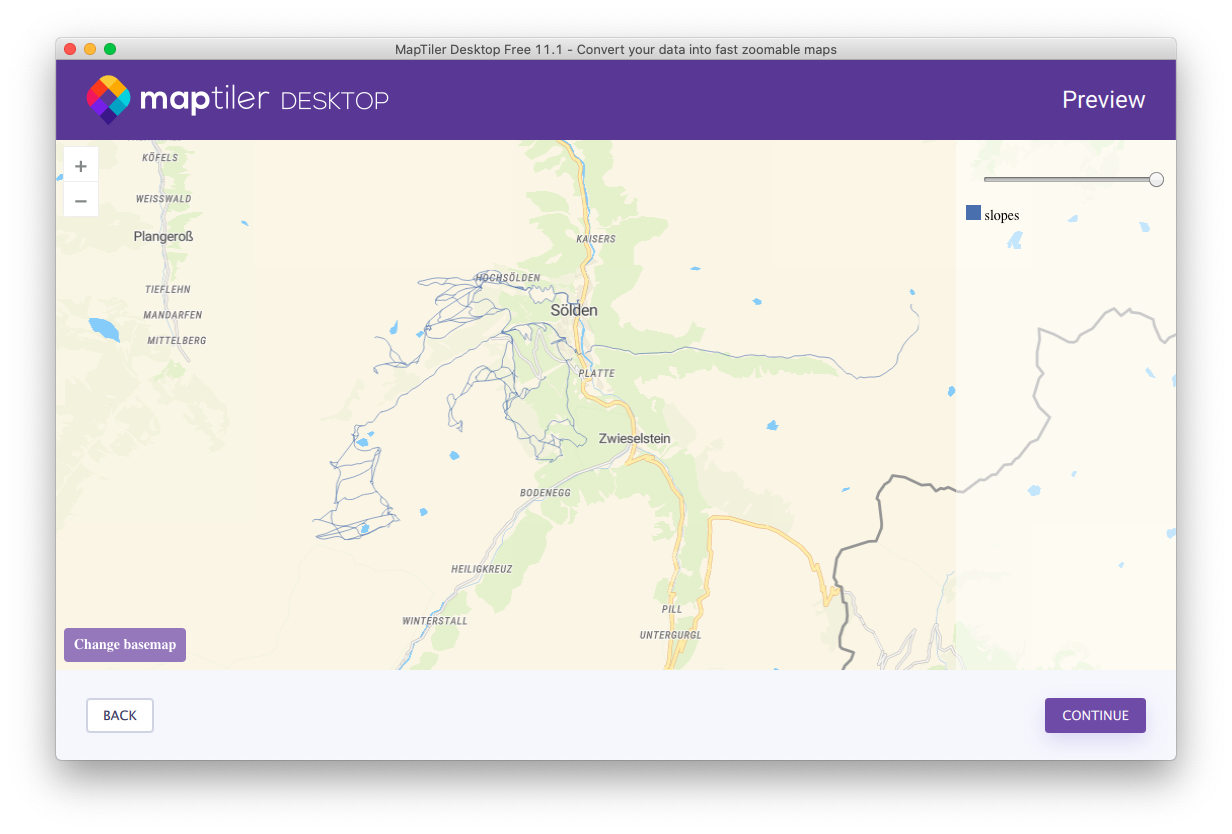
When done, MapTiler Desktop will show you rendered data.
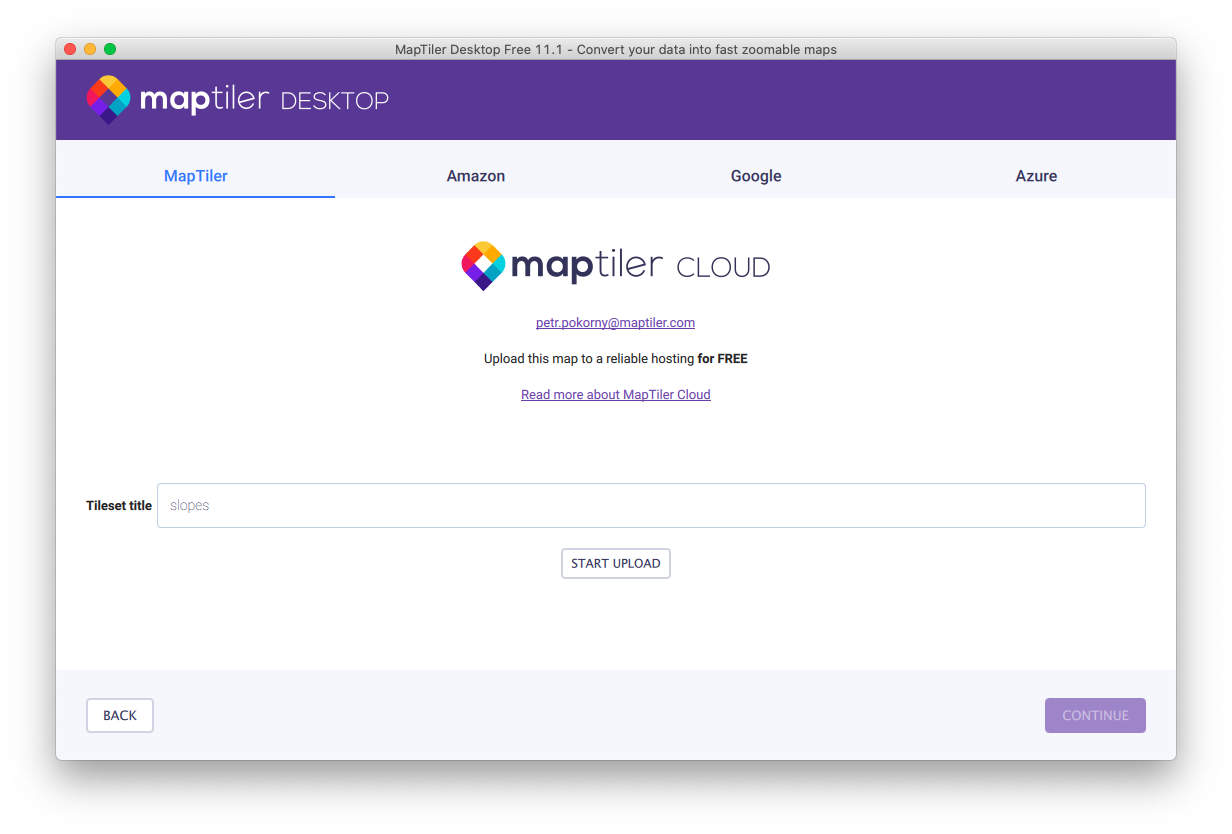
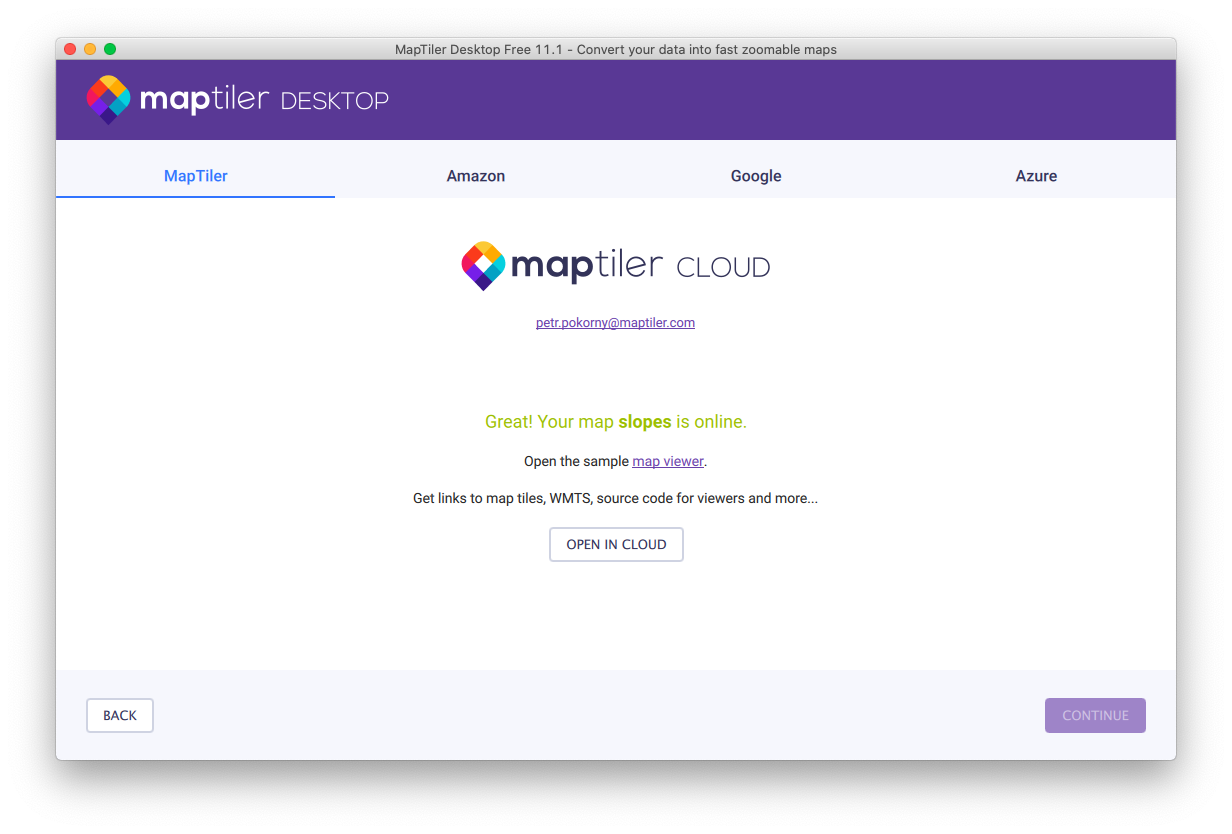
Lastly, upload the mbtiles file you’ve created to your cloud account.
Create custom map
In the next step, we will create custom map and we will add slopes as a new layer.
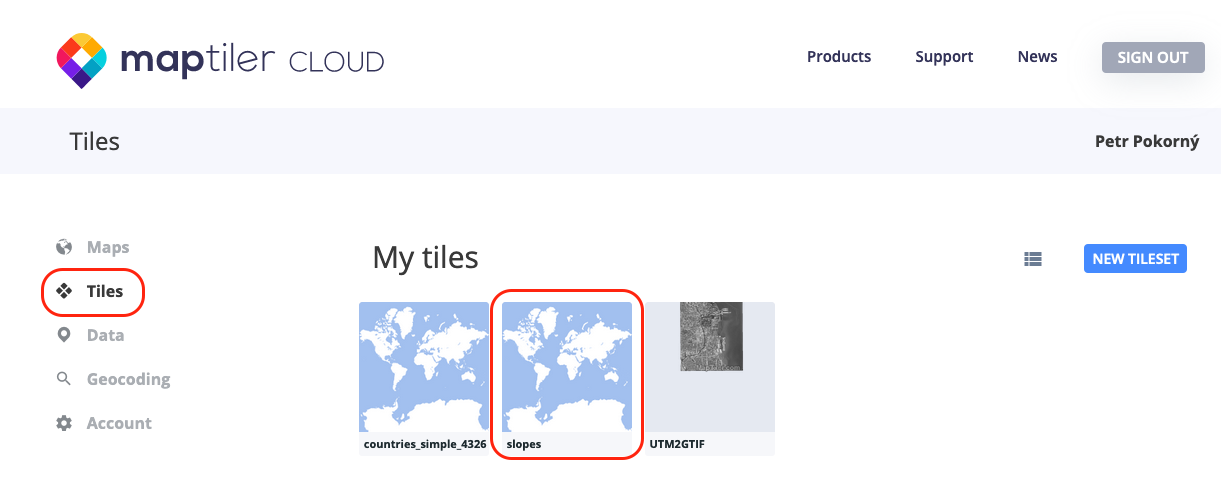
You should first check if you have your vector tiles under Tiles section in your cloud account.
Create new map
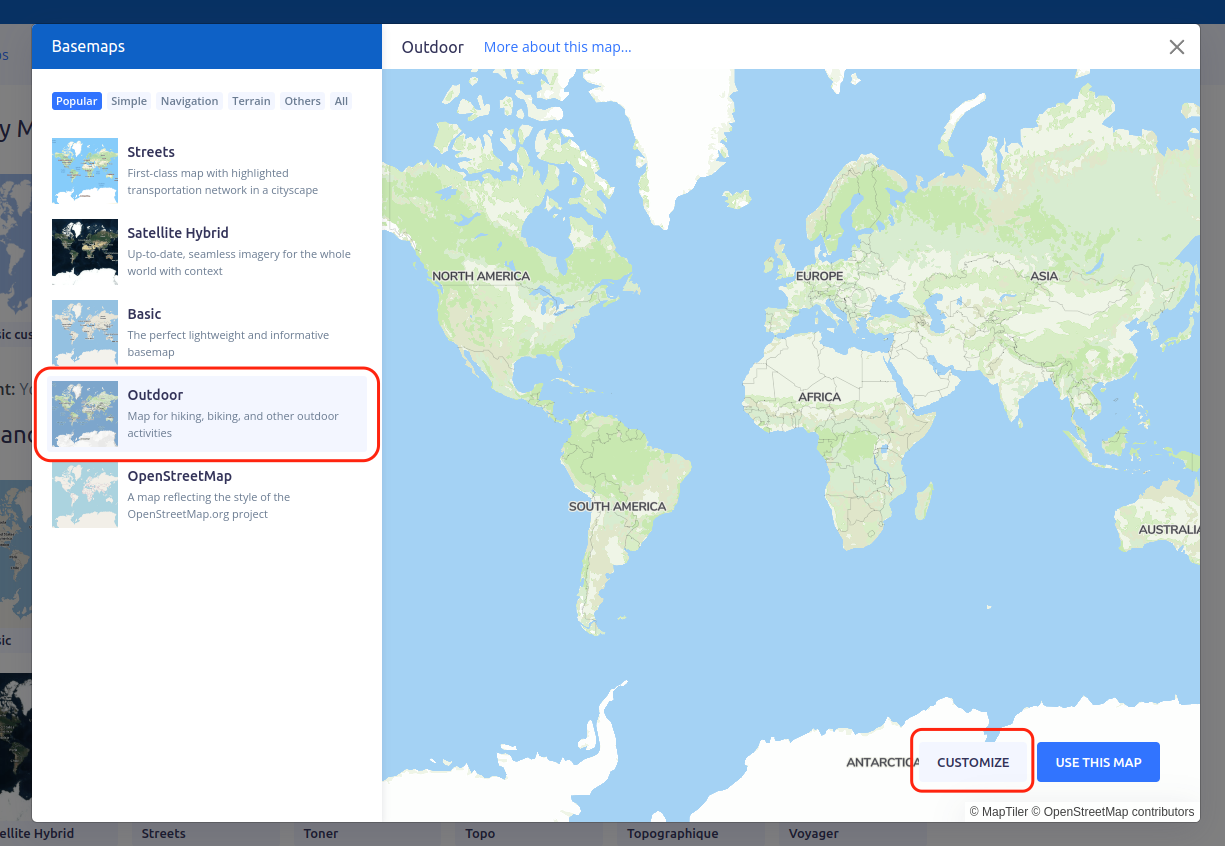
In your cloud account, under Maps click New Map button. On the next screen, choose a map which you would like to use as your template. We will choose Outdoor basemaps and click the Customize button.
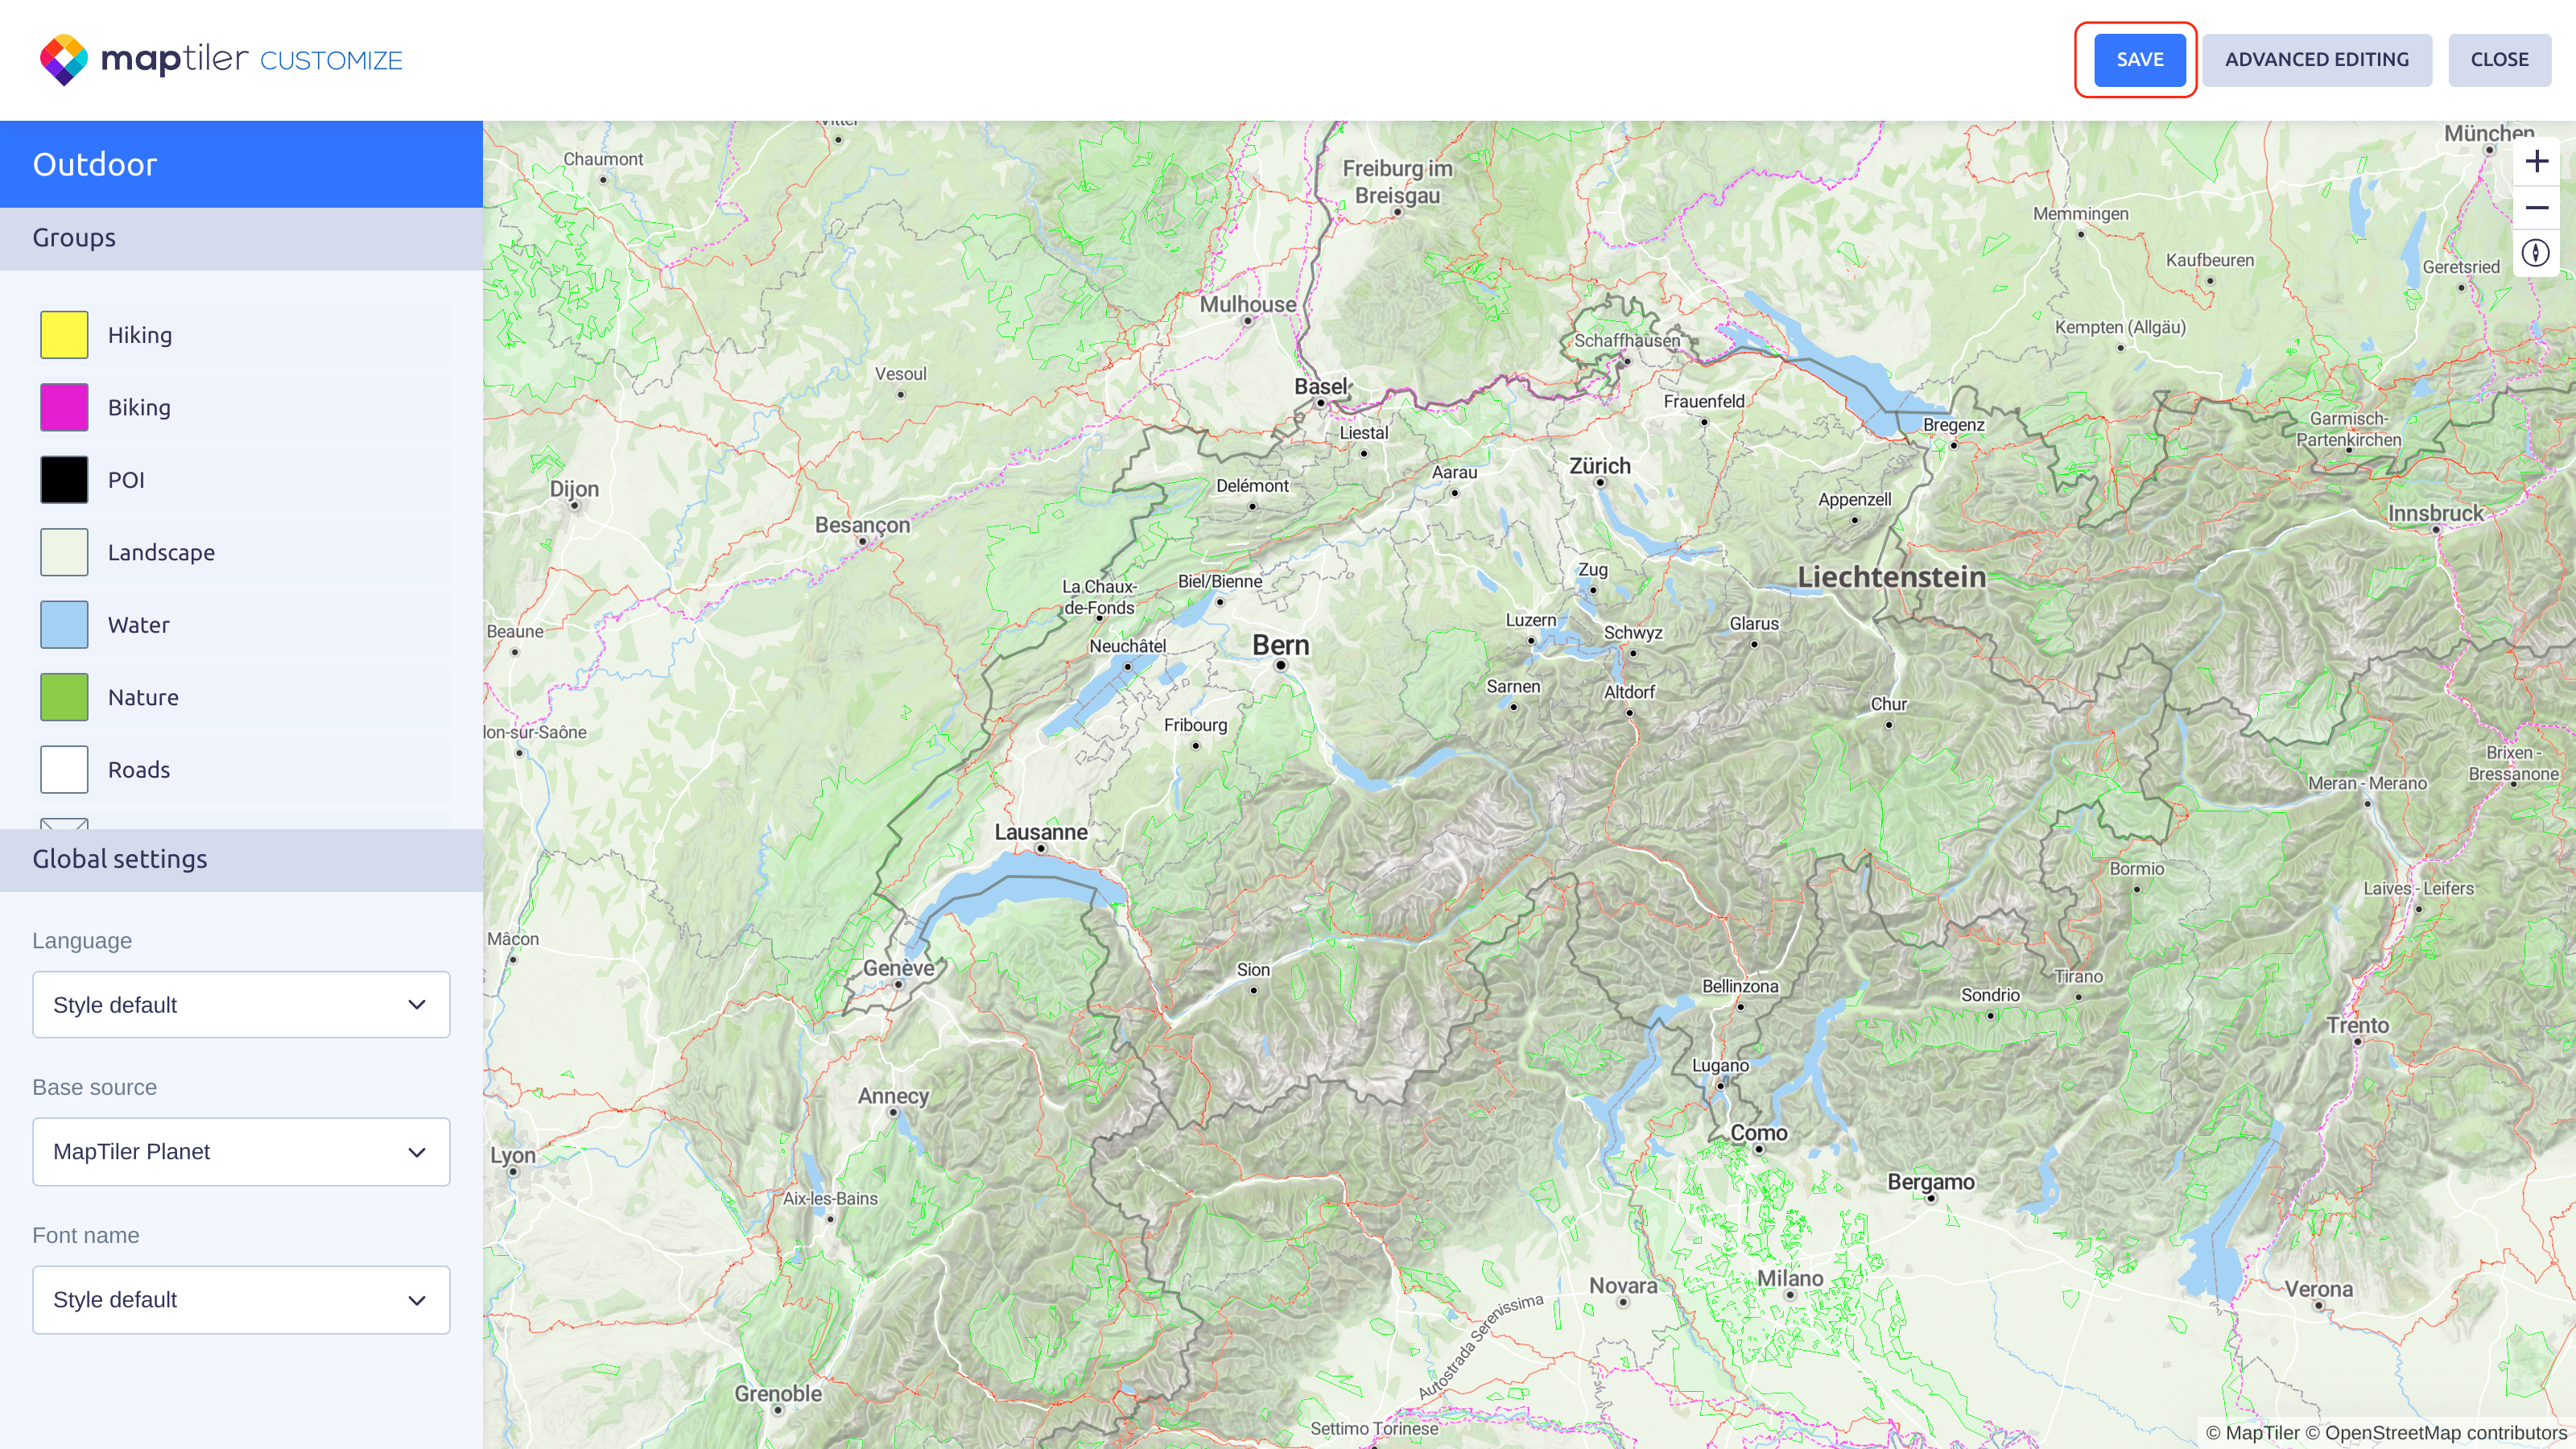
On the next screen, click the Save button and save the map. You might want to rename the map first.
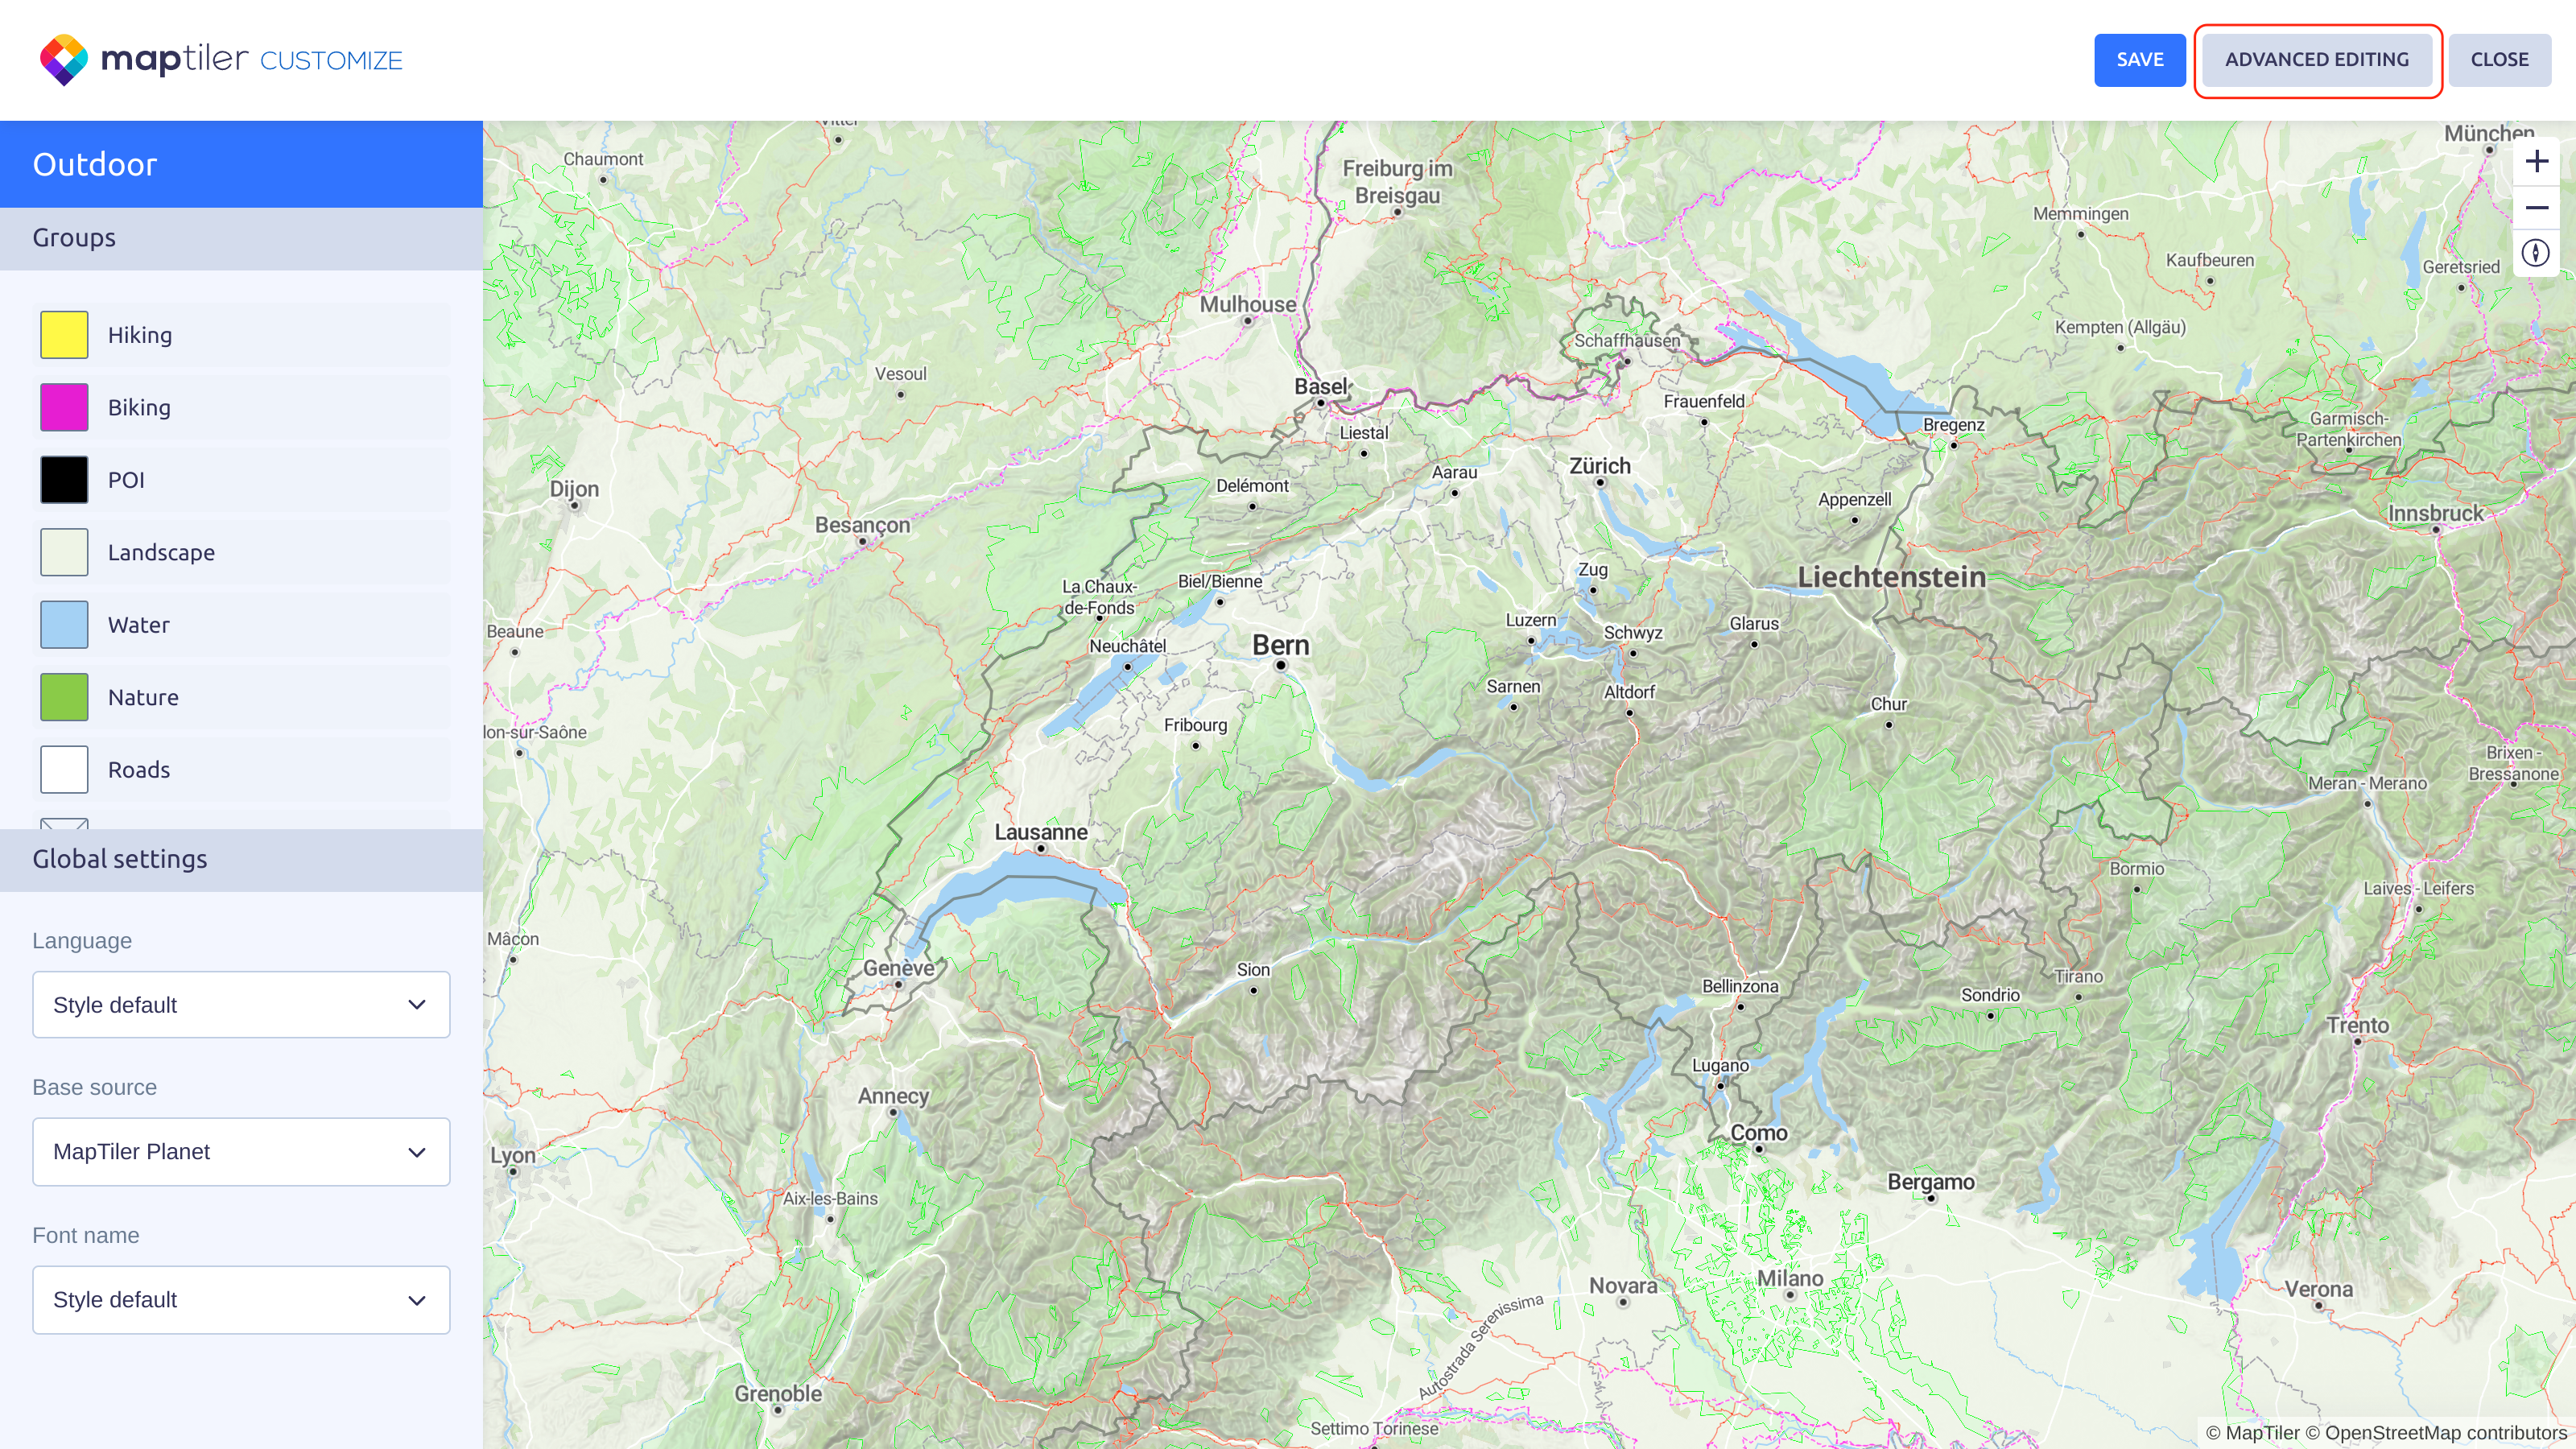
Click the Advanced editing button and convert the map.
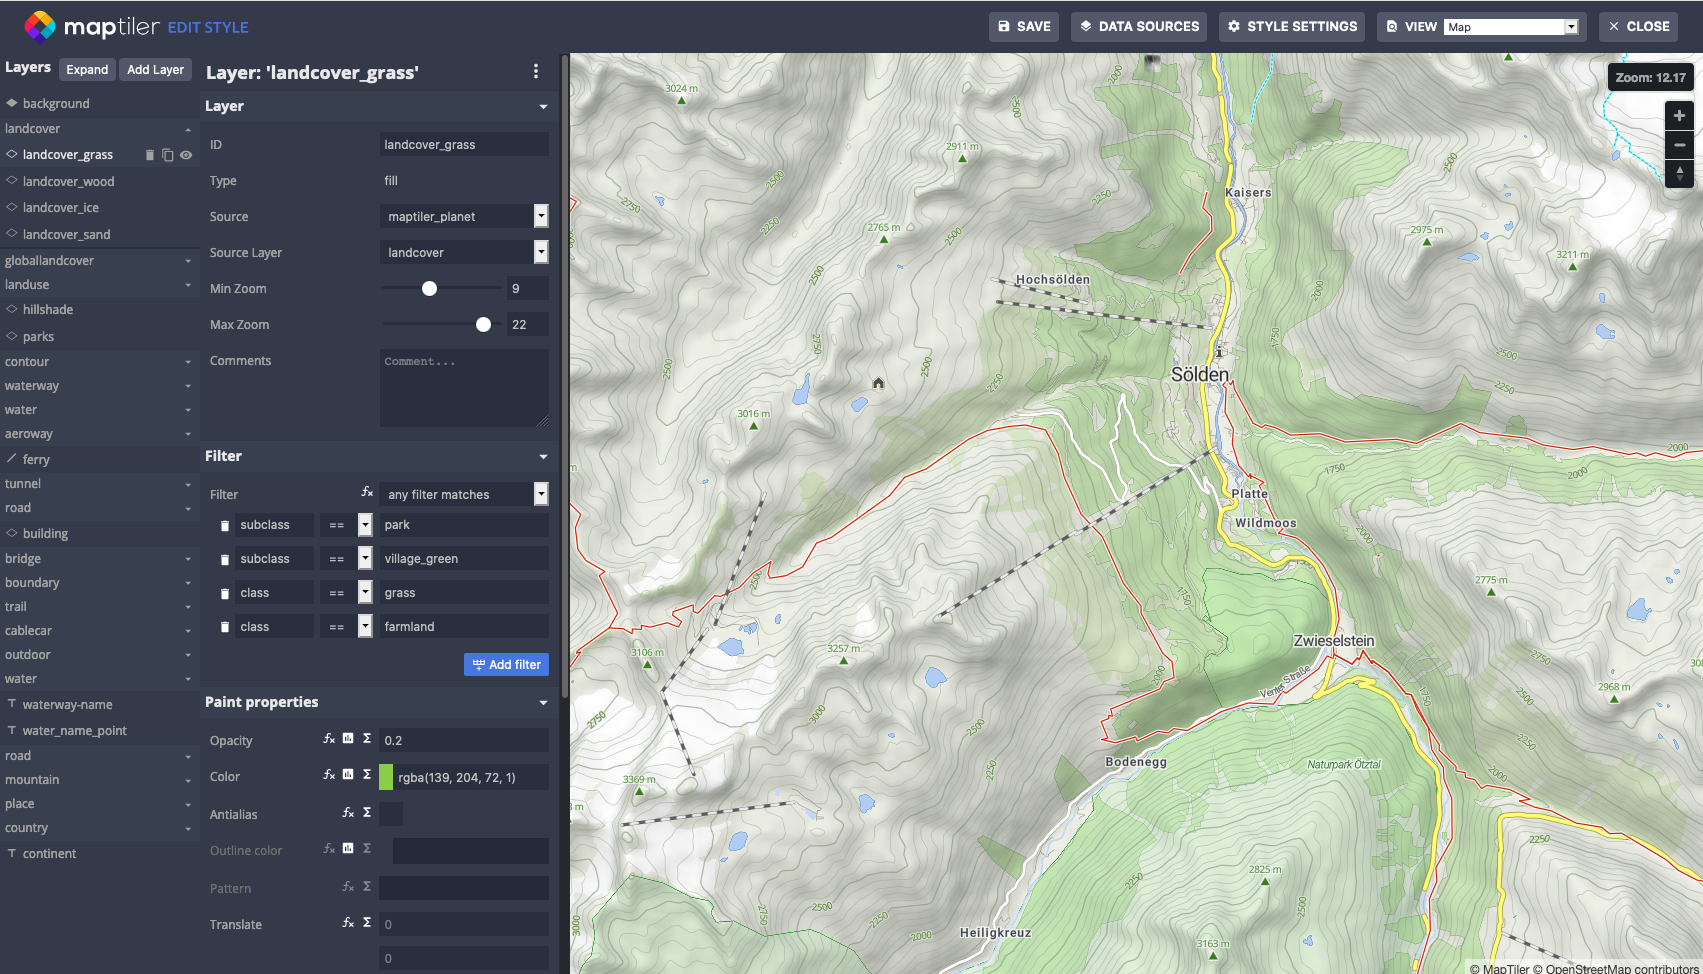
Now you can start editing your map style.
Add slope data source to the map
In the next step we will add your slopes to the map as a new source so that we can use vector tiles from this source in new layers.

From the list of available sources, choose slopes.
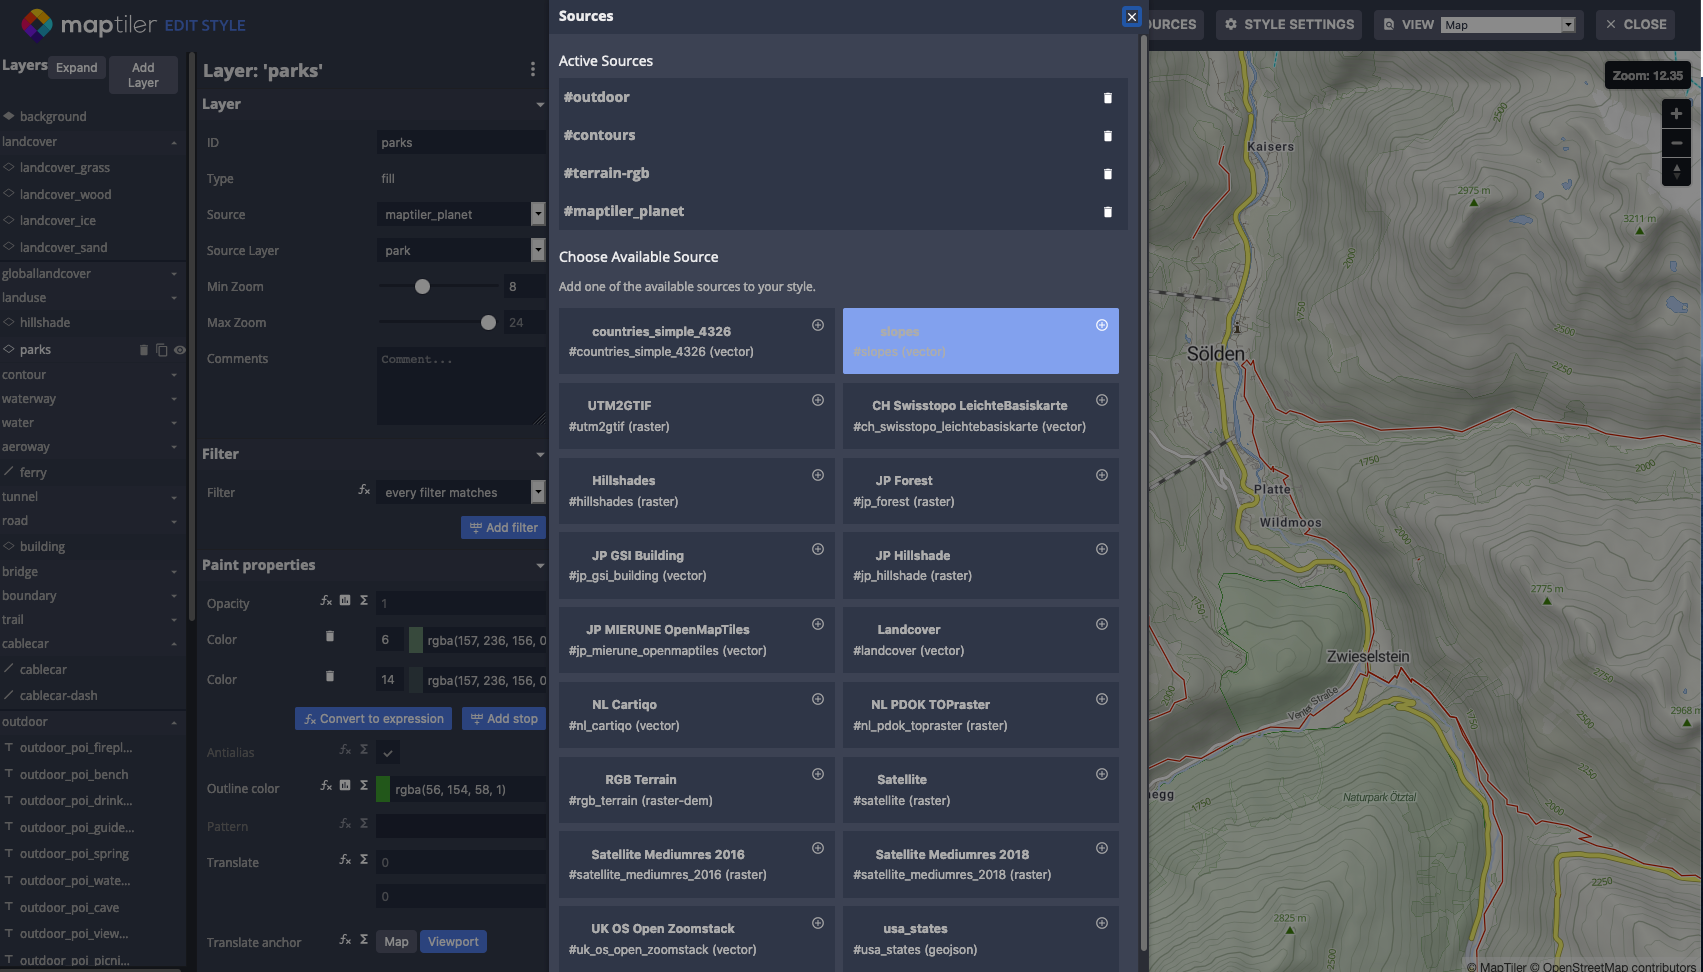
Add slope layers
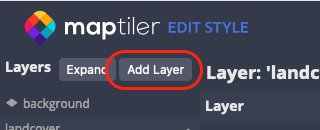
In the next step we will add slopes to the map. We will add 3 layers - blue, red, and black slopes.
In the top left corner, choose Add Layer button.
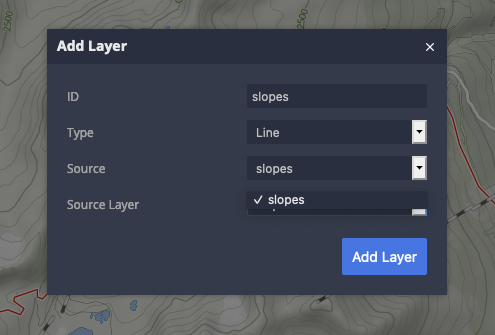
Select the source (slopes) and source layer (we have only one - slopes)
You can now start configuring the layer. Rename the layer to slopes-easy, add the filter piste_difficulty == easy to include only easy slopes in this layer and set color and opacity.
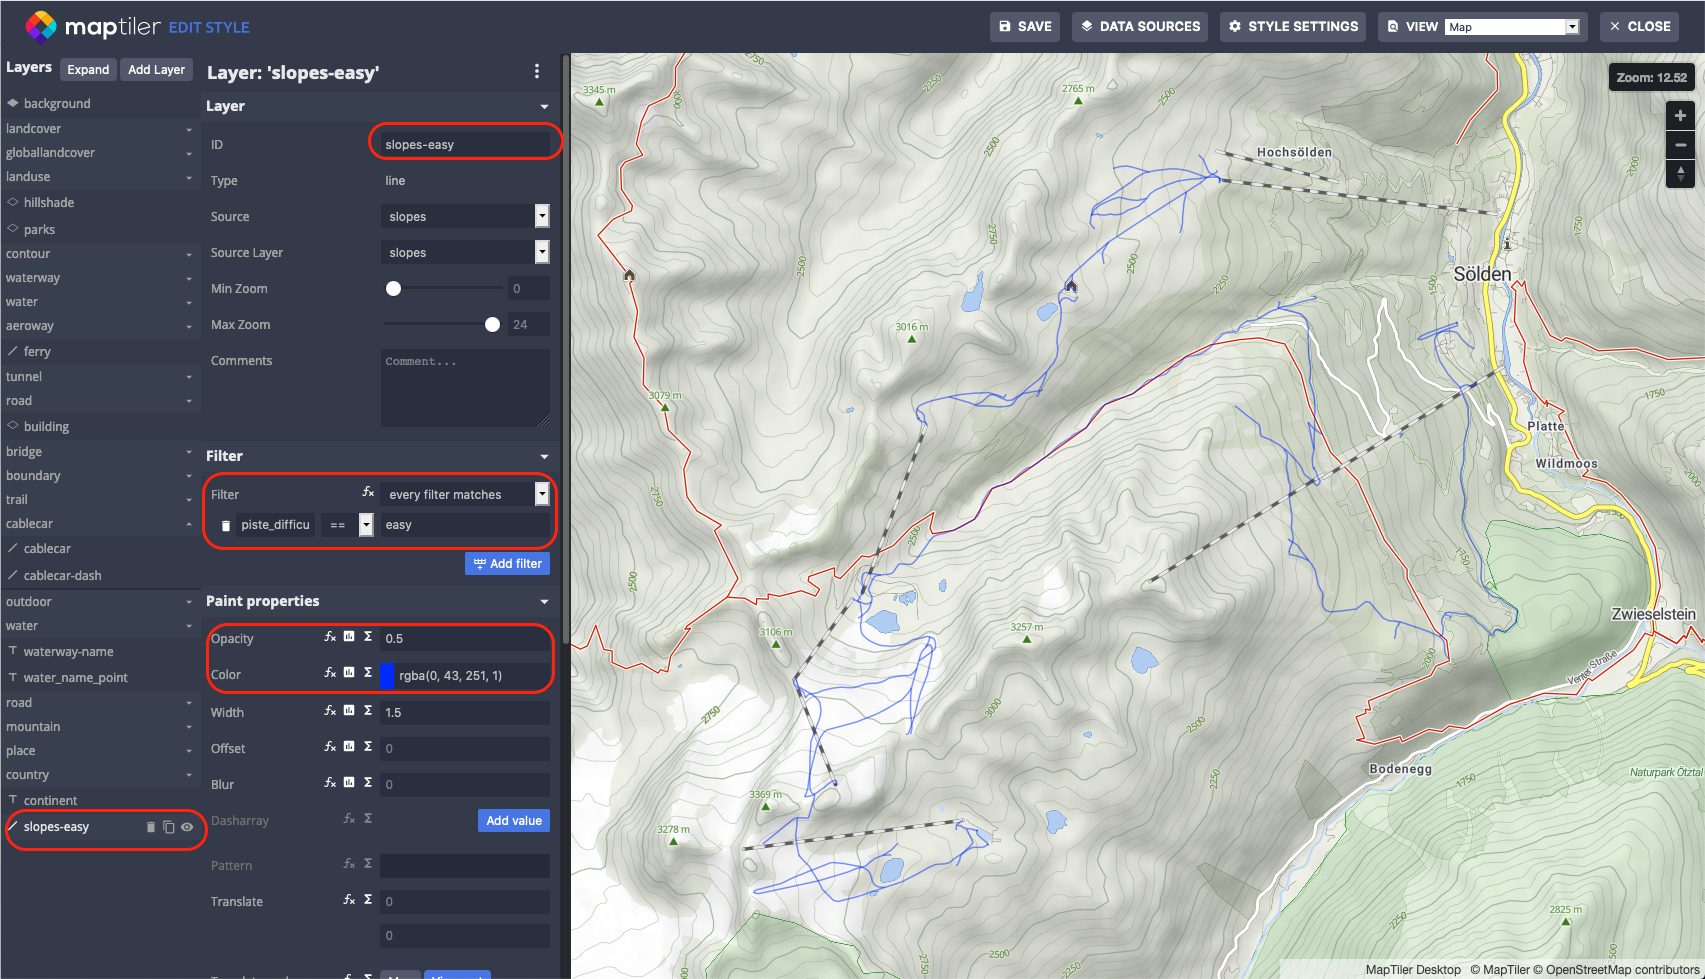
Create copies of the layer - intermediate and advanced slopes, set filters to piste_difficulty == intermediate and piste_difficulty == advanced and set colors.
Alter map style
You can change other layers as well, for example make landcover_grass and landcover_wood layers and change the color from green to white to set winter theme.
Publish the map
When you are done, you have to publish the map so that you can use it in your application. Click the close button to exit the advanced editor.
Then click Publish button.
Scroll down until the Use vector style section. You should now see the url of your map which you can use in the application.

Mobile App - Setup the MapView
- In your project, add new SwiftUI View to the SimpleMap_SwiftUI folder and name it
CustomMap.swift -
In order to use native UIKit views in SwiftUI view, you must use
[UIViewRepresentable](https://developer.apple.com/documentation/swiftui/uiviewrepresentable)wrapper. The instance of custom type which adoptsUIViewRepresentableprotocol is responsible for creation and management a UIView object in your SwiftUI interface.struct CustomMap: UIViewRepresentable { ... } -
The
UIViewRepresentablerequires to implementmakeUIViewController(context:)method that creates the instance of with the desired UIKit view. Add the following code to create map view instancefunc makeUIView(context: Context) -> MGLMapView { // read the key from property list let mapTilerKey = Helper.getMapTilerkey() Helper.validateKey(mapTilerKey) // Use your custom style url // replace the map identifier (f3c7b19d-7f5b-42a2-8b98-90ed51ca373a) with your own identifier // see https://docs.maptiler.com/maplibre-gl-native-ios/ios-swiftui-custom-map/#publish-the-map let styleURL = URL(string: "https://api.maptiler.com/maps/f3c7b19d-7f5b-42a2-8b98-90ed51ca373a/style.json?key=\(mapTilerKey)") // create the mapview let mapView = MGLMapView(frame: .zero, styleURL: styleURL) mapView.autoresizingMask = [.flexibleWidth, .flexibleHeight] mapView.logoView.isHidden = true let bounds = MGLCoordinateBounds( sw: CLLocationCoordinate2D(latitude: 46.91076825, longitude: 10.91279724), ne: CLLocationCoordinate2D(latitude: 46.98484291, longitude: 11.02306368)) mapView.setVisibleCoordinateBounds(bounds, animated: false) mapView.setZoomLevel(12, animated: true) // use the coordinator only if you need // to respond to the map events mapView.delegate = context.coordinator return mapView } -
Load your custom map
let styleURL = URL(string: "https://api.maptiler.com/maps/f3c7b19d-7f5b-42a2-8b98-90ed51ca373a/style.json?key=\(mapTilerKey)") -
Pan and zoom to your slopes
let bounds = MGLCoordinateBounds( sw: CLLocationCoordinate2D(latitude: 46.91076825, longitude: 10.91279724), ne: CLLocationCoordinate2D(latitude: 46.98484291, longitude: 11.02306368)) -
The
UIViewRepresentableview also requires to implementupdateUIView(_:context:)which is used to configure the newly created instance. We dont need to configure anything so we will keep it empty.func updateUIView(_ uiView: MGLMapView, context: Context) {}