How to make a clickable map
This article demonstrates how to create a map, where you can click on any feature and get info about it. This can be done with MapTiler. However, there is a need to do extra steps in the viewer you are using for displaying maps.
Upload your data to MapTiler
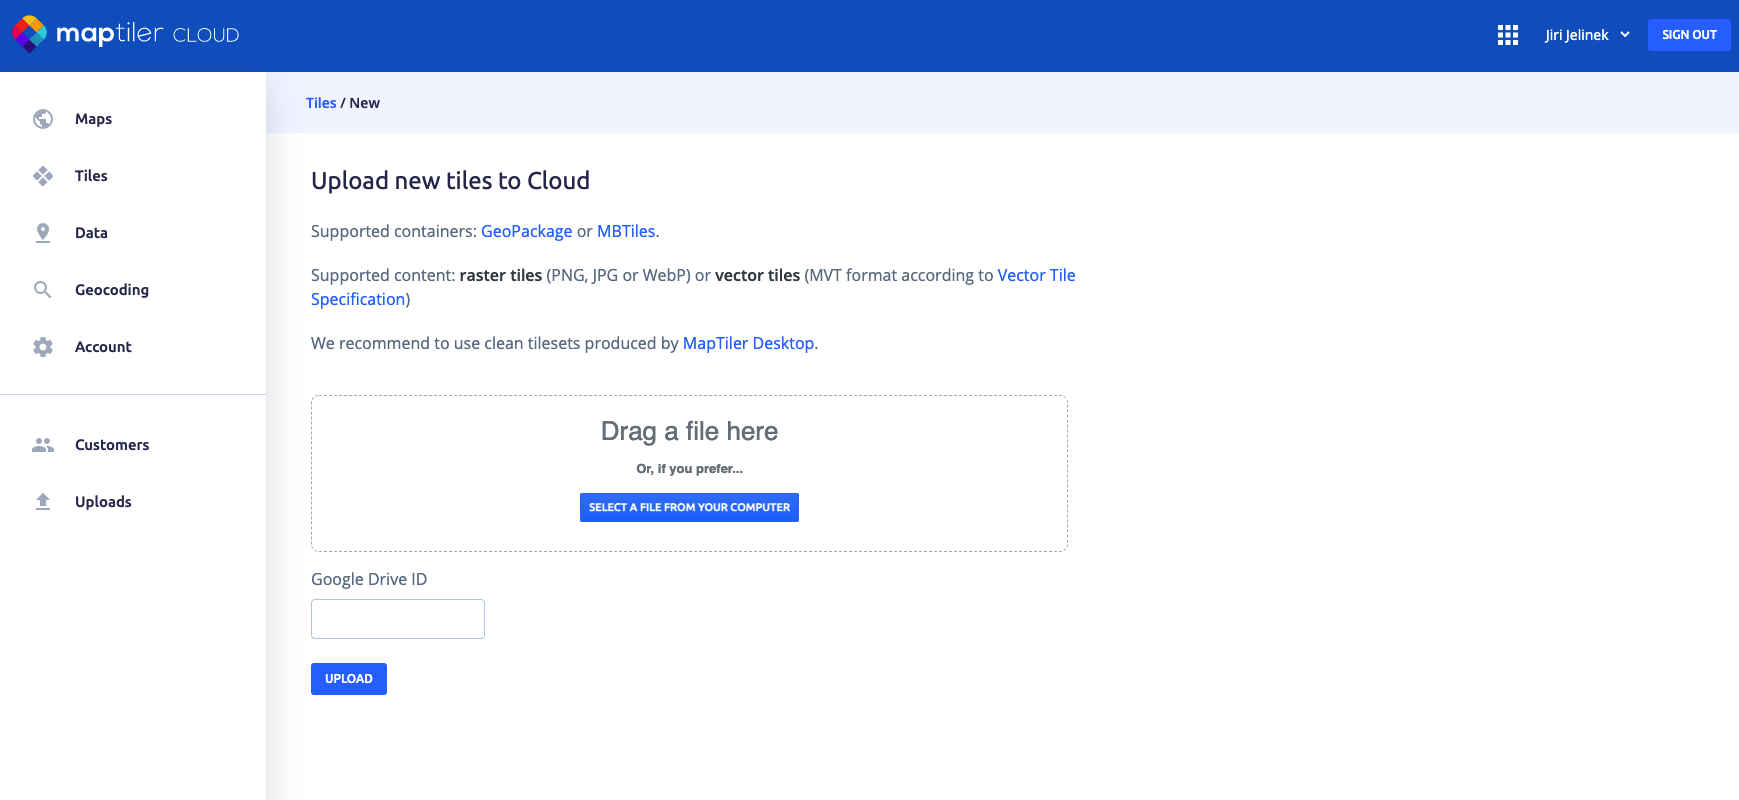
First, you need to upload the vector data you want to display to MapTiler. You can either upload data via a web browser or process them using MapTiler Engine and upload it to MapTiler from inside of the software.

Display underlying data with your favorite JavaScript viewer
When you have data on MapTiler, now you can start displaying them using your favorite JavaScript library. The implementation depends on the viewer you are using.
MapLibre GL JS
The easiest way of displaying information contained in the underlying feature is using the MapLibre GL JS library. Here is an example of how to extract information from the visible features under the mouse pointer when using Maplibre-gl-js.
The component used in the style editor is called Mapbox-gl-inspect and it is open-source as well. For more details, visit the project’s GitHub repository.
OpenLayers
The same trick is possible to achieve using OpenLayers. See this example of feature picking, which can be made to do the same job with just a small modification (changing click to hover + adding a popup with details).