How to display a map in Angular using MapLibre GL JS
In this tutorial, you’ll learn how to create an Angular component to render a map using MapLibre GL JS. Together we will make a simple fullscreen map application as an example of how to use MapTiler maps together with Angular and MapLibre GL JS for your Angular app.
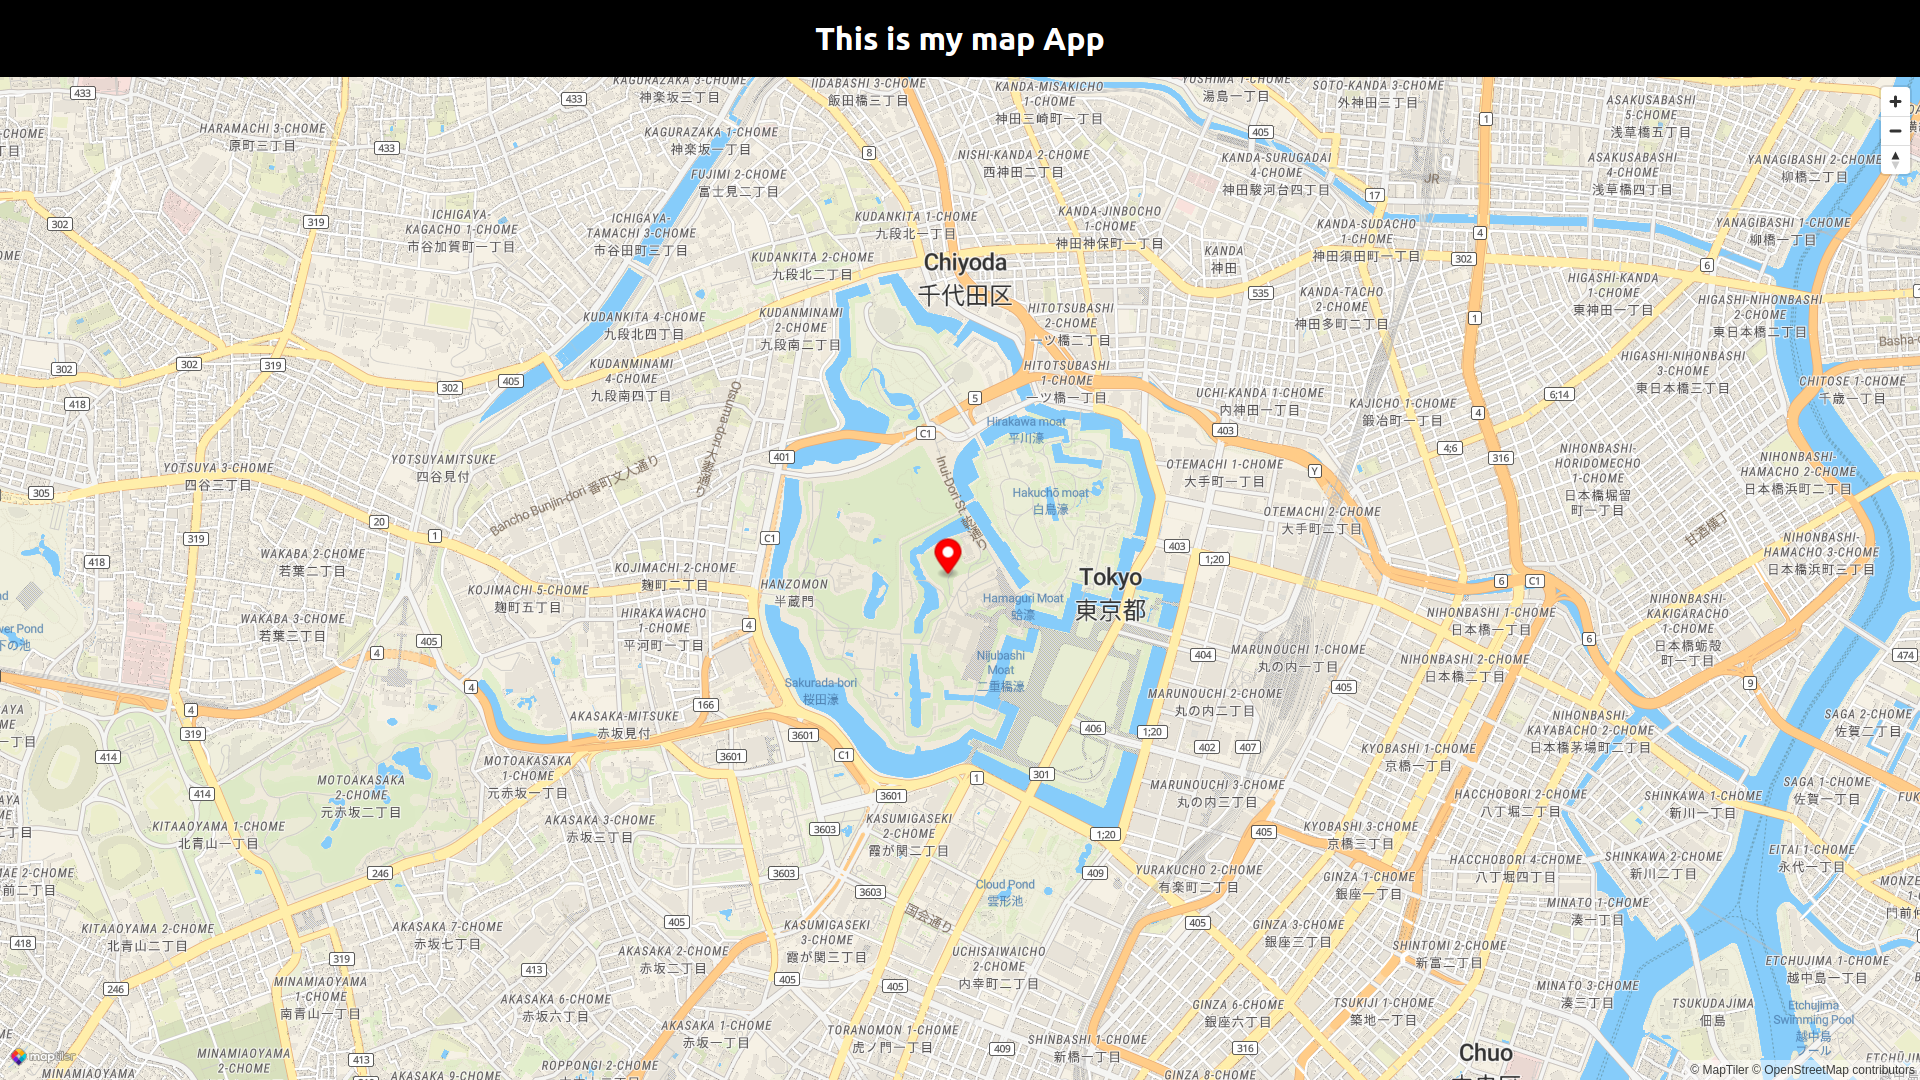
By the end of this tutorial, you will be able to create a full-screen map with a marker at a specified location. Your final map will look like this:
Getting started
Minimal requirements for completing this tutorial.
- Some experience with Angular. You don’t need a lot of experience using Angular for this tutorial, but you should be familiar with basic concepts and workflow.
- MapTiler API key. Your MapTiler account access key is on your MapTiler Cloud account page or Get API key for FREE.
- MapLibre GL JS. Javascript library for building web maps. In this tutorial, we will see how to install it.
- Node.js and npm. Necessary to run your Angular app locally. Node.js
- Angular CLI. You need to have the Angular CLI installed. To install the Angular CLI, open a terminal window and run the following command:
npm install -g @angular/cli
Create an app
In this step, we are going to learn how to create an Angular app.
To create a new Angular project run in your command-line:
ng new my-angular-map
The ng new command prompts you for information about features to include in the initial app. Accept the defaults by pressing the Enter or Return key. This installs the necessary Angular npm packages and other dependencies and creates a new workspace and a simple Welcome app, ready to run. For more information, follow Create a workspace and initial application.
Navigate to the newly created project folder my-angular-map
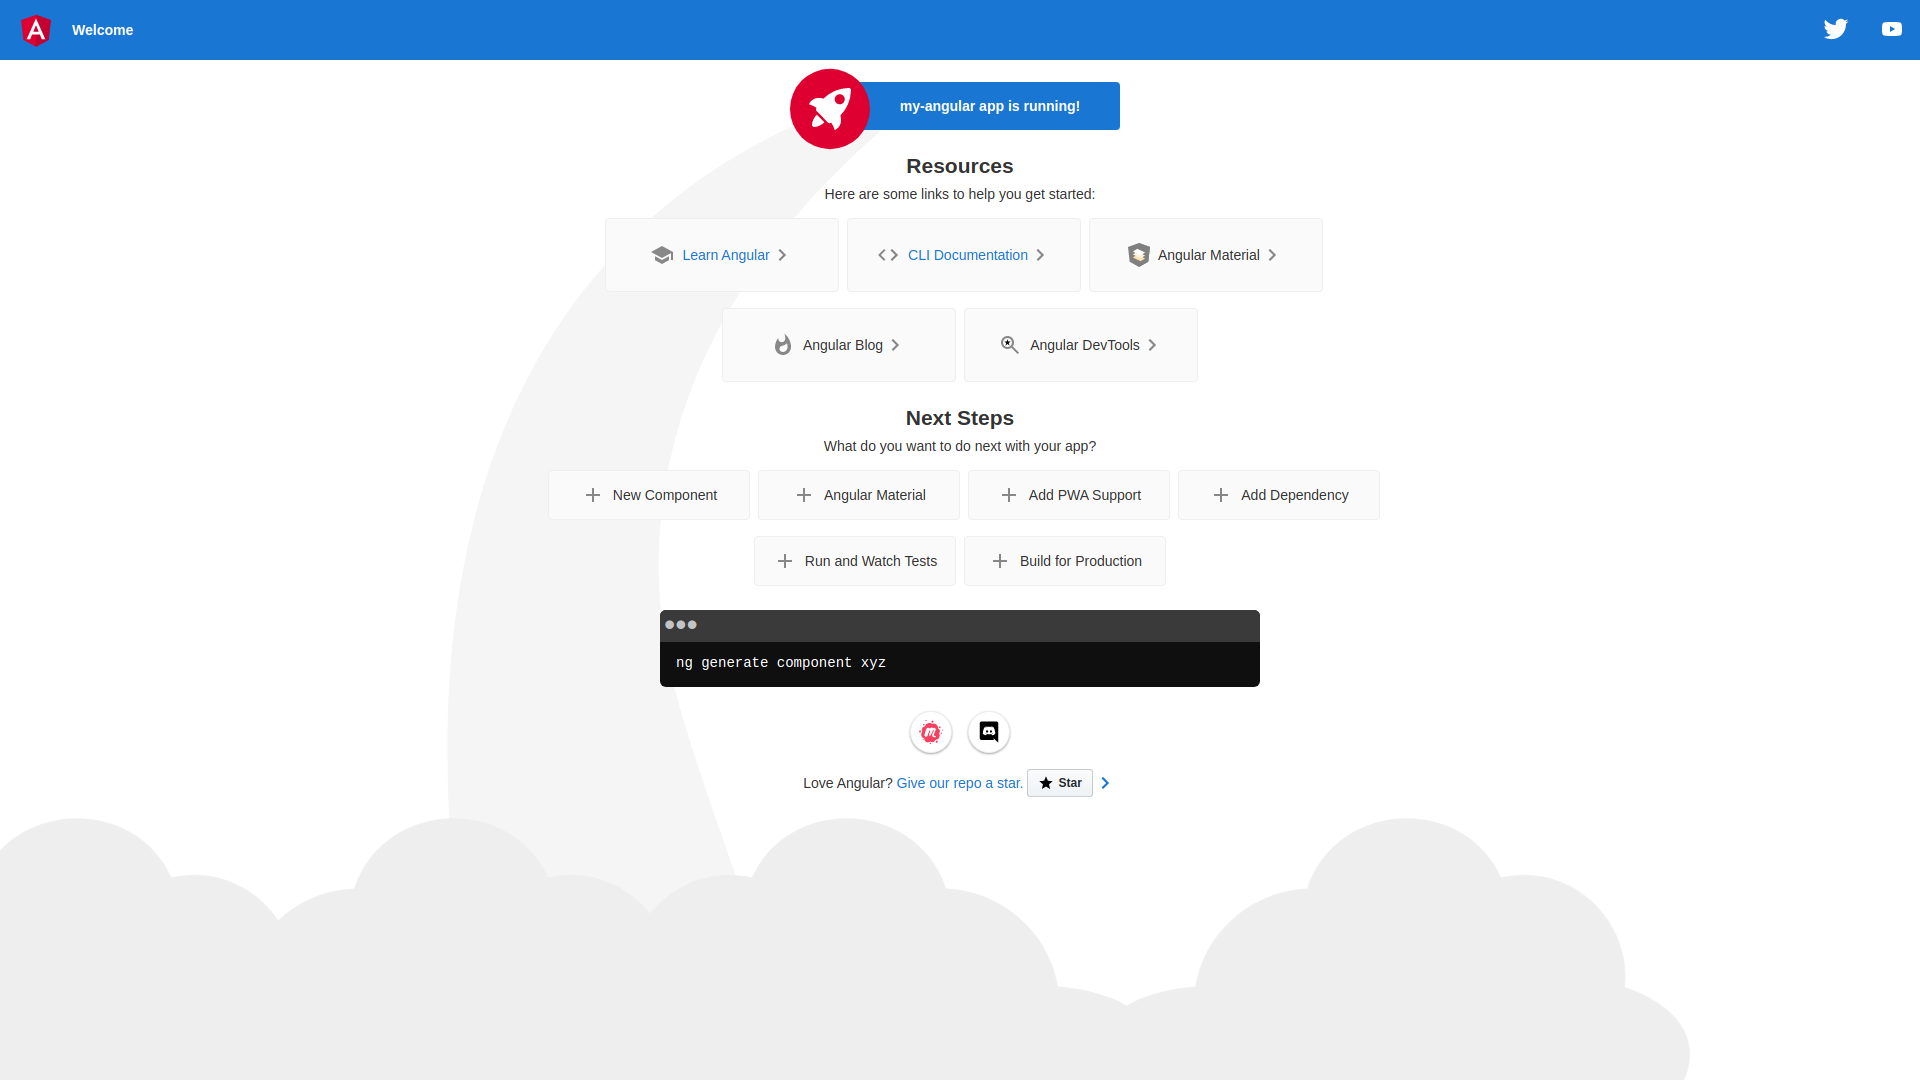
Inside the newly created project, you can run ng serve --open to start your local environment. You will find your app on address http://localhost:4200/.
Now you should see the app in your browser.
Installation and setting up
Install MapLibre GL library and TypeScript types for our map. Navigate to your project folder and run the command:
npm i maplibre-gl @types/maplibre-gl @types/geojson
Next, you will need to include the MapLibre CSS file in the global CSS file. In our case, located at src/styles.css
@import '~maplibre-gl/dist/maplibre-gl.css';
Now we will create a global styling for our app. Add the following code to your styles.css file:
body {
  margin: 0;
  font-family: -apple-system, BlinkMacSystemFont, 'Segoe UI', 'Roboto', 'Oxygen',
    'Ubuntu', 'Cantarell', 'Fira Sans', 'Droid Sans', 'Helvetica Neue',
    sans-serif;
  -webkit-font-smoothing: antialiased;
  -moz-osx-font-smoothing: grayscale;
}

code {
  font-family: source-code-pro, Menlo, Monaco, Consolas, 'Courier New',
    monospace;
}
Now navigate to the src/app folder and delete all the content of the app.component.html file
Write the following lines in the app.component.html file
<div class="App">
  This is my map App
</div>
Now you should see “This is my map App“ in your browser.
Open the app.component.css file add these lines to center the content:
.App {
  text-align: center;
}
Create a navbar component
We will create a simple heading navbar component.
To create a new Angular component run in your command-line:
ng generate component navbar
Navigate to the newly created component folder src/app/navbar
Remove the placeholder element in the template file created by the Angular CLI (called navbar.component.html) and write the following lines:
<div class="heading">
  <h1>This is my map App</h1>
</div>
Next, we are going to stylize our component to make a black navbar. Open the navbar.component.css file and write these lines:
.heading {
  margin: 0;
  padding: 0px;
  background-color: black;
  color: white;
}

.heading > h1 {
  padding: 20px;
  margin: 0;
}
The generator automatically added the NavbarComponent to the AppModule to make it available to other components in the application.
Finally, to display the NavbarComponent as a child of the element of AppComponent, add the <app-navbar> element to app.component.html. Replace the text ‘This is my map App’ with <app-navbar></app-navbar> . Your app.component.html file should look like this:
<div class="App">
  <app-navbar></app-navbar>
</div>
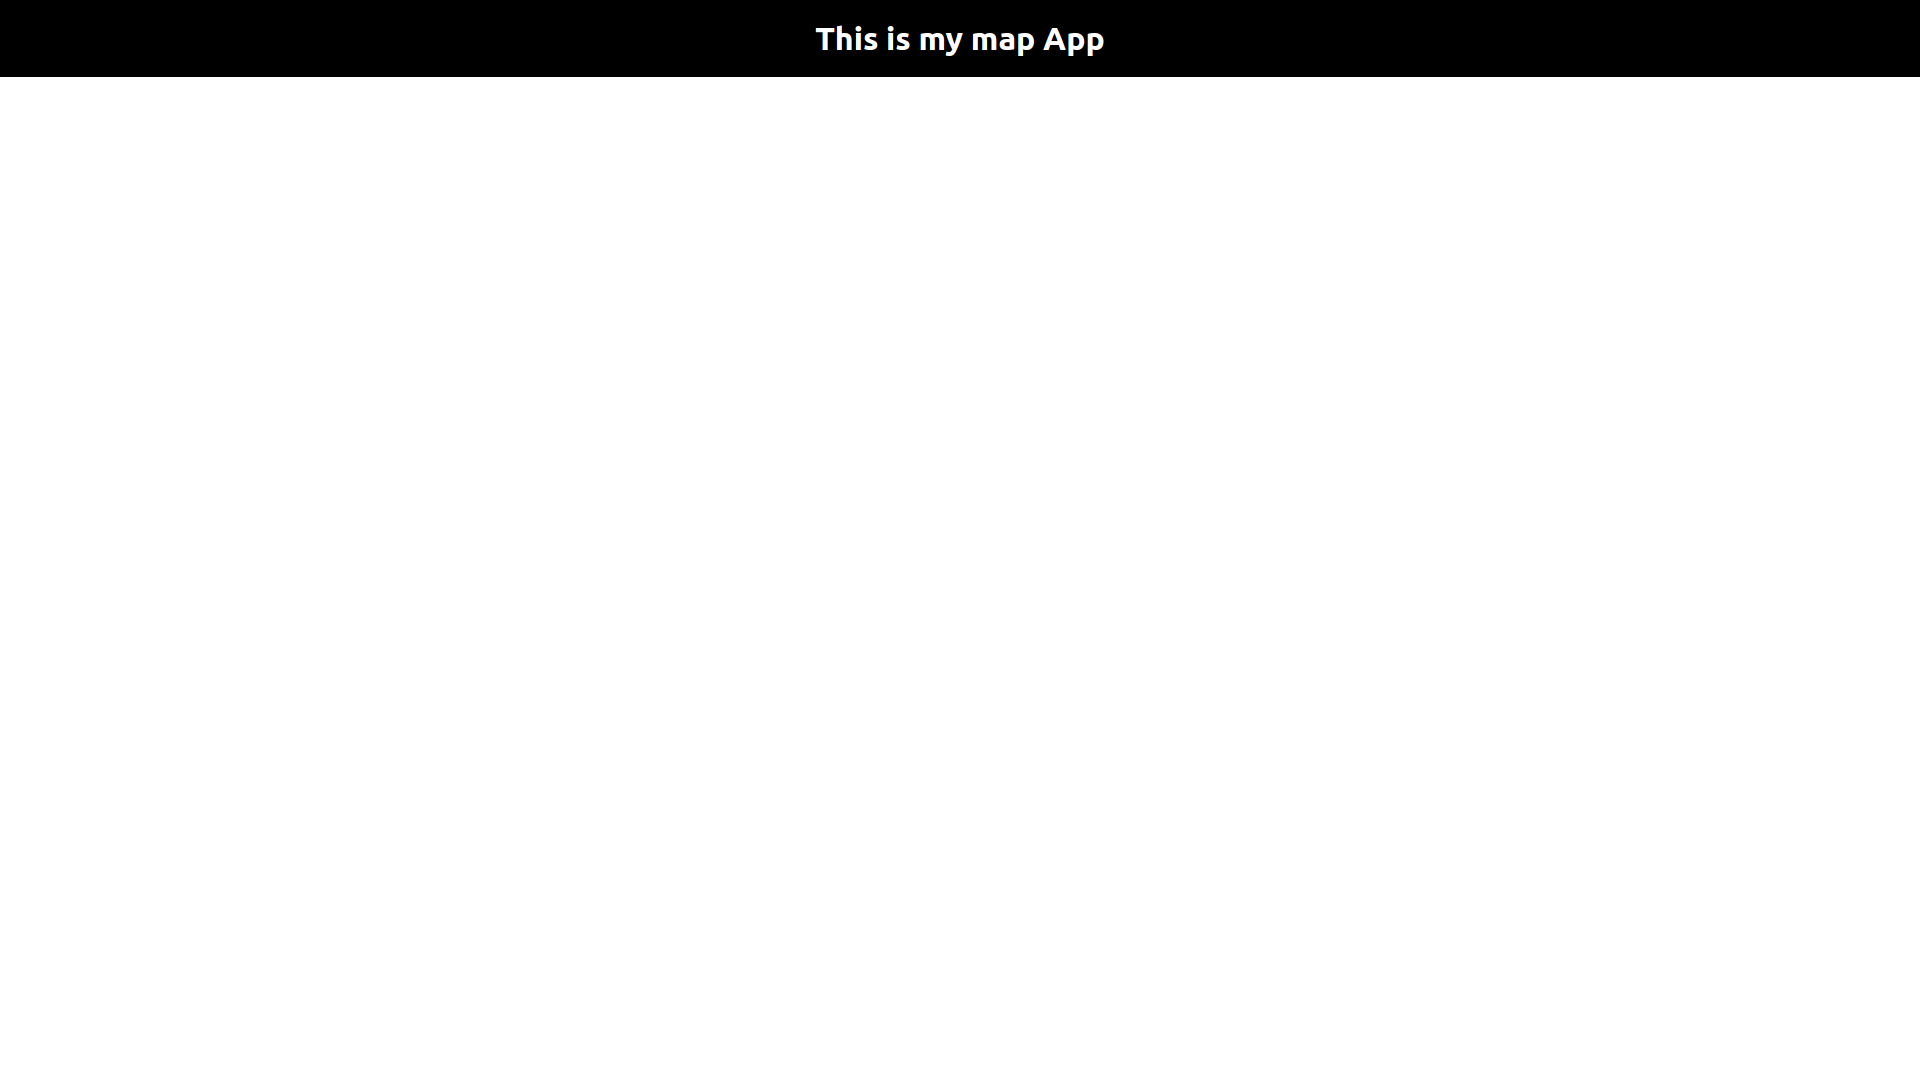
Now you should see the black navbar at the top of your browser.
Create a map component
Now we will create a simple map component. To create the map component run in your command-line:
ng generate component map
Navigate to the newly created component folder src/app/map
Remove the placeholder element in the template file created by the Angular CLI (called map.component.html) and write the following lines:
<div class="map-wrap">
  <a href="https://www.maptiler.com" class="watermark"><img
      src="https://api.maptiler.com/resources/logo.svg" alt="MapTiler logo"/></a>
  <div class="map" #map></div>
</div>
Next, we are going to stylize our component to make a full-screen map. Open the map.component.css file and write these lines:
.map-wrap {
  position: relative;
  width: 100%;
  height: calc(100vh - 77px); /* calculate height of the screen minus the heading */
}

.map {
  position: absolute;
  width: 100%;
  height: 100%;
}

.watermark {
  position: absolute;
  left: 10px;
  bottom: 10px;
  z-index: 999;
}
We use position: absolute on the map itself and position: relative on the wrap around the map for more possibilities in future styling.
Now we are going to modify the logic of our component to create a map using MapLibre GL. Open the map.component.ts file and update the top of the file to import ViewChild, ElementRef, AfterViewInit, OnDestroy from @angular/core
import { Component, OnInit, ViewChild, ElementRef, AfterViewInit, OnDestroy } from '@angular/core';
Add the AfterViewInit, OnDestroy lifecycle hooks to the MapComponent
export class MapComponent implements OnInit, AfterViewInit, OnDestroy {
Right after the @angular/core imports, import the Map object from MapLibre GL
import { Map } from 'maplibre-gl';
Create the map property where we are going to save the MapLibre map object. Write the following line just before the constructor function:
map: Map | undefined;
Add the reference to the element where the map will be displayed. On the line next to the map property, add these lines:
@ViewChild('map')
private mapContainer!: ElementRef<HTMLElement>;
We use @ViewChild to get an instance of the native element <div class = "map" #map></div> declared in the component template map.component.html
Define the ngAfterViewInit function to create our map. After the ngOnInit function, add these lines:
ngAfterViewInit() {
    const initialState = { lng: 139.753, lat: 35.6844, zoom: 14 };

    this.map = new Map({
      container: this.mapContainer.nativeElement,
      style: `https://api.maptiler.com/maps/streets/style.json?key=YOUR_MAPTILER_API_KEY`,
      center: [initialState.lng, initialState.lat],
      zoom: initialState.zoom
    });

}
Here you will need to replace YOUR_MAPTILER_API_KEY with your MapTiler API key.
- The
containeroption sets the DOM element in which the map will be rendered. We will assign theElementRef(obtained thanks to the@ViewChild) expected by our component to an HTML element, which will act as a container. Keep in mind that it can only be used after the execution of thengAfterViewInithook. - The
styleoption defines what style the map is going to use. - The
centerandzoomoptions set the starting position of the map.
Define the ngOnDestroy function to cleanup that needs to occur when the instance is destroyed. After the ngAfterViewInit function write:
ngOnDestroy() {
    this.map?.remove();
}
Your map.component.ts file should look like this:
import { Component, OnInit, ViewChild, ElementRef, AfterViewInit, OnDestroy } from '@angular/core';
import { Map } from 'maplibre-gl';

@Component({
  selector: 'app-map',
  templateUrl: './map.component.html',
  styleUrls: ['./map.component.css']
})
export class MapComponent implements OnInit, AfterViewInit, OnDestroy {
  map: Map | undefined;

  @ViewChild('map')
  private mapContainer!: ElementRef<HTMLElement>;

  constructor() { }

  ngOnInit(): void {
  }

  ngAfterViewInit() {
    const initialState = { lng: 139.753, lat: 35.6844, zoom: 14 };

    this.map = new Map({
      container: this.mapContainer.nativeElement,
      style: `https://api.maptiler.com/maps/streets/style.json?key=YOUR_MAPTILER_API_KEY`,
      center: [initialState.lng, initialState.lat],
      zoom: initialState.zoom
    });

  }

  ngOnDestroy() {
    this.map?.remove();
  }

}
Finally, to display the MapComponent as a child of the element of AppComponent, add the <app-map> element to app.component.html. Your app.component.html file should look like this:
<div class="App">
  <app-navbar></app-navbar>
  <app-map></app-map>
</div>
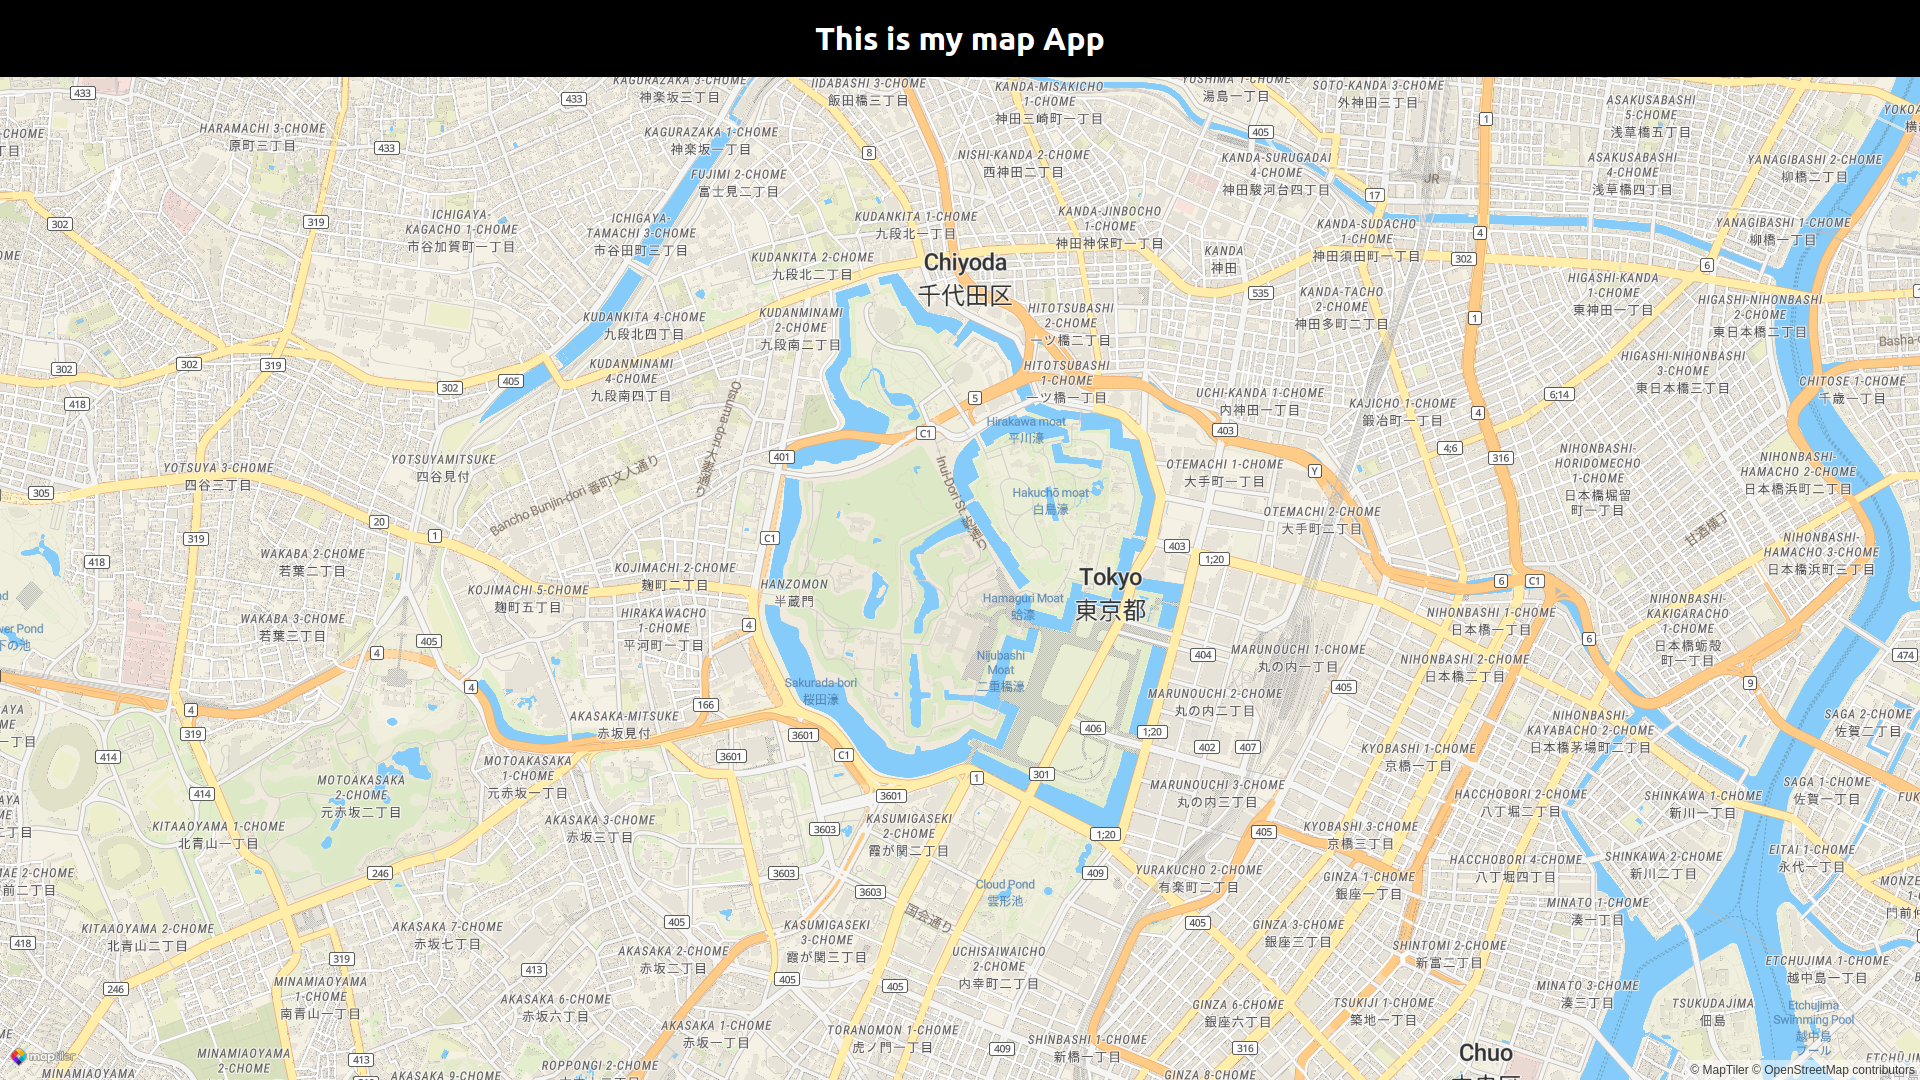
With everything done up until now, you should be able to see your beautiful map in your browser.
Basic additional options
The last topic of this tutorial will be adding basic objects to your map. For more detailed information, you can visit the MapLibre documentation.
Map Controls
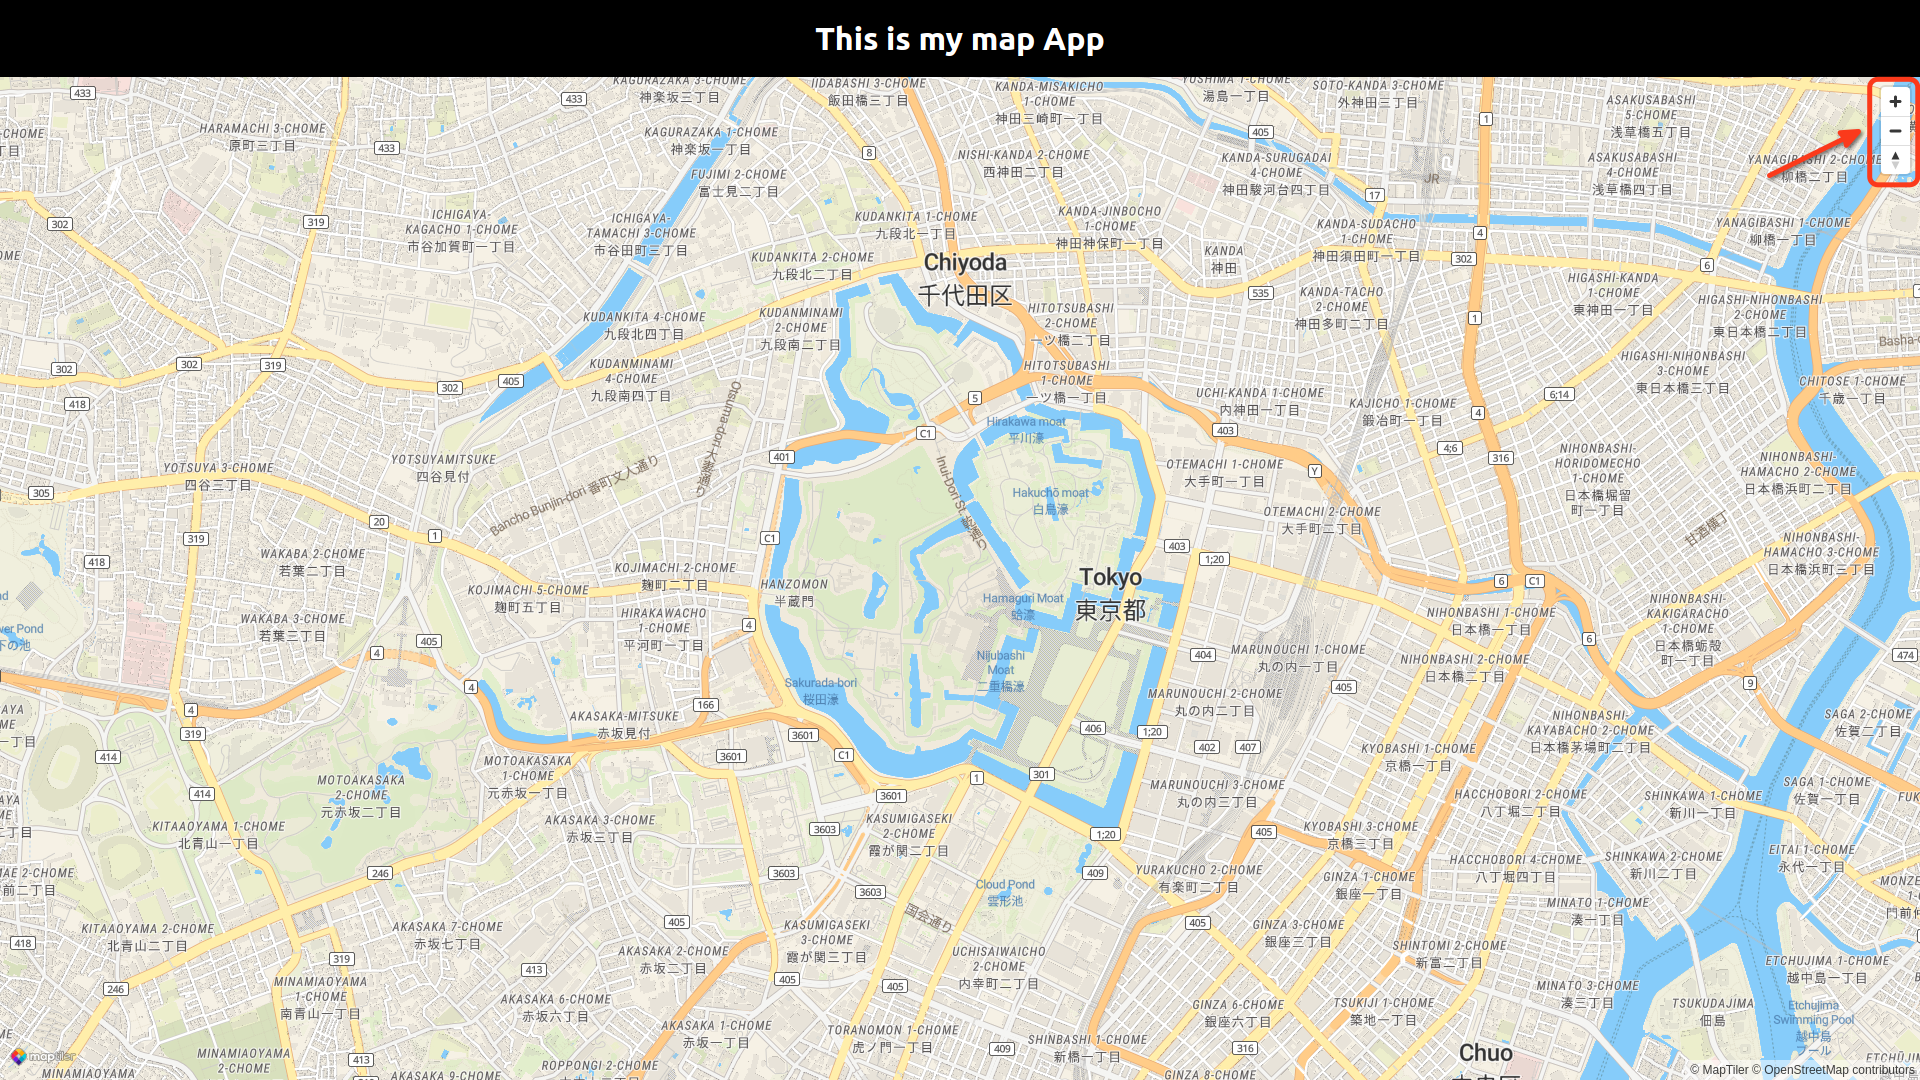
We will navigate back to our map.component.ts file and add map navigation controls to our map.
Add the NavigationControl next to the Map object import from MapLibre GL.
import { Map, NavigationControl } from 'maplibre-gl';
On line 28 (just after the initialization of the map) of the map.component.ts file, add the following line:
this.map.addControl(new NavigationControl(), 'top-right');
new NavigationControl() will create new controls object which we add to current map using the addControl() function in the 'top-right' position.
Another essential thing to add to your map could be a marker of some location.
Add the Marker next to the Map object import from MapLibre GL.
import { Map, NavigationControl, Marker } from 'maplibre-gl';
In the following line where we declare the navigation control, we add these lines:
new Marker({color: "#FF0000"})
  .setLngLat([139.7525,35.6846])
  .addTo(this.map);
We create a new marker using the .marker function. We added the color option to make it red, then set Lng/Lat of the marker using .setLngLat() function , and finally added it to the current map using .addTo() function.
We finished our basic map objects and your map.component.ts file should look like this:
import { Component, OnInit, ViewChild, ElementRef, AfterViewInit, OnDestroy } from '@angular/core';
import { Map, NavigationControl, Marker } from 'maplibre-gl';

@Component({
  selector: 'app-map',
  templateUrl: './map.component.html',
  styleUrls: ['./map.component.css']
})
export class MapComponent implements OnInit, AfterViewInit, OnDestroy {
  map: Map | undefined;

  @ViewChild('map')
  private mapContainer!: ElementRef<HTMLElement>;

  constructor() { }

  ngOnInit(): void {
  }

  ngAfterViewInit() {
    const initialState = { lng: 139.753, lat: 35.6844, zoom: 14 };

    this.map = new Map({
      container: this.mapContainer.nativeElement,
      style: `https://api.maptiler.com/maps/streets/style.json?key=YOUR_MAPTILER_API_KEY`,
      center: [initialState.lng, initialState.lat],
      zoom: initialState.zoom
    });
    this.map.addControl(new NavigationControl(), 'top-right');
    new Marker({color: "#FF0000"})
      .setLngLat([139.7525,35.6846])
      .addTo(this.map);
  }

  ngOnDestroy() {
    this.map?.remove();
  }

}

Full code to download
We have created a template with the result of this tutorial that will serve as a basis to build future applications. You can access the template repository at Angular template for MapLibre.
Online demo:
You can see an online demo at https://labs.maptiler.com/angular-template-maplibre-gl-js/
Conclusion
Congratulations! You have finished your simple fullscreen map app using Angular, showing Tokyo with a marker on Tokyo Imperial Palace. You can explore more about MapLibre GL JS for your map in the MapLibre API reference.
Useful links
MapLibre GL JS
Angular - Getting started
NPM - MapLibre GL
MapLibre official web
MapTiler - customize tool