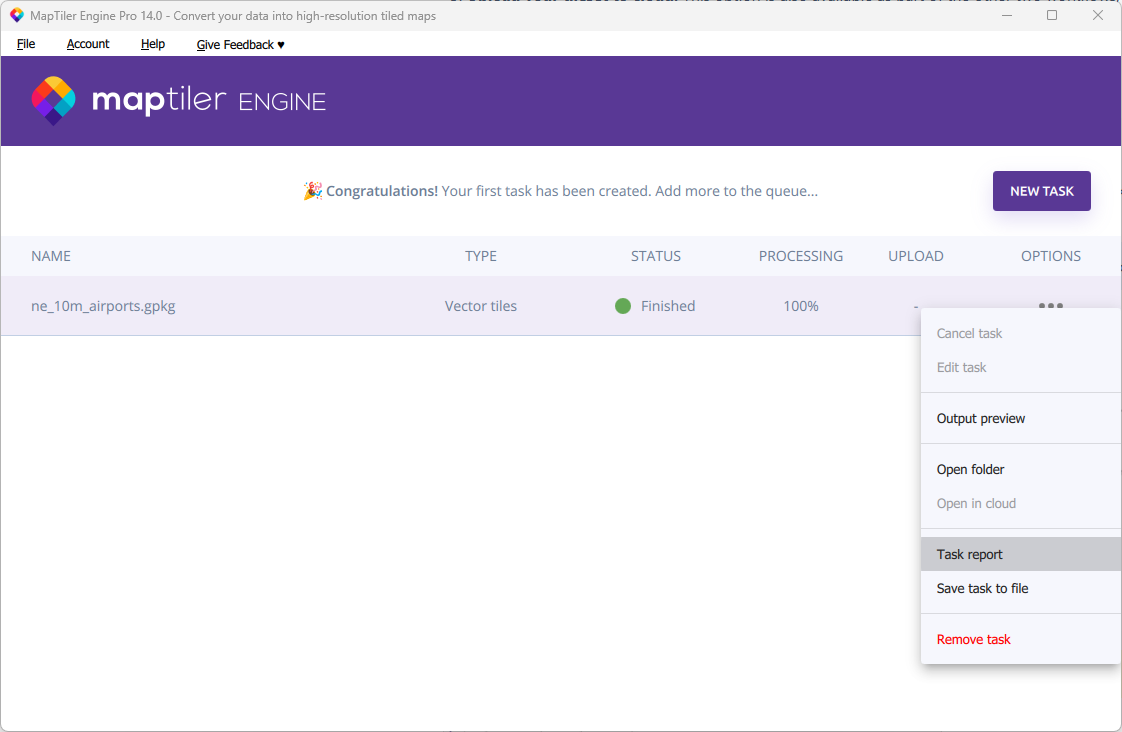
MapTiler Engine user interface (GUI)
This article provides quick overview of the MapTiler Engine user interface.
First, download your instance of MapTiler Engine here: https://www.maptiler.com/download/
MapTiler Engine features an intuitive user interface designed to guide users through the whole process. You can start creating your tiles simply by dragging and dropping your data, or select a predefined workflow that suits your needs.

The interface visually represents each step, making it easy to understand how your choices affect the final map tiles. The preview feature allows you to see changes in real-time, reducing the risk of errors and ensuring that the output meets your expectations.

The interface then guides you through the necessary settings, such as choosing the desired zoom levels and output formats, all while offering helpful tips and default options for a smoother experience.

Finally, MapTiler Engine starts processing your task and displays the Task Queue. Here you can watch the progress of your task and display further useful options such as previewing the ouput, viewing the task report, or saving the task to a file for backup or sharing. You can also start creating another task at once, which is then automatically added to the processing queue.
