Upload your files to MapTiler
If you have any existing files with map data and want to use them in a map, then the first step to do is to get them into your MapTiler account. There’s several ways to do it so you can select the best one for your needs.
Visual interface
The easiest way is to manually upload your files via the upload page in your MapTiler account. It’s the best option if you’re only uploading a few files and don’t need any kind of automation.
Upload API & CLI tool
The Upload API is a service API which you can use through our CLI tool. This makes it possible to integrate the upload process into your pipeline and automate it. See the complete guide 👉 How to upload your data using API & CLI.
Upload JS library
The Upload JS library is a helper library which you can use in your JavaScript/TypeScript projects. It’s faster and more convenient to use than the CLI, and also offers extra features such as detailed progress reporting and multipart upload.
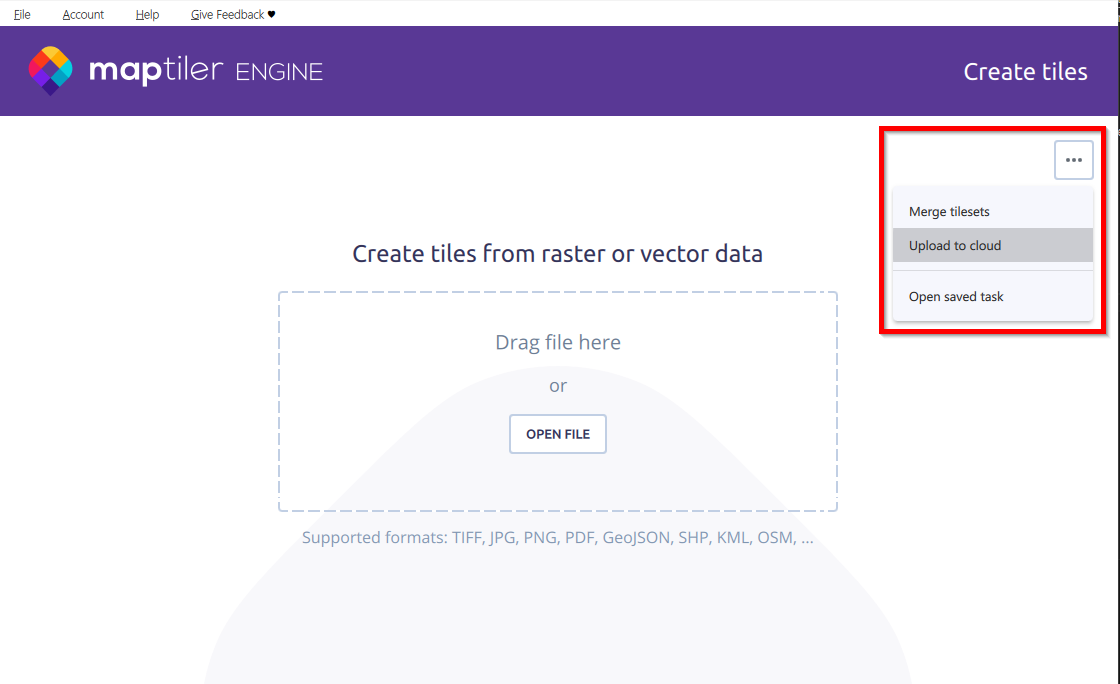
MapTiler Engine
MapTiler Engine can upload your files quickly and easily, so if you have it installed, it might be quite convenient to use for this purpose:
- Open MapTiler Engine and use the three-dot options button on the first screen.
- Select Upload to cloud and follow the steps on screen.
