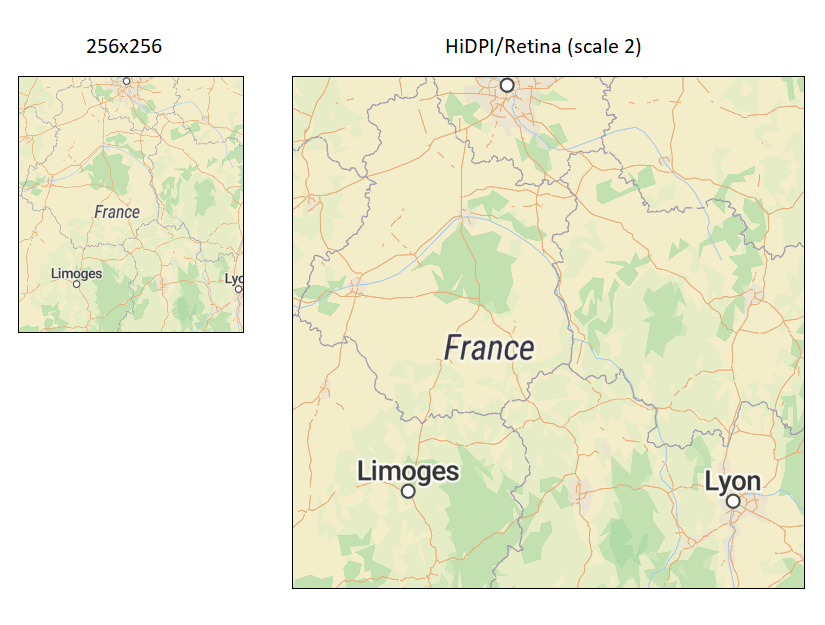
Get HiDPI/Retina map tiles
This page explains what are HiDPI/Retina displays and how to set a custom Retina scale for map tiles generated with MapTiler Engine.
This option is available only in the Plus and Pro versions of MapTiler Engine. Setting the Retina/HiDPI scale factor is available since MapTiler Engine 11.3.
What are Retina displays
Retina is a marketing name for HiDPI displays used by Apple. The key property of a HiDPI display is its pixel density, hence the name: HiDPI = High Dots (Pixels) Per Inch. This parameter says how many pixels will fit into one inch of the width or height of the display. With technological progress and the constantly increasing image resolutions, displays naturally need to have a higher pixel density to support higher image resolutions while preserving screen size.
While the relation between screen size, image resolution, and pixel density is purely technical, this technology is an attempt to improve the experience of looking at the display so that it is practically impossible to make out its single pixels with the naked eye. So, to keep the same visible image size on the screen, the image dimensions need to be bigger. The scaling factor is specific for particular devices. As an example, its value is 2.0 for iPhone Retina displays, and 3.0 for the ones used in iPads.

Enable rendering Retina/HiDPI map tiles
By default, MapTiler Engine creates 256x256 pixels tiles. However, as more and more users of tiled maps use high-resolution screens on their laptops, cell phones, and tablets, you may want to make sure that MapTiler Engine produces map tiles that will look great on these screens. Here’s how to enable the Retina/HiDPI output in the settings:
-
Open your data in MapTiler Engine and start the raster tiling task.
-
When you get to the Output settings screen, enable the HiDPI/Retina tiles option. This increases the tile size to 512x512px (if you keep the default Retina scale, see the next step).
-
Optionally, set a custom Retina scale. The default value is 2.0, which creates tiles exactly twice the size of the standard tiles (256x256px). To modify this setting, open the Advanced task settings and set the desired value there.
