Enhance terrain with Hand-drawn Hillshading
Do you want to achieve a hand-drawn terrain effect in your maps? MapTiler provides everything you need to replicate this technique: data, map styles and the possibility to customize it to your needs.
What is hand-drawn hillshading
Hand-drawn hillshading is a cartographic technique that enhances the visual representation of terrain using light, shadow, and artistic shading methods. One of the most influential figures in this field was Eduard Imhof, a Swiss cartographer known for his meticulous hand-drawn hillshades that created depth and realism in maps. His techniques emphasized natural landforms, improving readability and aesthetics.

In modern cartography, digital tools can replicate Imhof’s shading style using specialized algorithms. MapTiler provides the Hand-drawn hillshading tileset, designed for Imhof-like visuals. This dataset allows map designers to integrate expressive and naturalistic relief shading into their maps effortlessly.
Understanding terrain shading
Terrain shading is essential for visualizing elevation changes on maps. It enhances the perception of landforms, making maps more intuitive. There are two main approaches to terrain shading:
- Automated hillshading: Uses digital elevation models (DEMs) to generate shades based on light sources.
- Hand-drawn hillshading: Captures natural terrain nuances with artistic finesse, as seen in Imhof’s work.
Hand-drawn hillshading specifically focuses on subtle transitions, soft shadowing, and careful light positioning to maintain clarity and prevent over-exaggeration.
Using the Hand-Drawn Hillshading dataset
Hand-drawn Hillshading tileset is available in MapTiler in your Tiles section where you can preview it. It is generated for the medium resolutions until zoom level 12.

We use this shaded relief in our Landscape map style where it transitions seamlessly into the classic relief as you zoom past the 12th zoom level. Landcover colors, such as forests, grass, or glaciers, are positioned on top of the hillshade to give it a realistic feeling.

You can reuse this map style or customize it to your preference. We recommend using the following properties:
- Opacity: helps to tune out or enhance the layer
- Contrast shift: makes the shading more prominent if turned up
- Maximum/minimum brightness
There is also Landscape Dark available for applications with dark modes, and Landscape Vivid with a vibrant color scheme.
To add the hand-drawn hillshade into one of your custom maps, click on the plus button in the left corner of your Layers panel in MapTiler Map Designer (and select Layer).
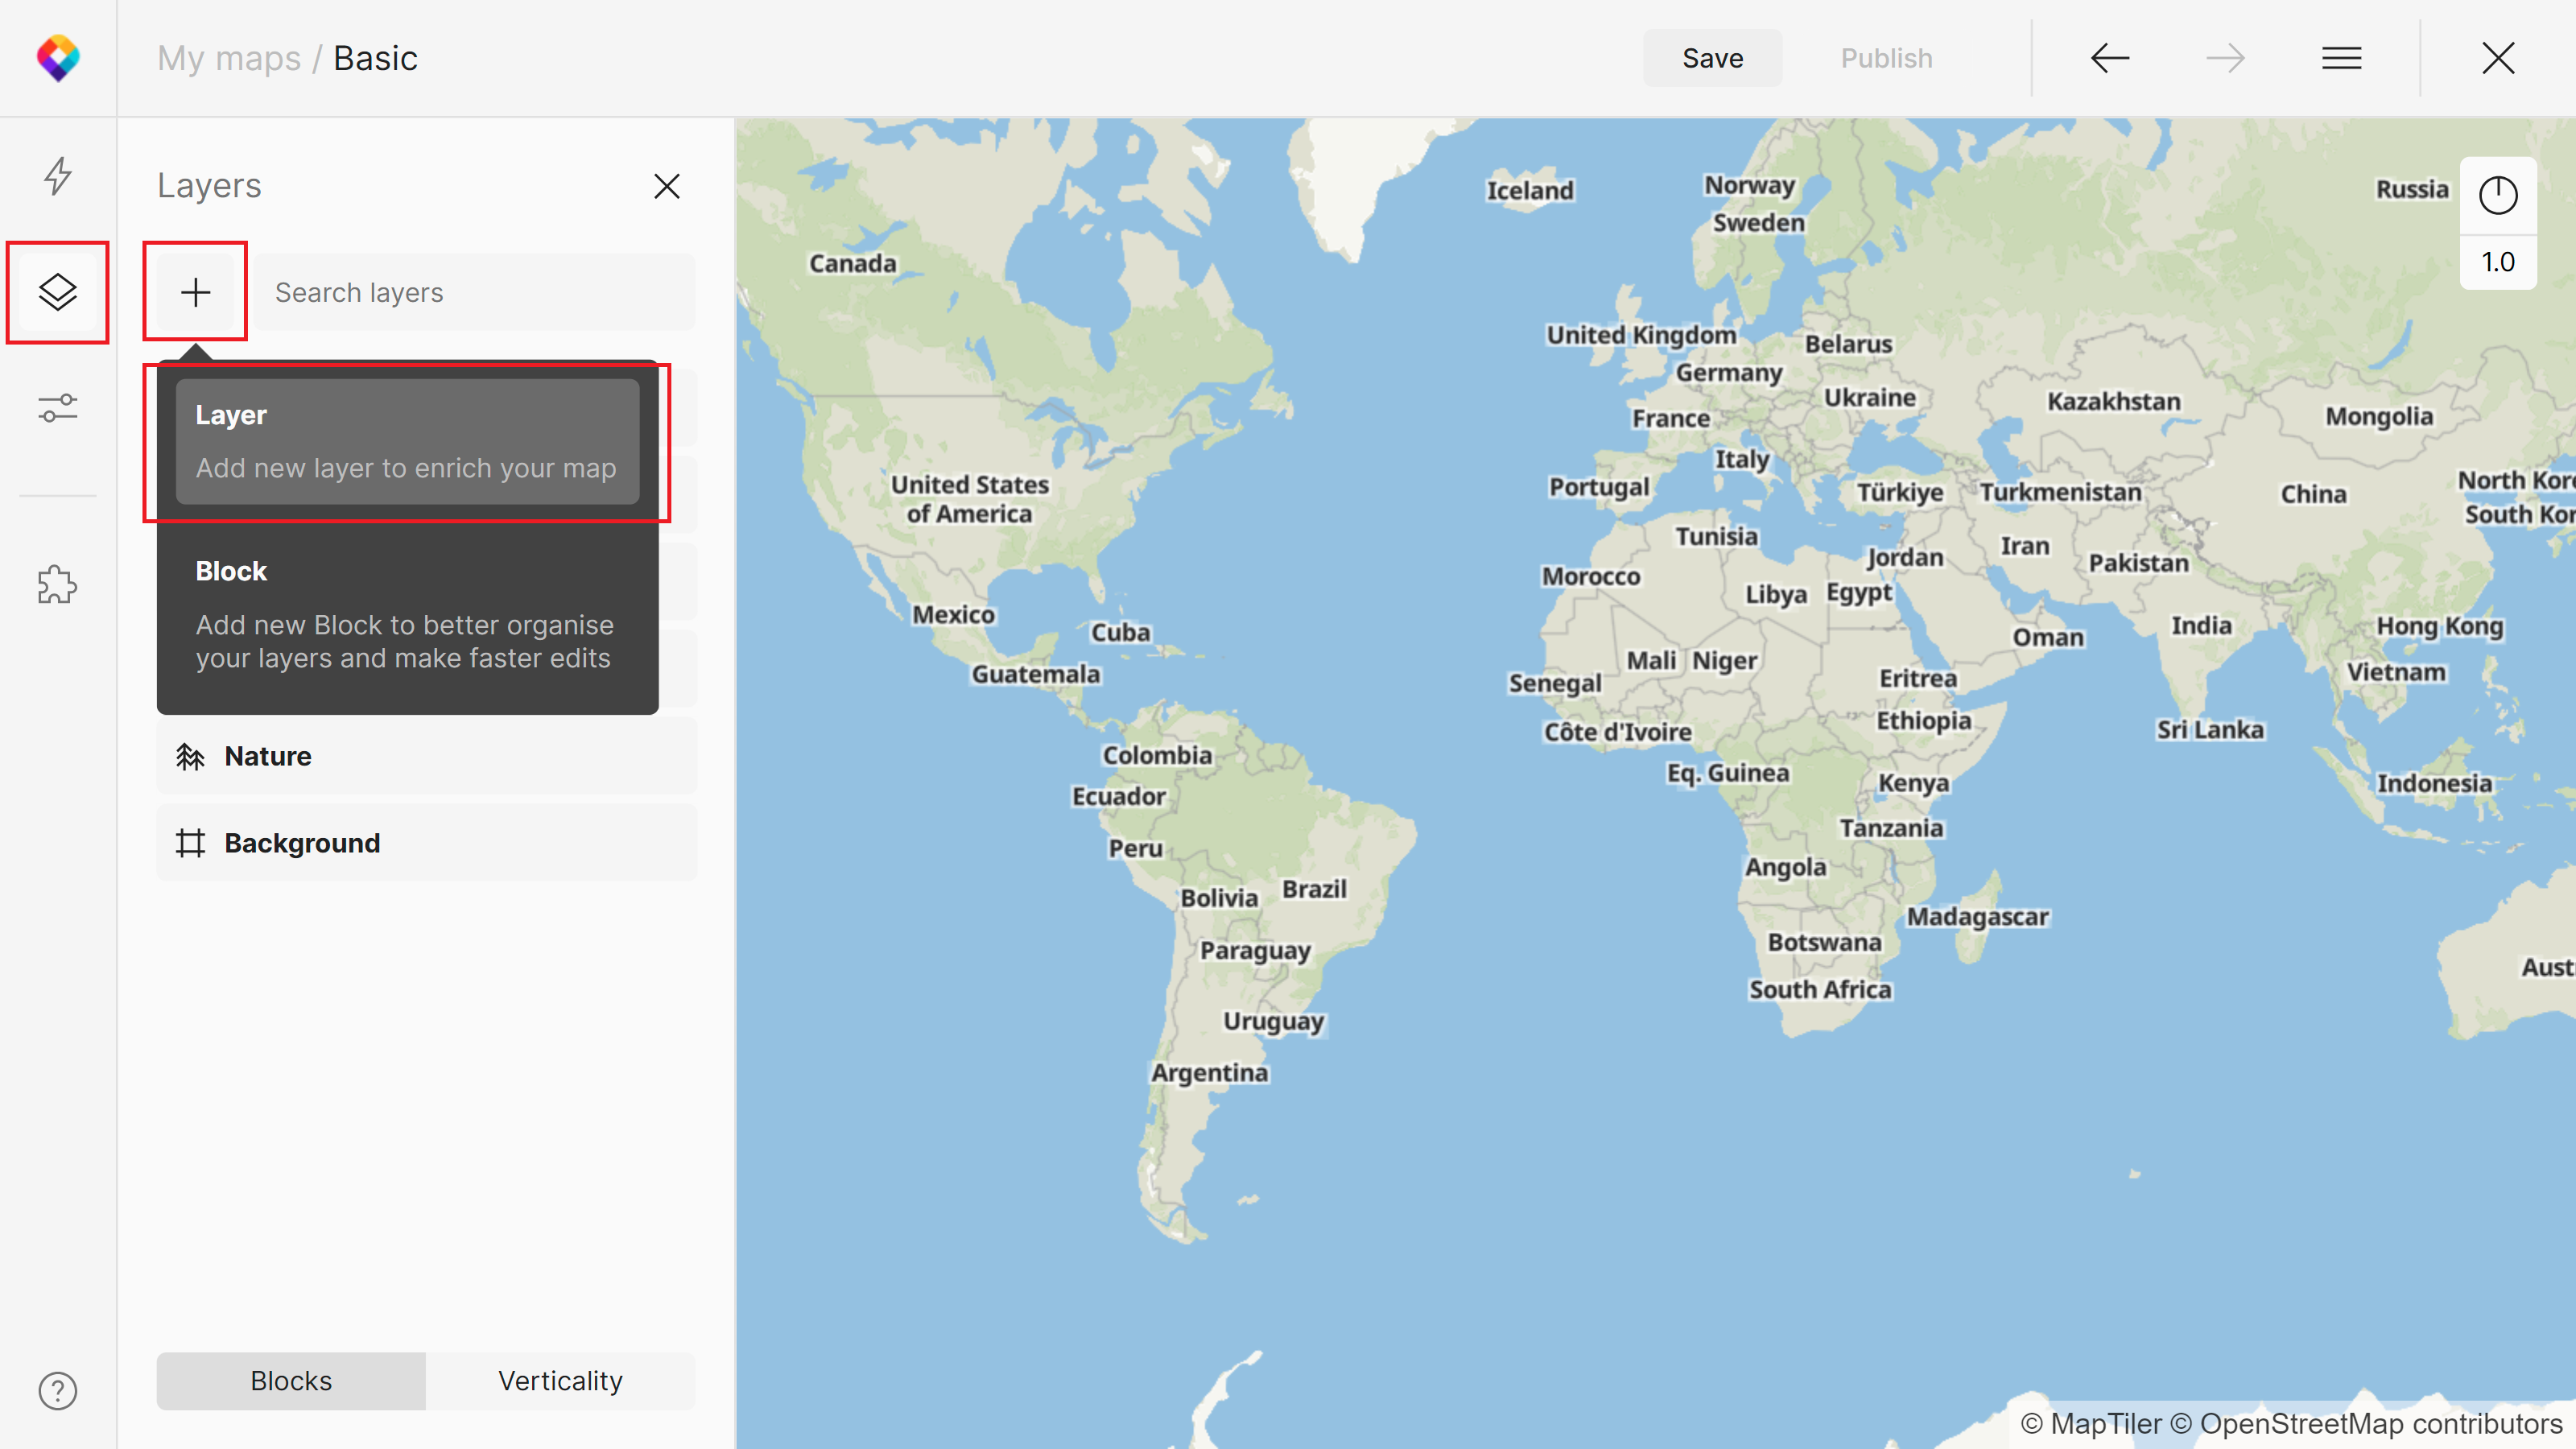
Search for “Hand-drawn Hillshading” and then click Continue. In the last selection window, you can adjust the Parent Block or Layer name. Once in the map, we recommend moving the hillshade down in your Verticality tab. The best position would be on top of any water areas, but below natural features.
For more info about how to add and style layers, see Adding a new style layer.