Get started with MapTiler Server
This no-nonsense guide helps you quickly set up MapTiler Server on your computer and try it out using a sample map package. We’ll walk you through the steps and explain basic concepts so that you know what you’re doing.
At the end, you’ll have a fully functional collection of maps for Zurich (Switzerland) on your computer, a sample map application, and a decent understanding of how MapTiler Server works. We’ll also suggest next steps.
Here’s what this guide helps you with:
Install MapTilerServer
To try out MapTiler Server, install it on your personal computer. (This is not suitable for real-life production usage, but it’s fine for testing and playing around. We’ll get to the actual production setup at the end of this tutorial.)
-
Go to the Server download page and select the installation package for your operating system. You’ll need to sign in to your MapTiler account to proceed. If you don’t have a MapTiler account, you get a sign-up screen to create one instantly—it’s fast, free, and with no obligations.
-
Install and run MapTiler Server. On Windows it’s fairly straightforward, the installation wizard walks you through all steps. On macOS and Linux, you may need more information to complete the process successfully. If needed, go to the detailed installation guide for your platform:
-
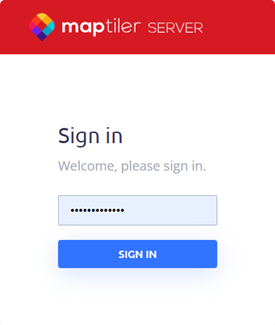
Go to http://localhost:3650/admin/ and use your new admin password to sign in.
Deploy sample maps
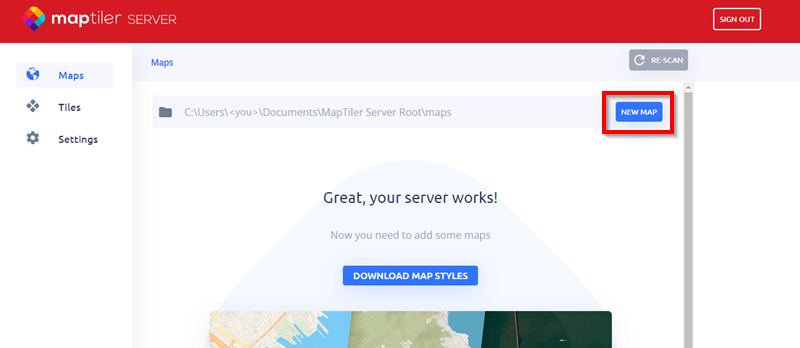
Once you install MapTilerServer and sign in, you see the main page of MapTiler Server and are ready to host a map.
-
Use the Download map styles button to go to the Server page in your MapTiler account.

-
From the Data samples section, download the
maptiler-server-map-styles-x.x.x.zippackage.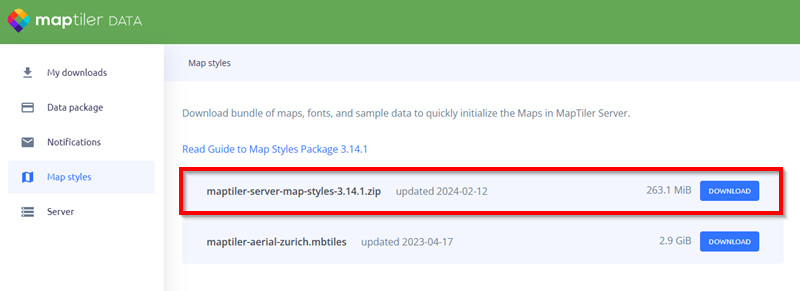
-
Go back to MapTiler Server and use the New map button to upload the zip package.
The package contains a set of map components (data, styles, fonts) for a sample map of the Zurich area in Switzerland. The upload automatically populates your MapTiler Server:
- The Tiles section now contains the actual data for your maps. It’s the raw map material, but you can preview it and even use it just like a map if it’s sufficient for your needs.
- The Maps section lists the map styles. Each of them represents a map with a different visual design. A “style” is actually a document that defines which data from the Tiles section should be displayed on the map and how it should be styled.
To learn more about what exactly you get, see what’s inside the sample data package.
Preview and test the maps
You’ve got the sample data uploaded, now let’s see how to display the maps to their audience.
Note that the following examples will only work on your computer and can’t be used to test remote access to the self-hosted maps; the goal here is to give you an idea of presentation options and let you explore the map designs.
Test an API endpoint
- In the Maps section, choose one of the listed maps and use the Detail button next to it. This takes you to a page with the map preview and a list of prepared API calls for various uses.
- Use the View fullscreen button below the map. This opens a new tab in your web browser and displays the simplest fullscreen view of the map. The API call which loads the map view is shown in the address bar.
You can check out all the listed maps by following the steps above.
Test a simple web app
-
Copy the following code and save it as a HTML file on your computer.
-
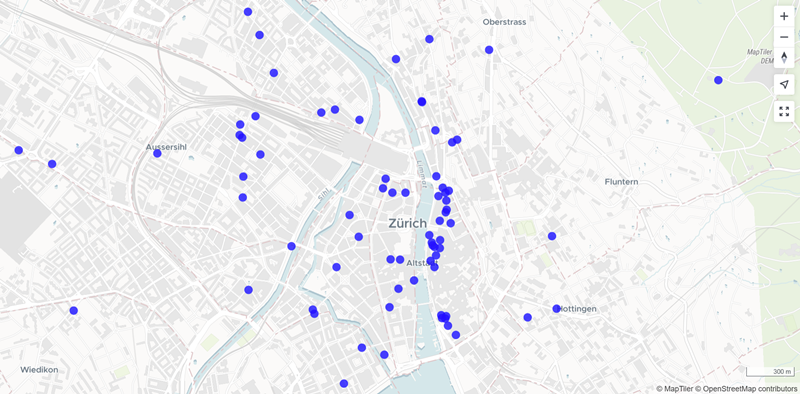
Open the file in your web browser. What you see is your self-hosted Dataviz map displayed using MapTiler SDK, with additional data on top of it. The additonal data is pulled from this file which lists hotels in Zurich. They’re shown on the map as blue dots.
-
Open the file in a code editor and find this line:
style: "http://localhost:3650/api/maps/dataviz/style.json",It refers to the Dataviz map style. Replace
datavizwith another map style hosted in your MapTiler Server, for examplestreets, and reload the browser view to see the hotels data layer on a different map.
Next steps
Okay, your sample maps and styles are up and running! Here’s what you may want to try next:
- Replace the sample map data with complete data. 👉 Go to self-hosted maps documentation to learn where to get the data and how to use it.
- Add your own map data to MapTiler Server. 👉 Go to data processing documentation to learn how to prepare your data for self-hosting.
- Create a new design for your self-hosted maps by customizing the map styles you’ve already downloaded.
Production setup
The free version you’ve just deployed is for trial or non-commercial use only, so before you proceed to live production setup, make sure to check out the features and pricing of the commercial version of MapTiler Server and Data. MapTiler Data provides you with our professionally prepared maps of the world, ready for self-hosting on MapTiler Server.
Once you’re ready to set up MapTiler Server in a real production environment, you may want to learn how to install it via Docker, how to launch it behind nginx or Apache, or how to run it in Kubernetes.