---
title: "Getting Started - Kotlin SDK | Mobile sdk | Mobile sdk android | Android"
description: "Get started with MapTiler SDK for Android using Kotlin."
---
# Getting Started - Kotlin SDK
[MapTiler SDK Kotlin](https://docs.maptiler.com/mobile-sdk/android/) is a set of tools for creating and customizing maps on Android using Kotlin and Jetpack Compose (with an XML/View option, too). It works with the MapTiler Cloud service to provide vector tiles, styles, and data for a complete mobile mapping experience.
In this guide you will learn how to add a custom map to your application, style it to your own liking, add points of interest and enable interaction.
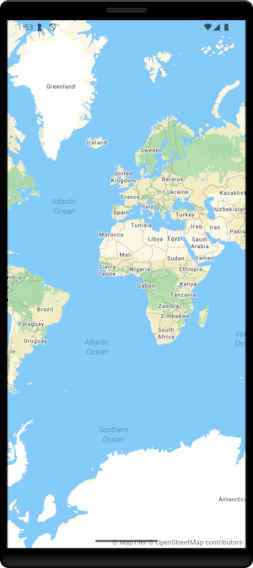 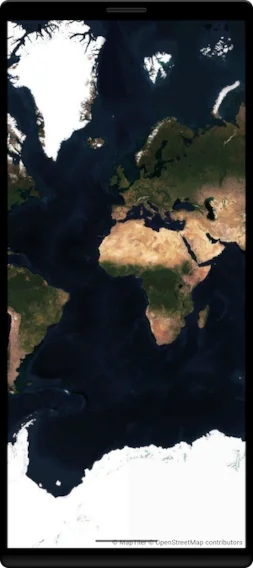
## First Steps
1. Android Studio: create a new project or open an existing one (Compose and XML/View are supported).
2. Add the dependency from Maven Central in your app’s Gradle:
```json
dependencies {
implementation("com.maptiler:maptiler-sdk-kotlin:2.0.0")
}
```
3. Ensure mavenCentral() is included in your repositories.
4. Set your MapTiler Cloud API key before initializing the map:
```Kotlin
MTConfig.apiKey = "YOUR_API_KEY"
```
Note
API Key must be set before the first map is created.
Key
You need a **MapTiler API key** to use this service. [Get it here](https://cloud.maptiler.com/account/keys/) and [learn how to secure it](https://docs.maptiler.com/guides/credentials/api-key/#secure-key).
## Map Initialization
Note
Make sure to add proper permissions and hardware acceleration to your app’s manifest file:
```xml
```
and
```xml
android:hardwareAccelerated="true"
```
### Compose
Add the composable MTMapView with a controller:
```kotlin
@Composable
fun MapScreen(context: Context) {
val controller = remember { MTMapViewController(context) }
MTMapView(
referenceStyle = MTMapReferenceStyle.STREETS,
options = MTMapOptions(),
controller = controller,
modifier = Modifier.fillMaxSize(),
)
}
```
### XML/View Classic
Add MTMapViewClassic to your XML layout:
```xml
```
Initialize in your Activity/Fragment:
```kotlin
class MapViewClassicActivity : ComponentActivity() {
private lateinit var controller: MTMapViewController
override fun onCreate(savedInstanceState: Bundle?) {
super.onCreate(savedInstanceState)
controller = MTMapViewController(this)
setContentView(R.layout.classic_map_activity)
val mapView = findViewById(R.id.classicMapView)
mapView.initialize(
referenceStyle = MTMapReferenceStyle.STREETS,
options = MTMapOptions(),
controller = controller,
styleVariant = null,
)
}
}
```
### MapView Delegate
Set a delegate on MTMapViewController to react to lifecycle and data events:
```kotlin
controller.delegate = object : MTMapViewDelegate {
override fun onMapViewInitialized() {
/* set up style/annotations */
}
override fun onEventTriggered(event: MTEvent, data: MTData?) {
/* handle events */
}
}
```
Note
onMapViewInitialized() is ideal for adding sources, layers, and annotations (maps mutate safely after ready).
## Interaction
You can interact with the map by calling the methods on the `MTMapViewController` object.
### Zooming
```kotlin
controller.zoomIn()
controller.zoomOut()
```
### Navigating
```kotlin
val target = LngLat(8.581651, 47.137765) // LngLat(lon, lat)
controller.flyTo(MTCameraOptions(target))
controller.easeTo(MTCameraOptions(target))
```
## POIs
To add a point of interest on the map, you can use `MTMarker` and `MTTextPopup` classes.
```kotlin
val marker = MTMarker(LngLat(8.581651, 47.137765), Color.RED)
controller.style?.addMarker(marker)
val popup = MTTextPopup(LngLat(8.581651, 47.137765), "Hello!")
controller.style?.addTextPopup(popup)
```
Note
In addition to MTMarker, you can use MTCustomAnnotationView and MTSource and MTLayer classes.
## Location Tracking
If your app uses device location, add Android permissions and handle runtime consent:
- Manifest: **ACCESS\_FINE\_LOCATION (and/or ACCESS\_COARSE\_LOCATION)**
- Runtime: request permission before enabling any location-related UI or logic.
Location tracking is done through `MTLocationManager` class. Add the manager and subscribe to its delegate:
```kotlin
val locationManager = remember(context) { MTLocationManager(context) }
DisposableEffect(Unit) {
locationManager.delegate = object : MTLocationManagerDelegate {
override fun didUpdateLocation(location: Location) {
val lngLat = LngLat(location.longitude, location.latitude)
}
}
onDispose {
locationManager.stopLocationUpdates()
locationManager.delegate = null
}
}
```
Start the location updates:
```kotlin
if (locationManager.hasLocationPermission()) {
locationManager.startLocationUpdates()
}
```
## Next Steps
To learn about more advanced functionalities of the SDK, refer to the API reference and README.md.
In addition to the documentation take a look at the plug and play examples provided in the SDK GitHub repository, as well as pre-made demo app:
[maptiler-sdk-kotlin/Examples](https://github.com/maptiler/maptiler-sdk-kotlin/tree/main/Examples)